Install Debian 13 Easily: A Complete Step-By-Step Guide
After a wait of more than two years, in August 2025, Debian have released their new version, called Trixie. With this latest version of Debian, 13, you will now receive an updated kernel, newer versions of desktop environments, and many additional features.
So if you are someone who wants to ditch Windows because Microsoft is killing Windows 10 support, Debian can be a perfect option for you. Because Debian is known for its rock-solid stability, community support, and, most importantly, you can keep using your computer system without any issues.
Therefore, I will give you a complete step-by-step guide on how to install Debian 13 properly.
Step 1 - Download the Debian 13 Installation ISO
Open your favourite Web browser, in the address bar type “debian.org” and hit enter. Now, when you land on the Debian home Page, all you have to do is click on the download button, and it will download a net-install image of Debian 13. Or else you can go to the “Other Downloads” Page. And from there you can download a Larger “Complete Installation Image”.
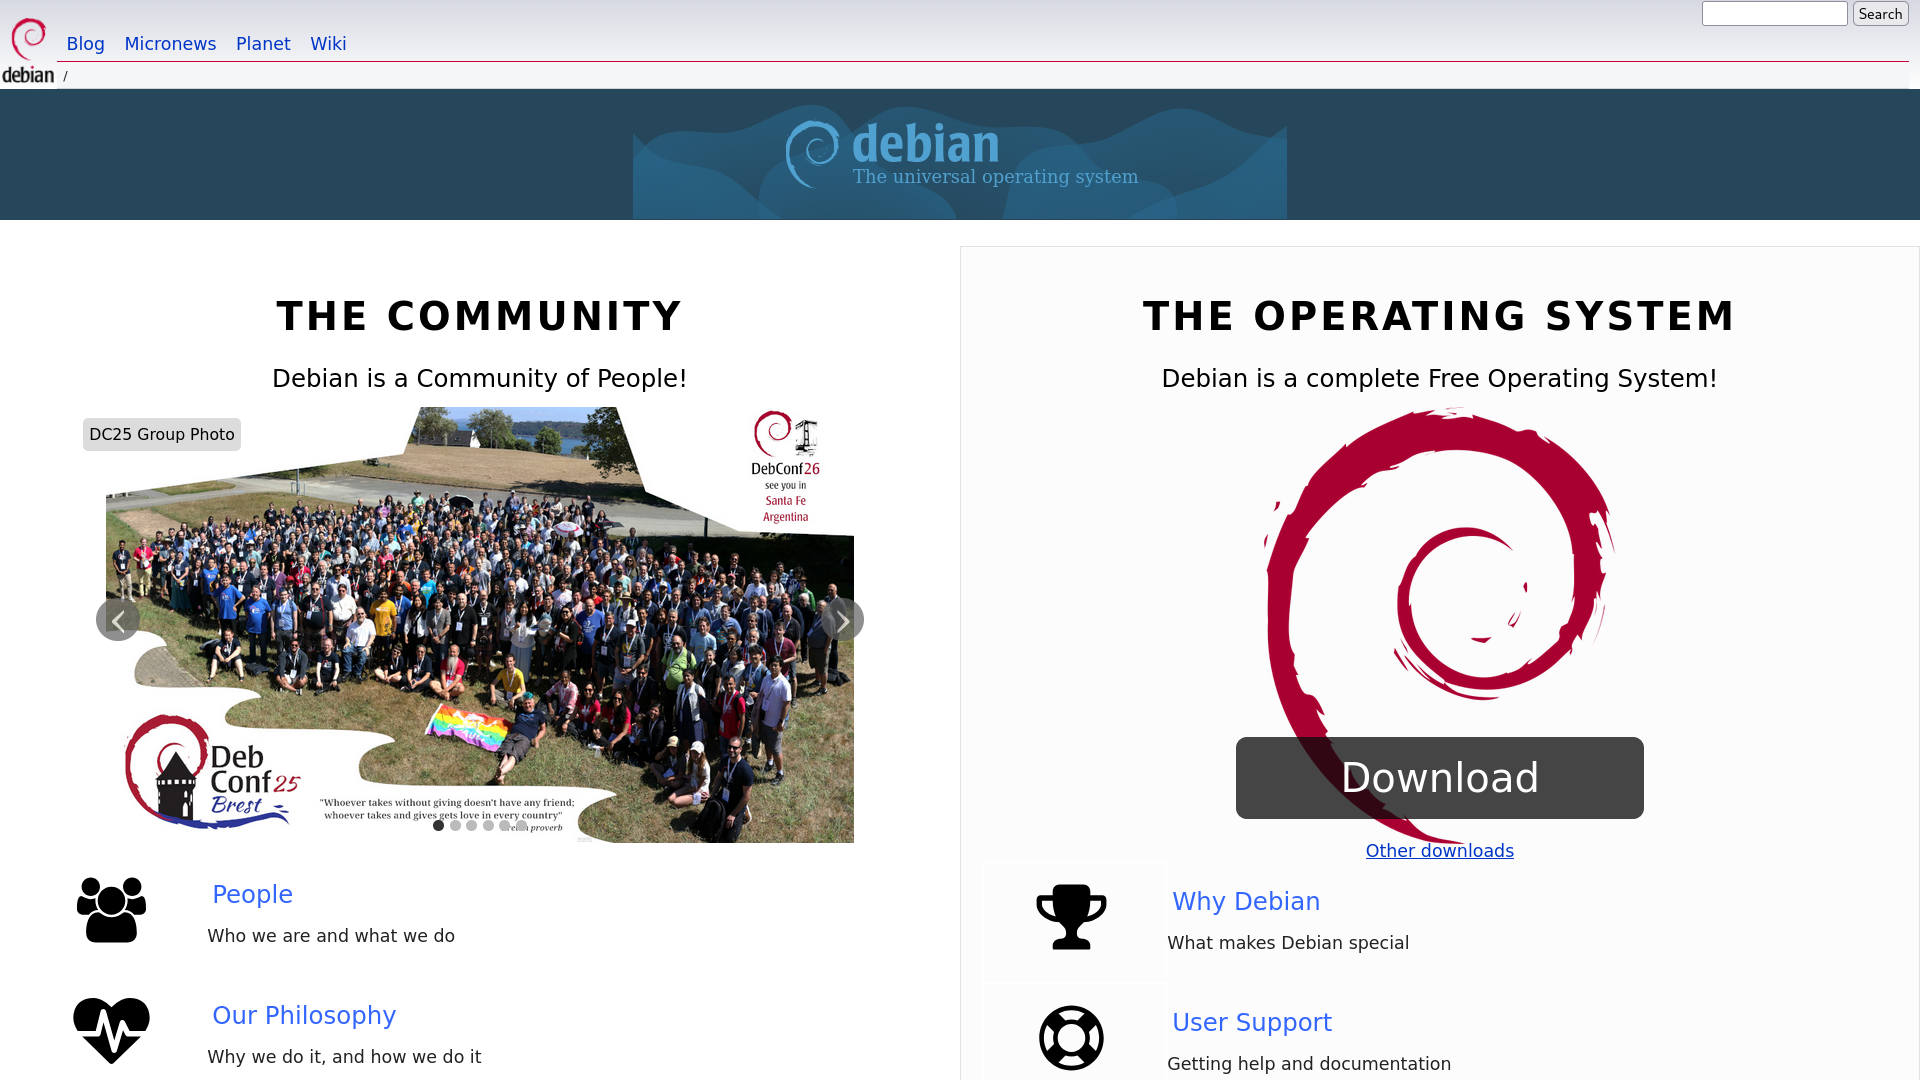
The difference in these two methods is that if you download the ISO from the Home Page, you will end up with a smaller net-install image, meaning you will need a fast and stable internet connection for the installation process. Whereas if you download the “Complete Installation Image”, you will have a full-size installer, and with that, you will be able to install Debian even if you do not have an internet connection.
And finally, if you are someone who has the “First try then Buy” mentality, then you can also go with the third option and choose your preferred live environment like GNOME, KDE or XFCE and try Debian desktop before installing it on Physical Hardware. But for a normal installation, the “Complete Installation Image” option is the best choice.
Step 2 - Create a Bootable USB Drive and Boot into It
After the download is complete, create a Bootable USB drive using programs like Rufus or Ventoy and boot into it through your BIOS settings.
Step 3 - Installation Process
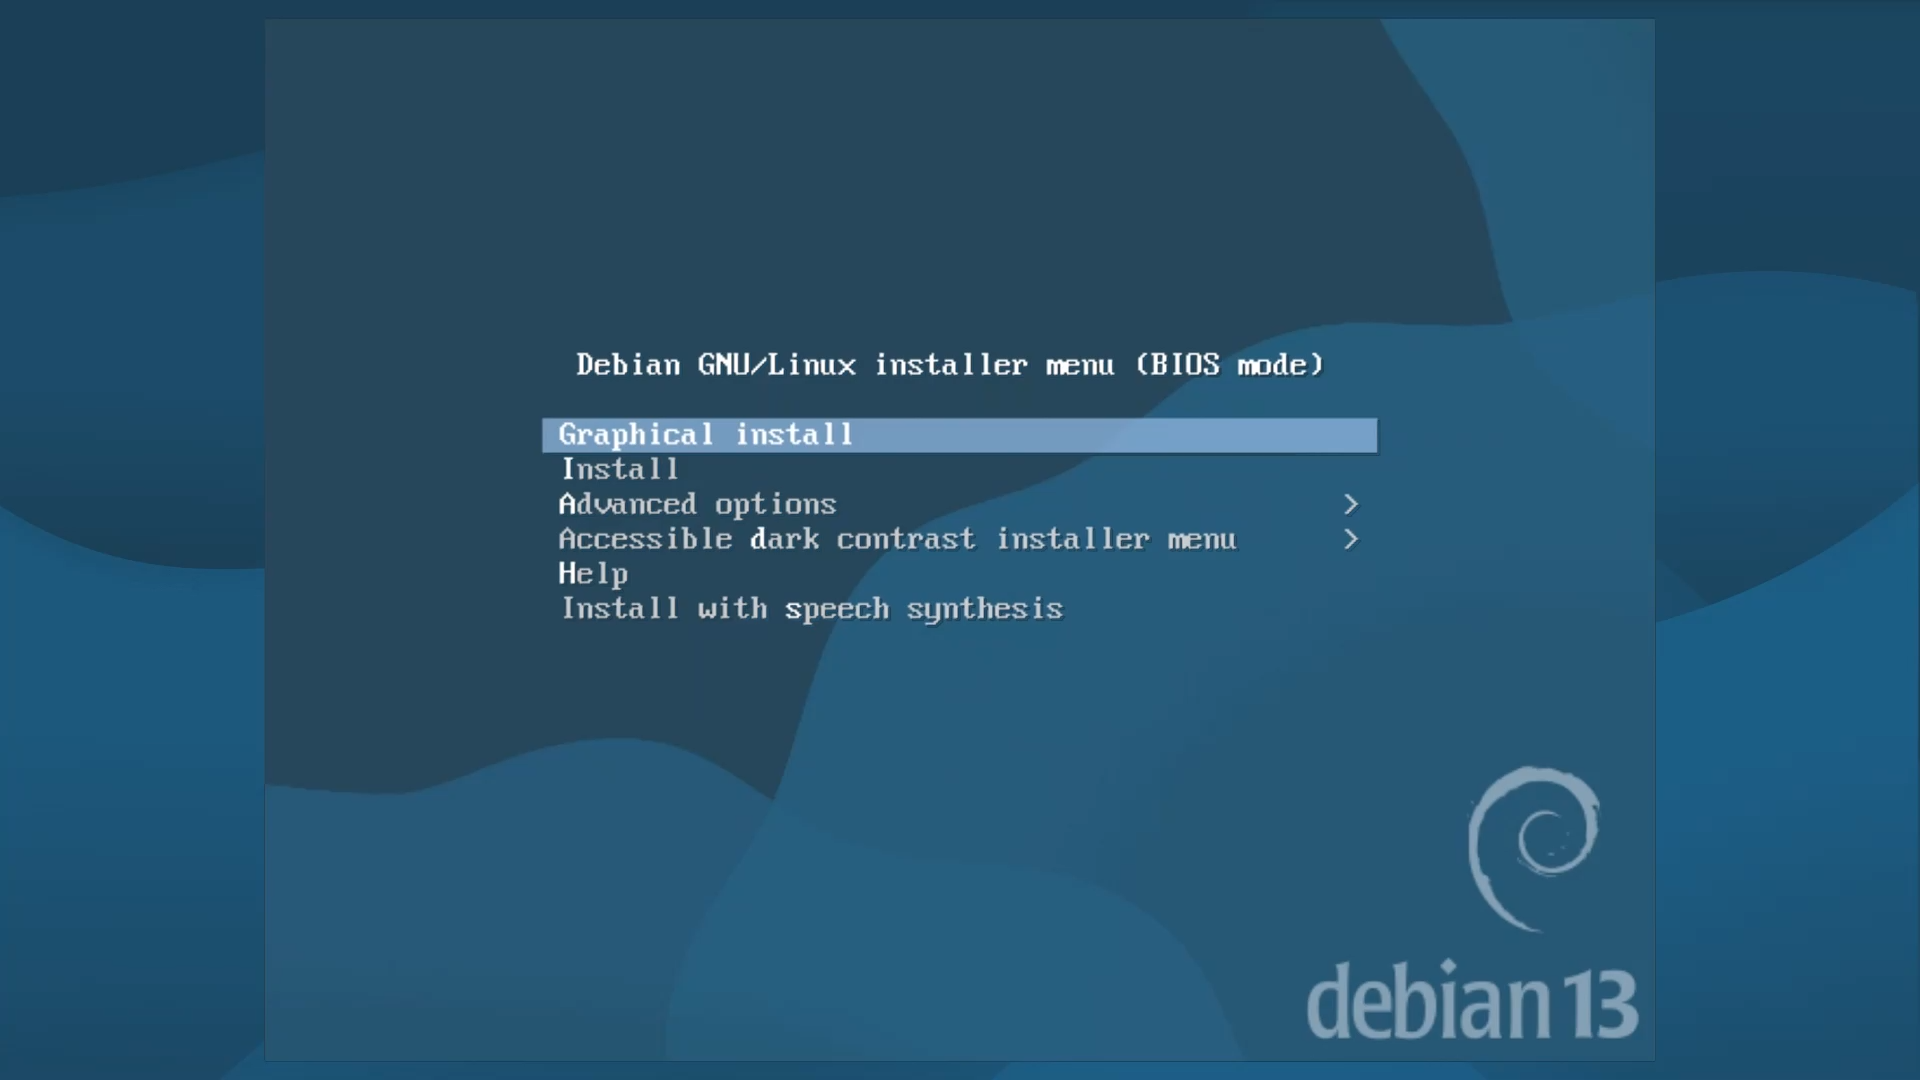
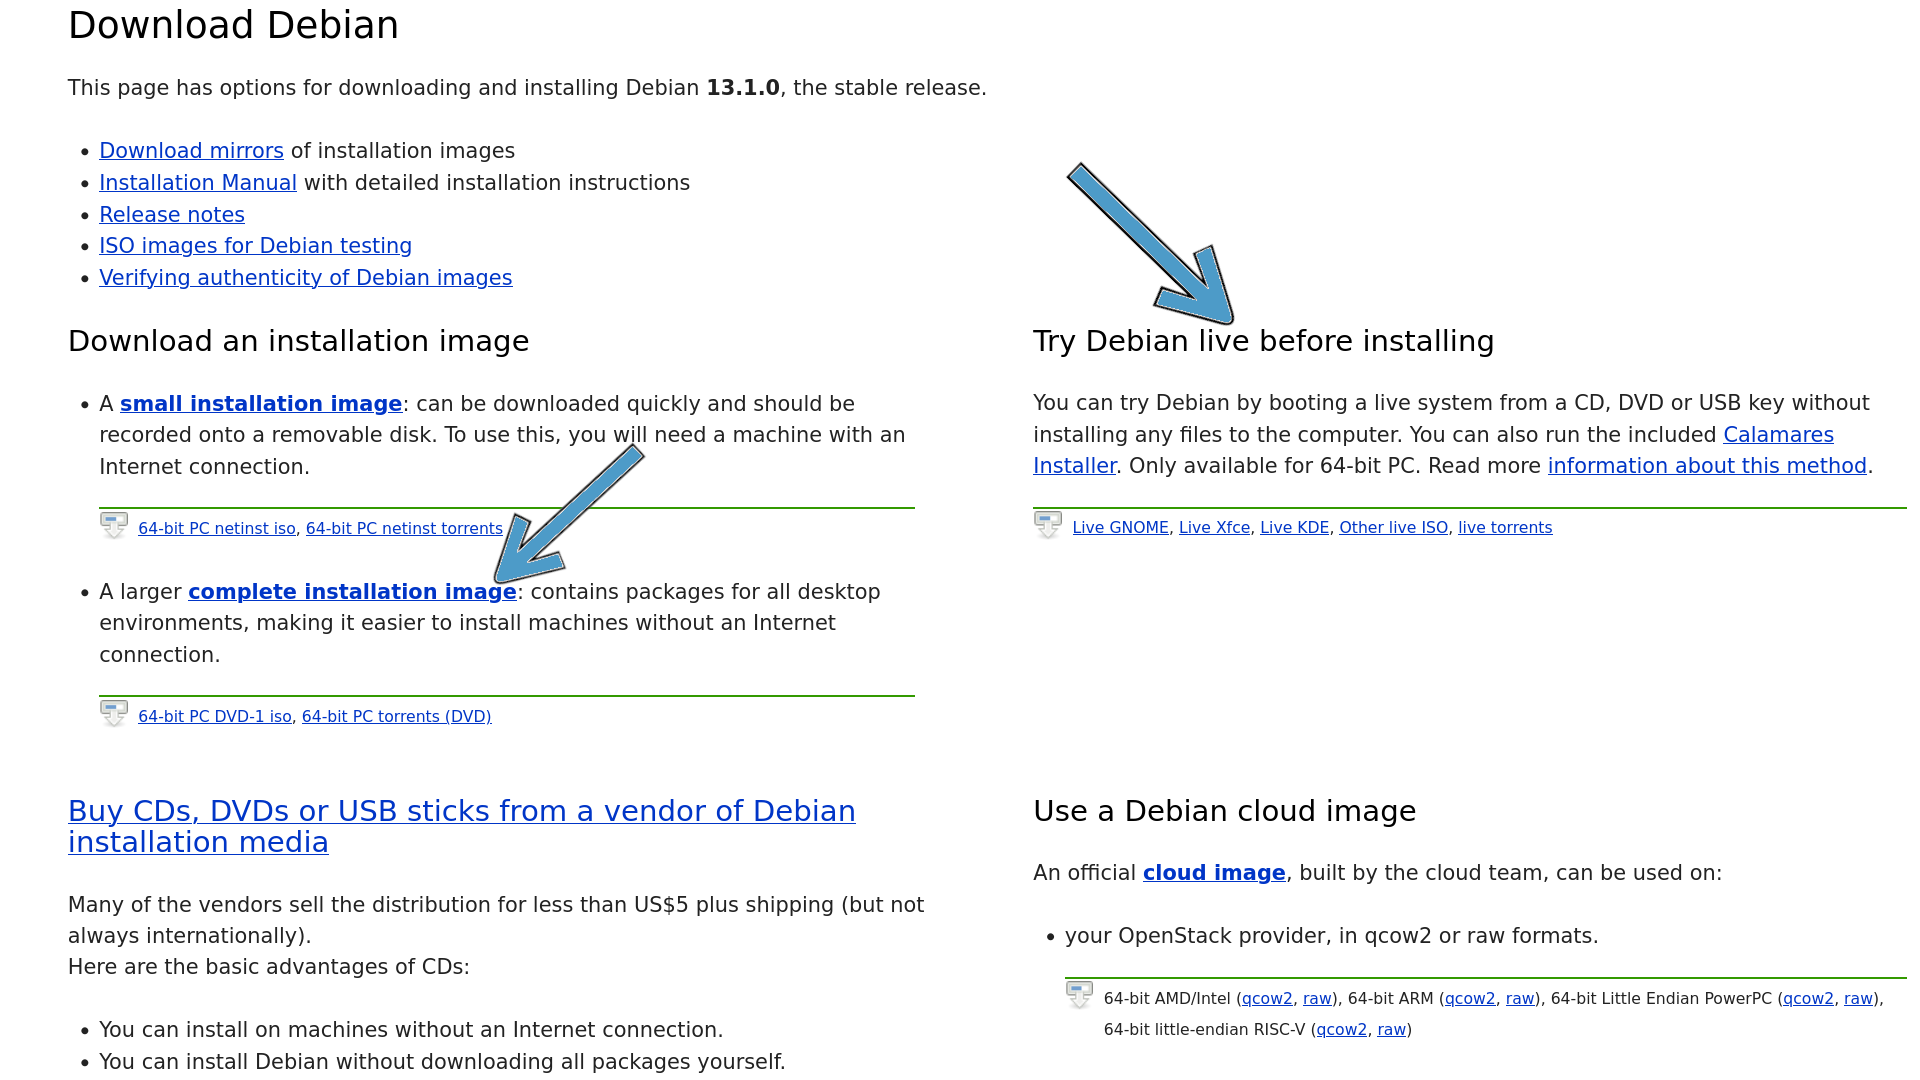
Once you boot into the USB drive, the Debian Installer Menu will appear, and the Installation process will start there. On the Debian Installer Menu, usually there are six options, but for an easy experience, select the First Option, which is the Graphical Installer.
Step 3.1 - Language Selection
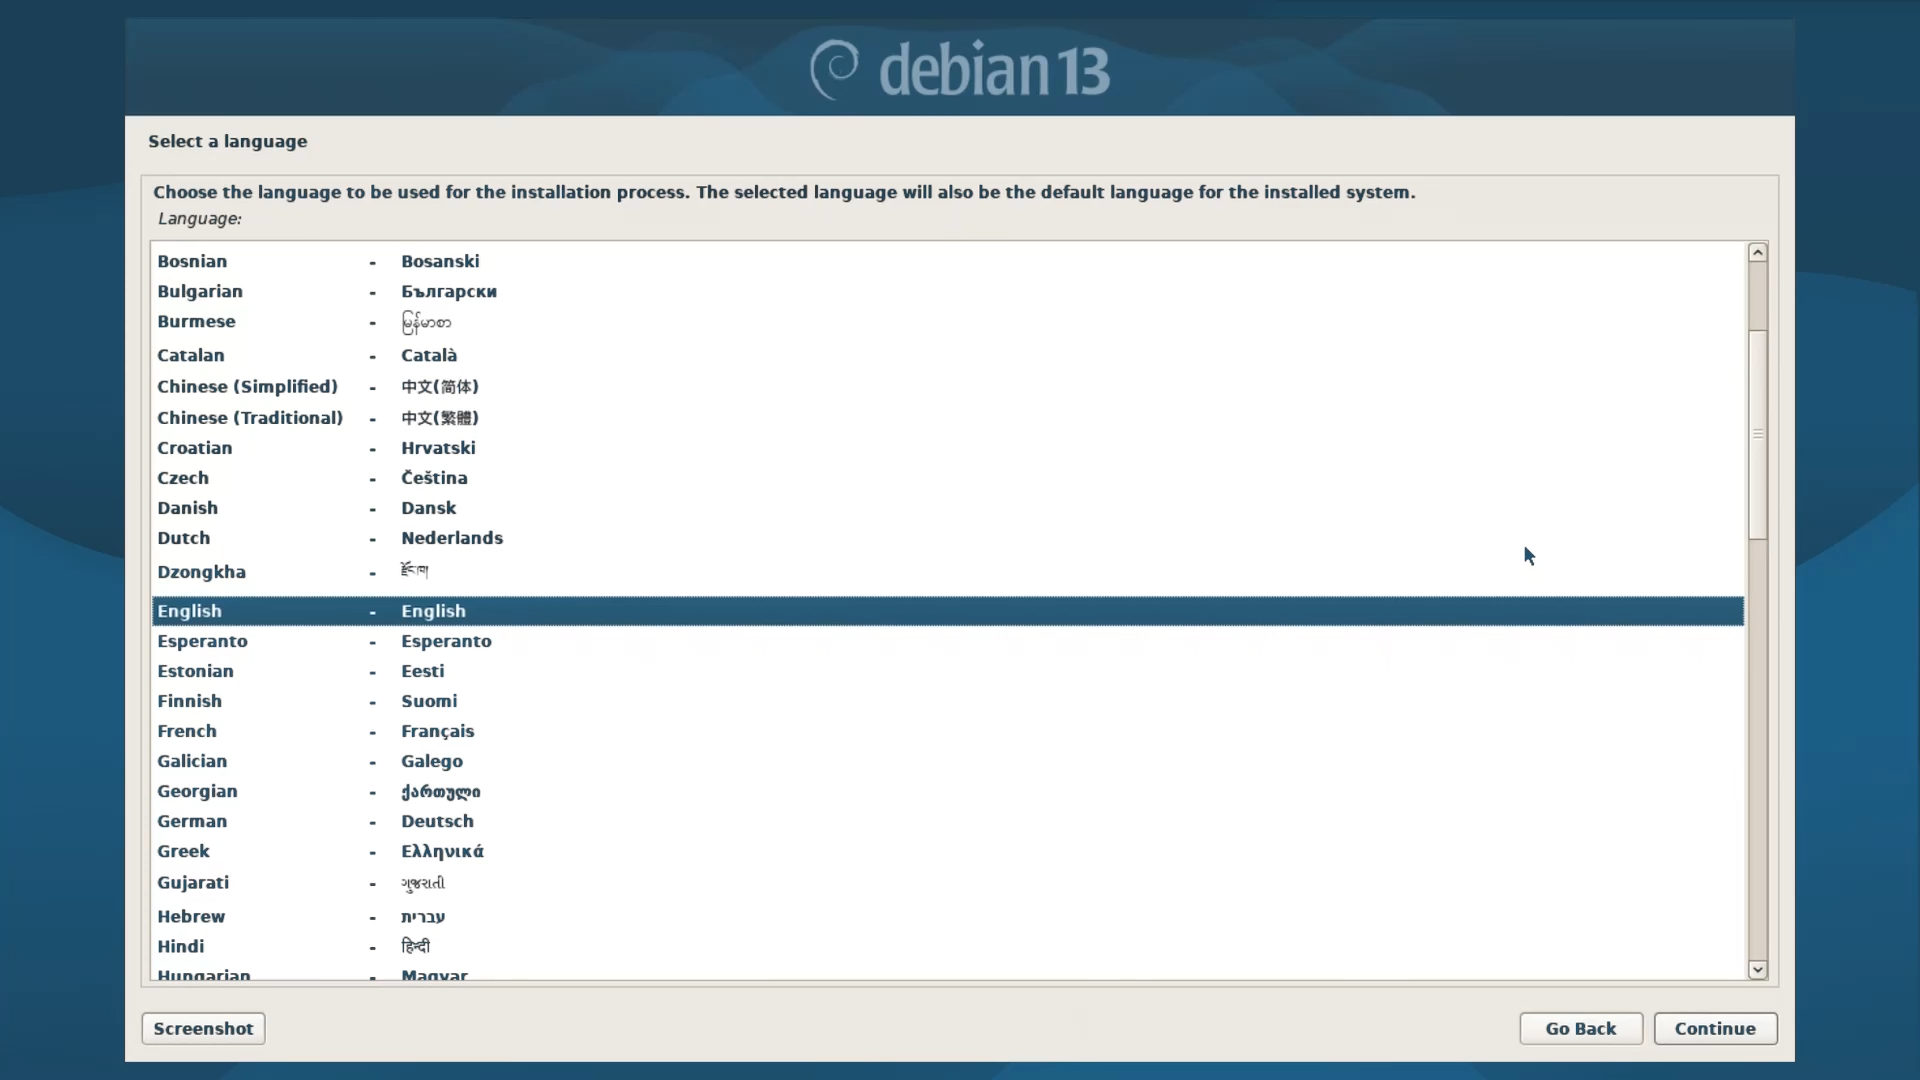
In this step, select a language. You can choose your preferred language from the list.
Step 3.2 - Location Selection
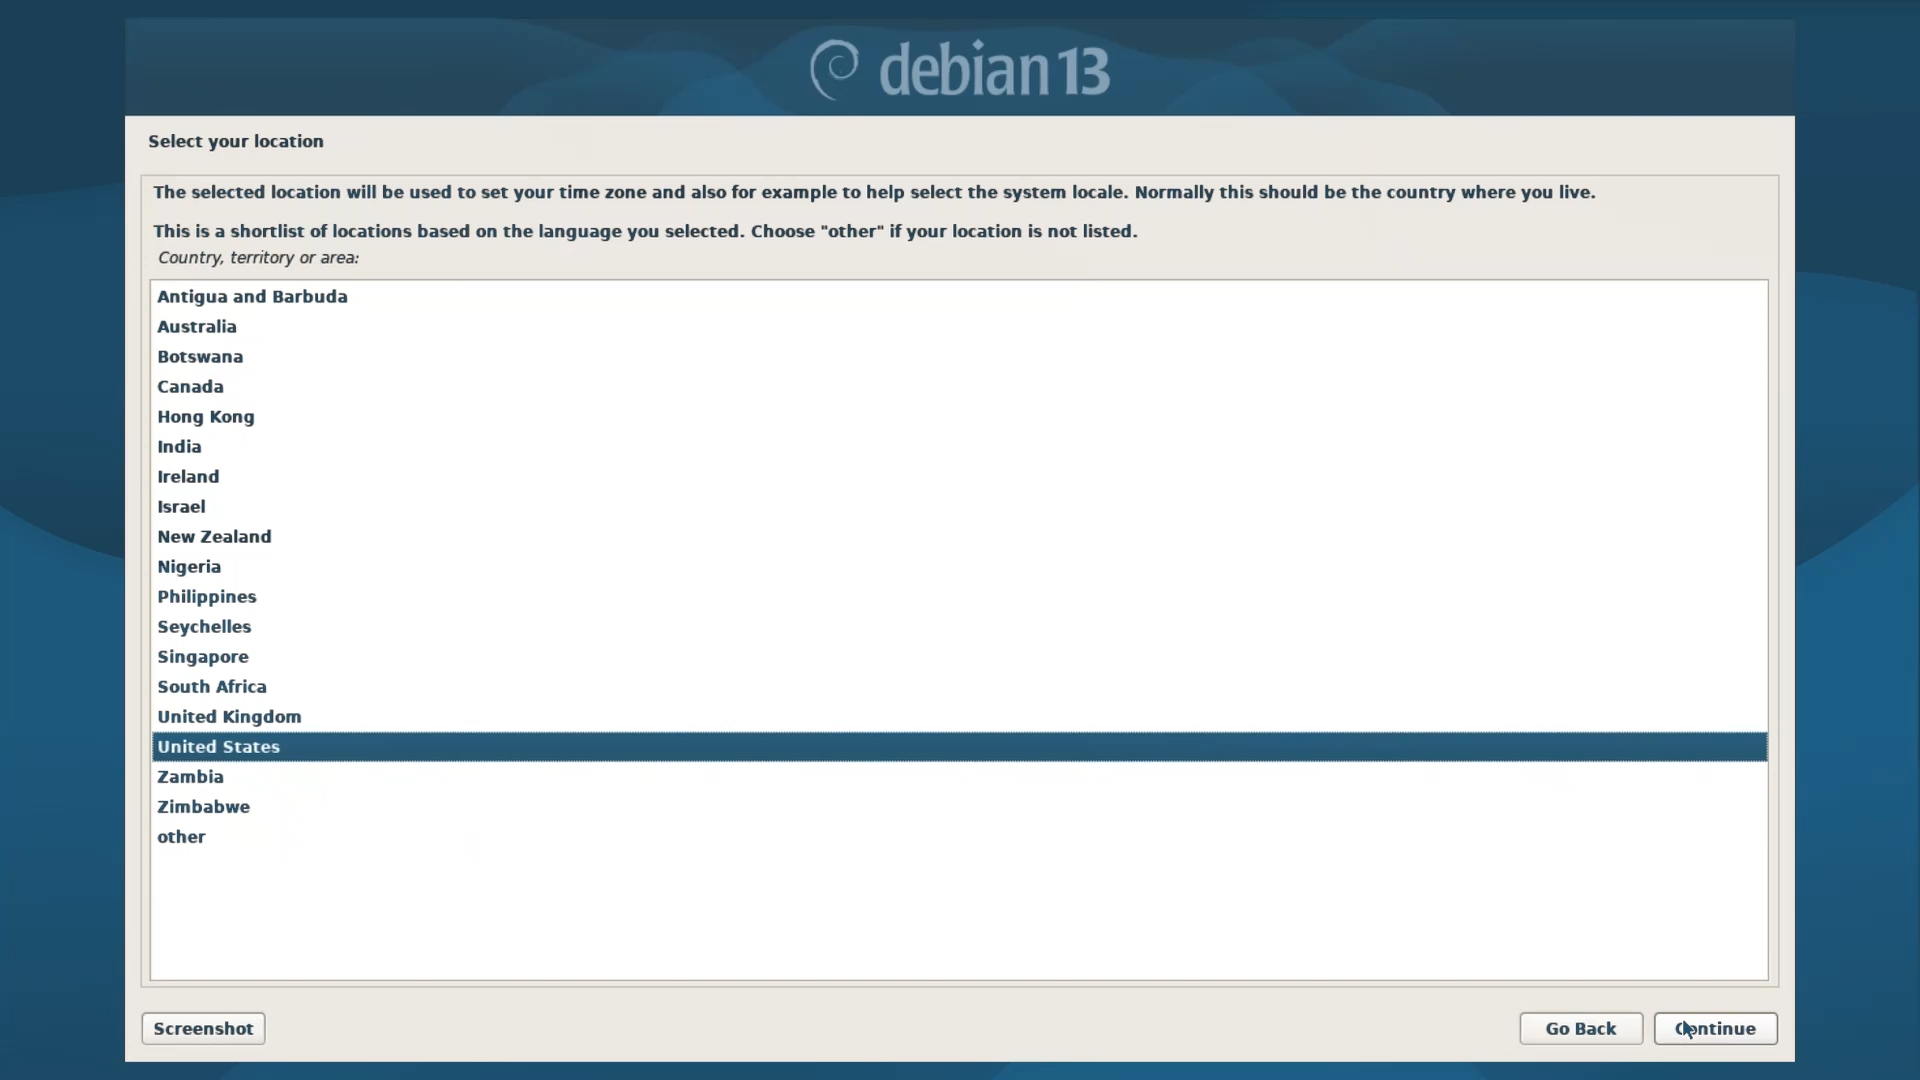
In this step, select a location from the list. Meaning the country where you live.
Step 3.3 - Keyboard Configuration
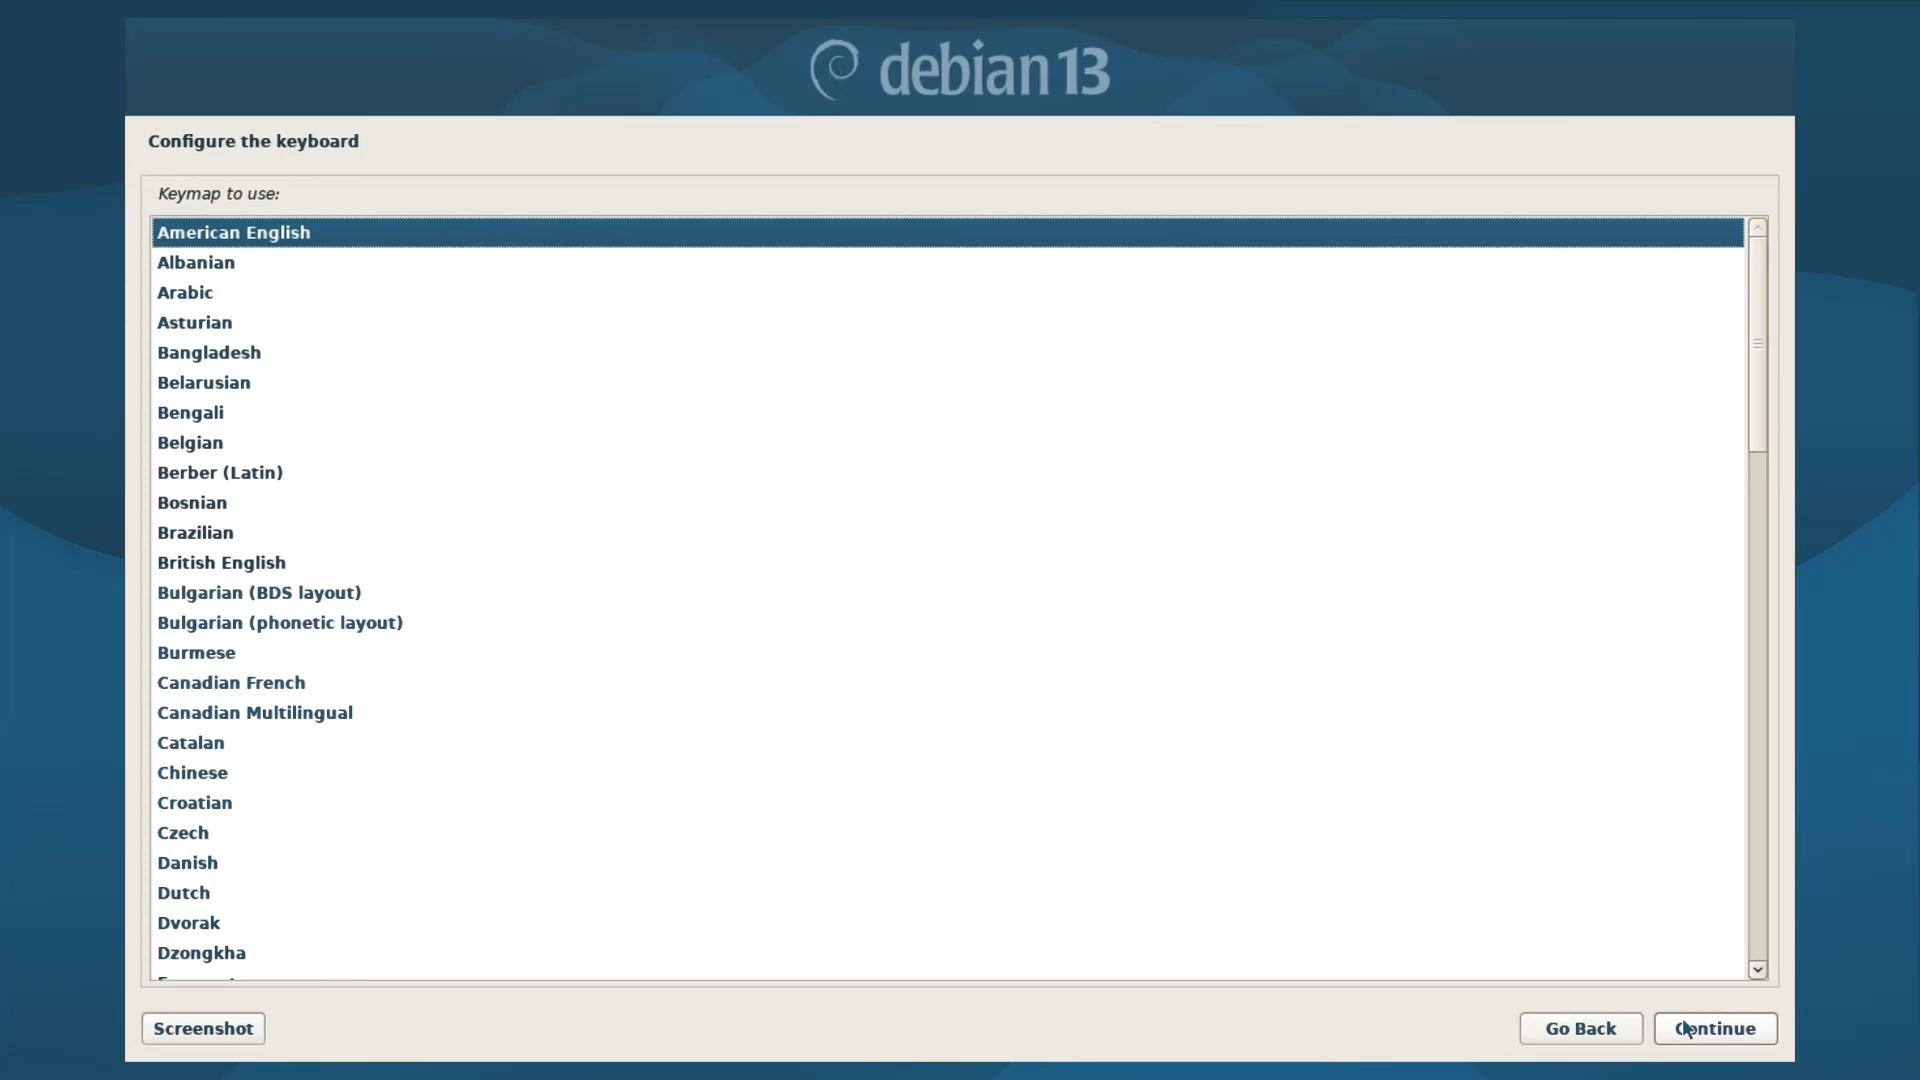
Here, you have to select a Keyboard layout of your preferred language. If you have an English QWERTY Keyboard, like the majority of people, then American or British English will be alright.
Step 3.4 - Auto Hardware and Network Detection
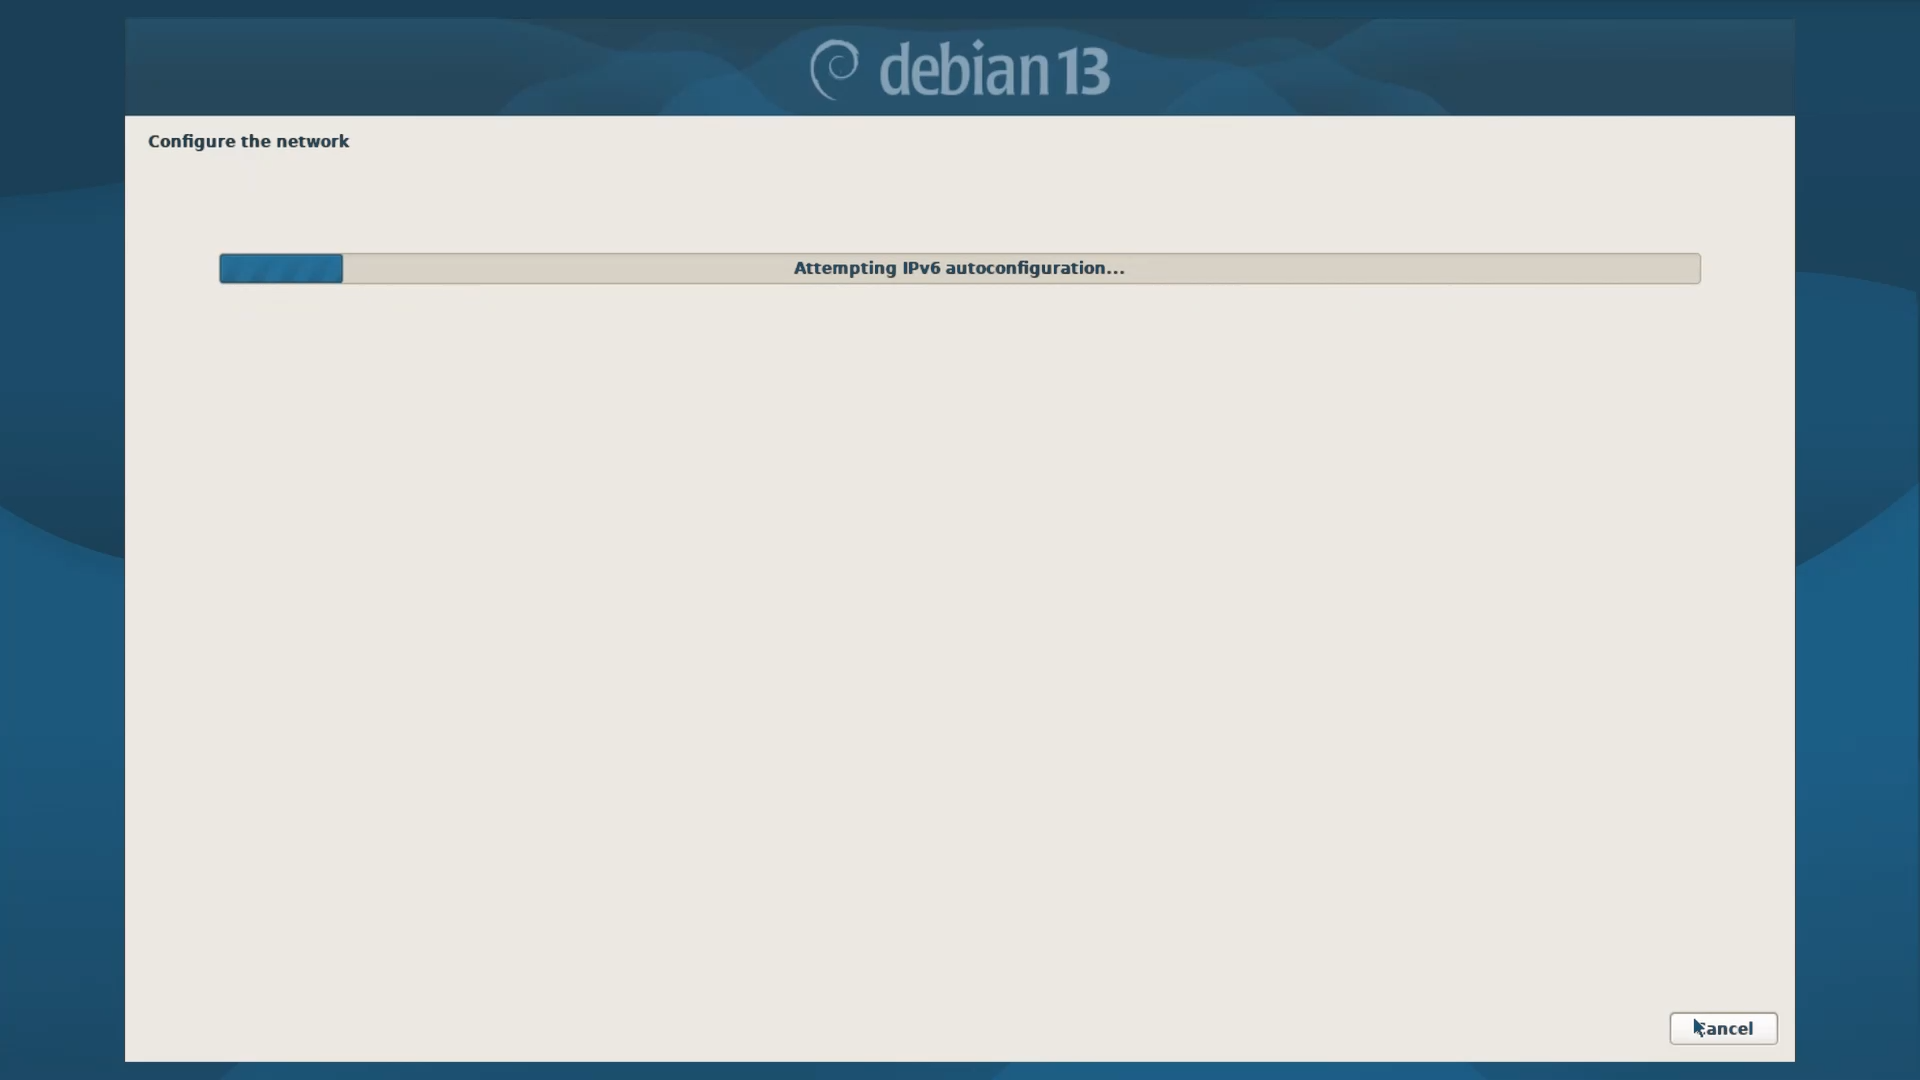
After Keyboard configuration, the Installer will automatically load additional components, detect and set the Hardware and Network Configuration.
Step 3.5 - Hostname Configuration
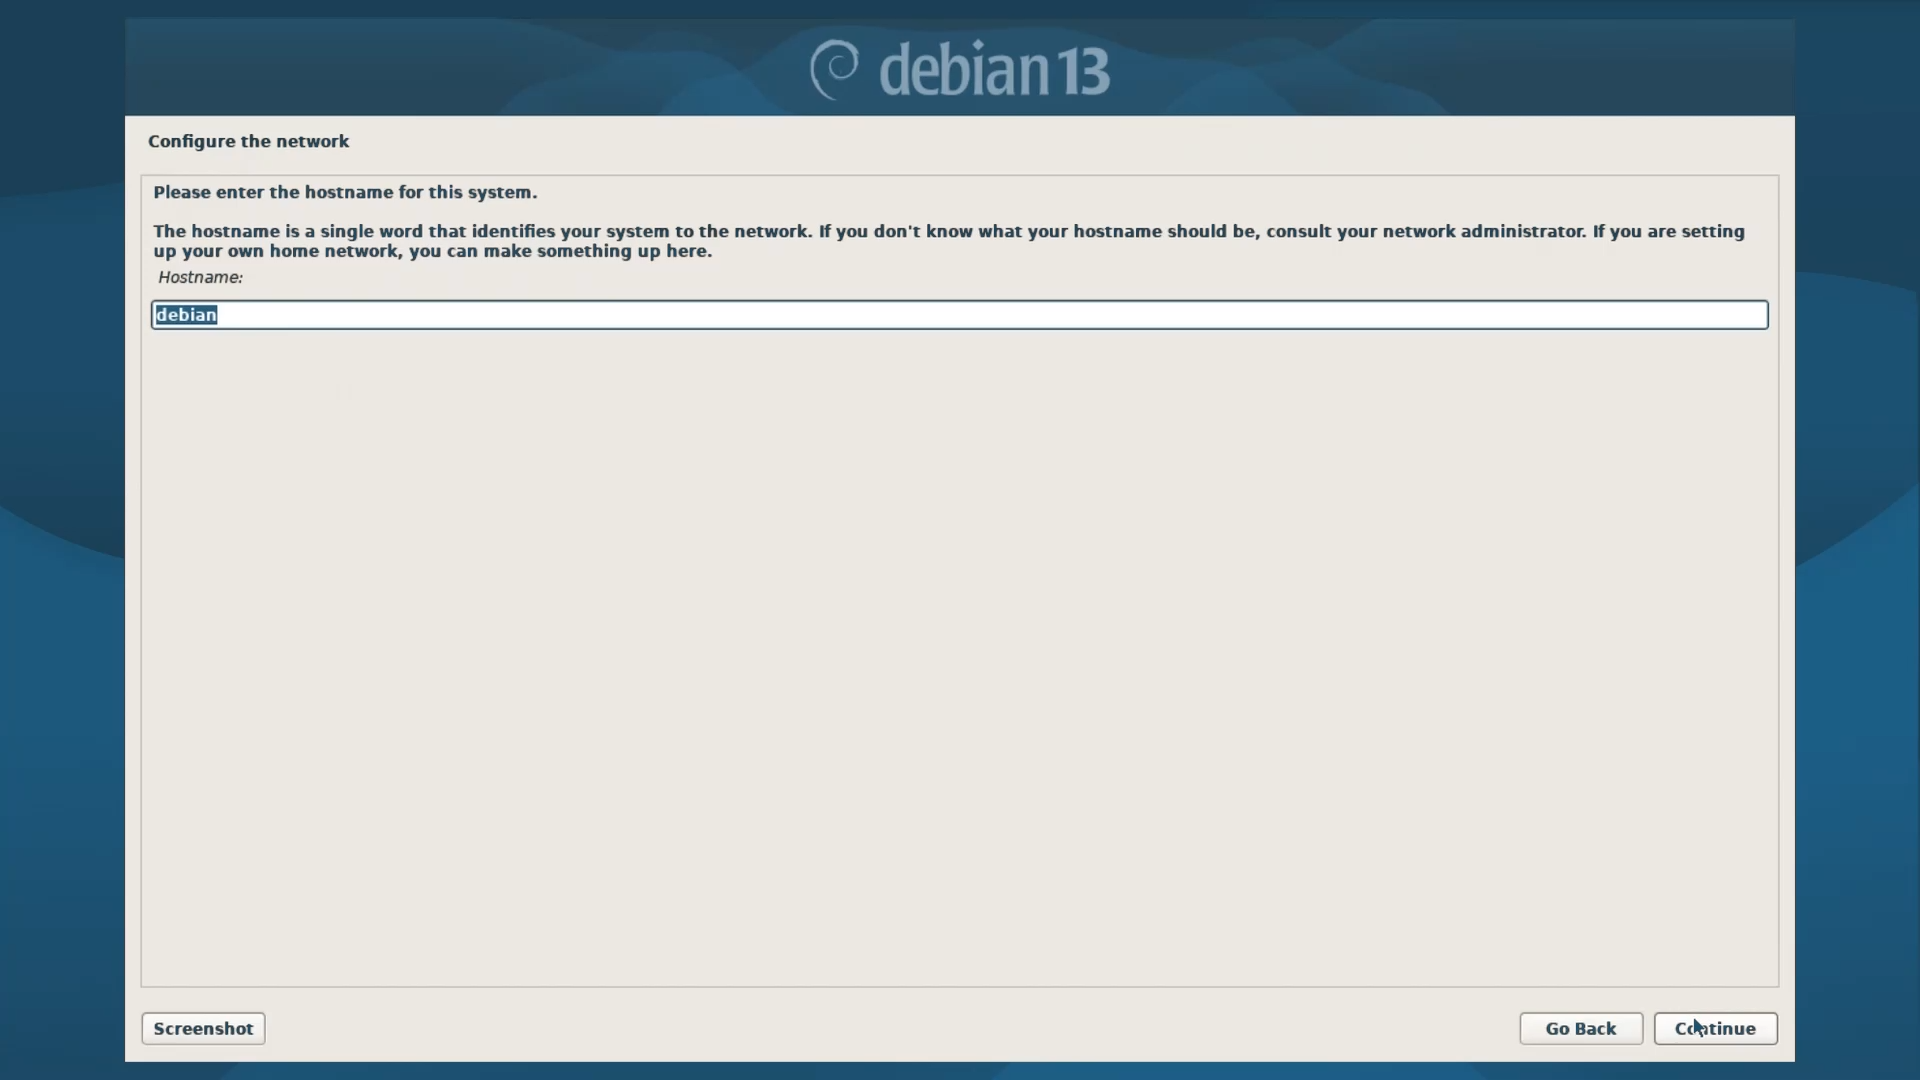
In the next step, the Installer will ask for a hostname. By default, it is always “debian”, which is perfect for most people most of the time, but you can change it if you want.
Step 3.6 - Domain Name Configuration
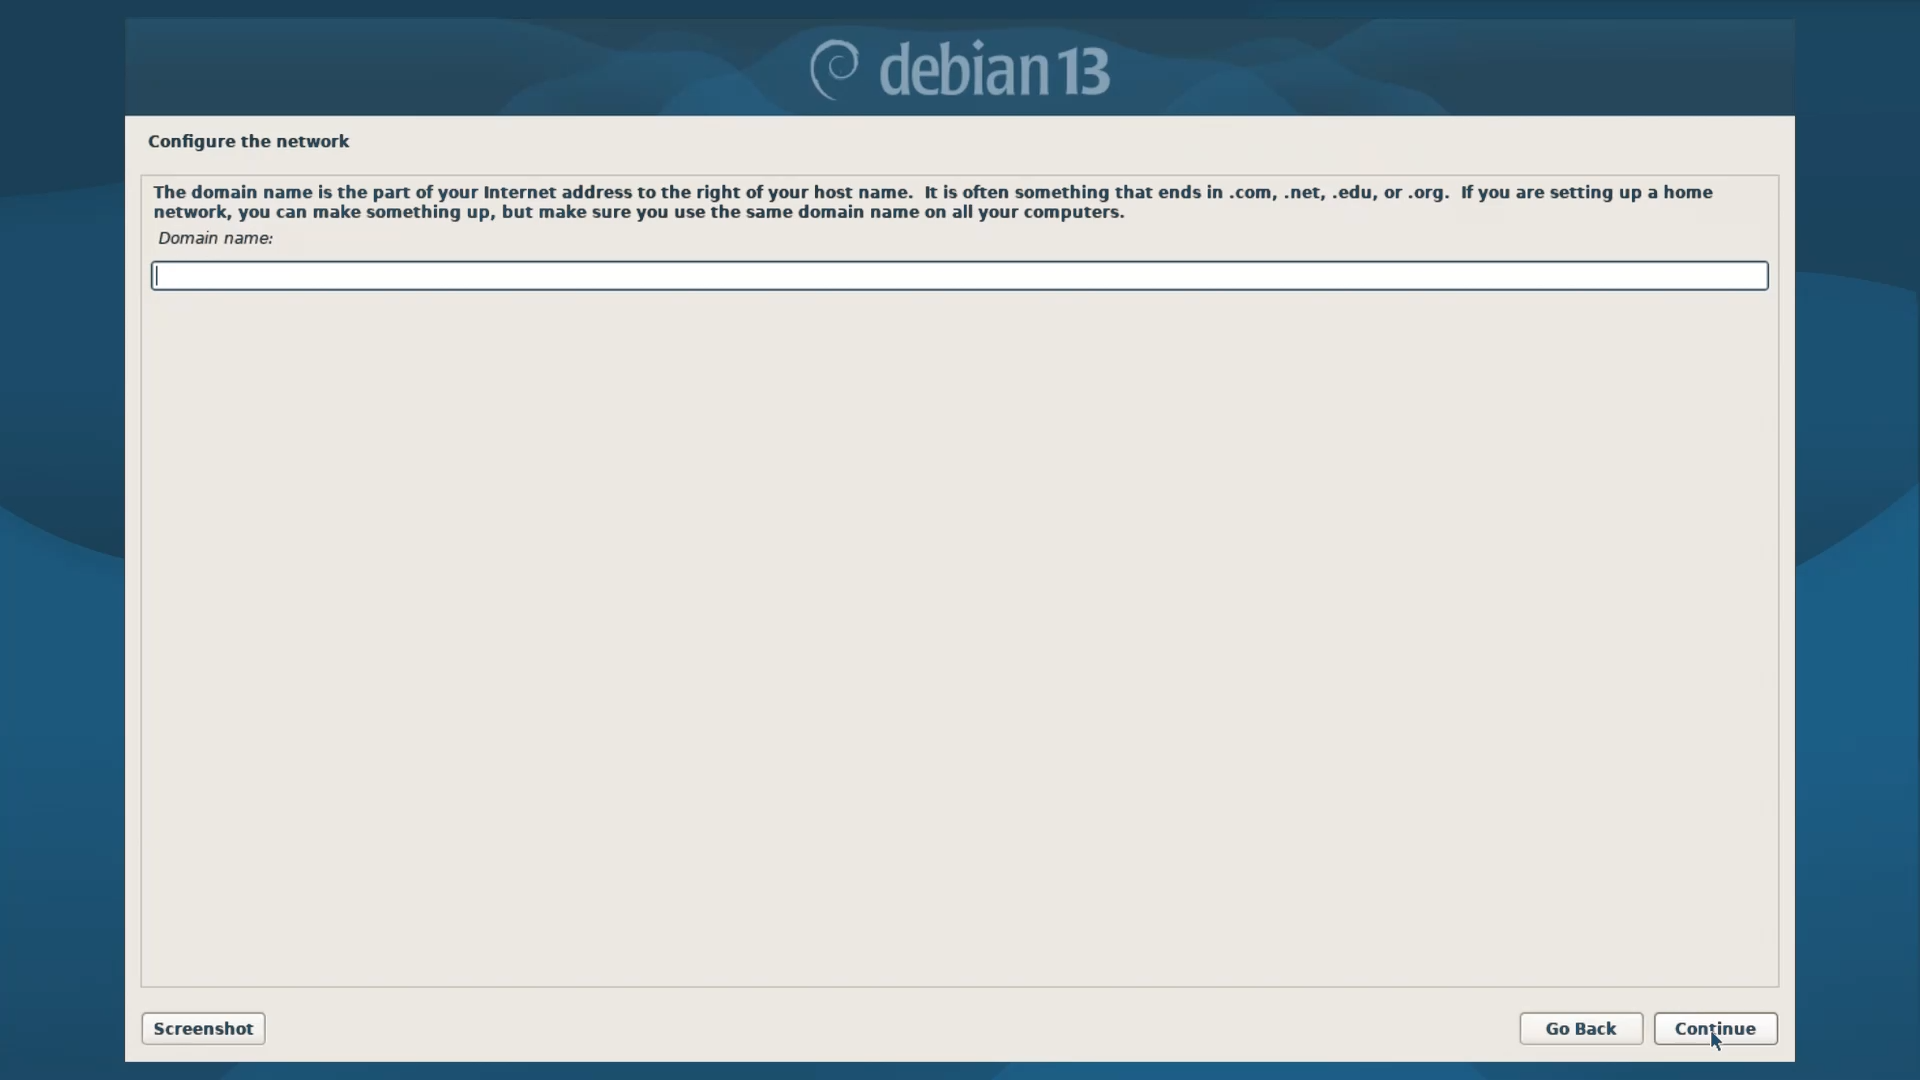
In this step, the Installer will ask to set up a Domain Name. Which is not necessary for ordinary users like us; therefore, you can leave it blank.
Step 3.7 - Root Account Password Setup
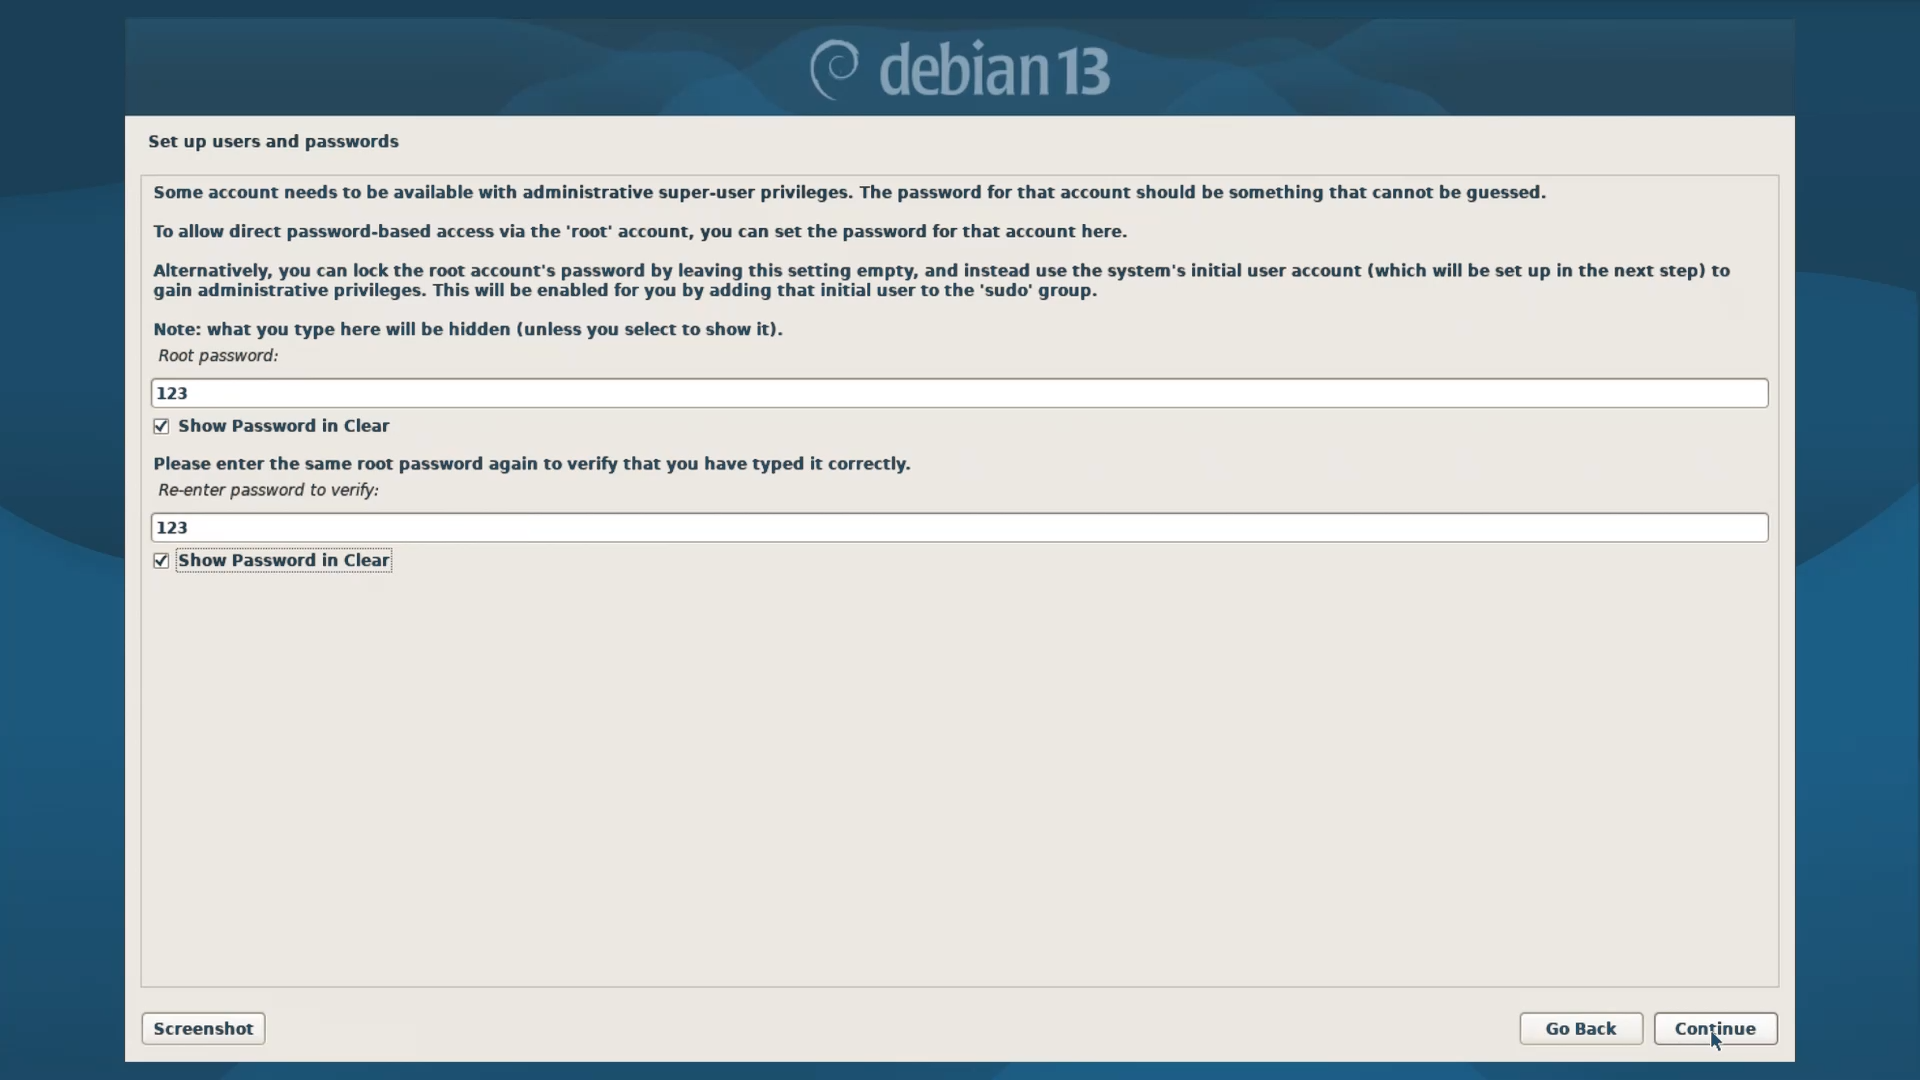
In this step, create your Root Password. Always use a Strong Root Password consisting of at least 12 characters that include a mix of uppercase and lowercase letters, numbers, and special symbols. And avoid using easily guessable information like names or common words.
Step 3.8 - User Account Creation


Here, you have to create a new user account. The reason behind this is that using the root account for everyday tasks is not advisable for security reasons. You can use your own name or anything that you relate to. After entering the Username, the installer will again show your Username in Lower Case. If it looks good, continue forward.
Step 3.9 - Create Password for New User Account
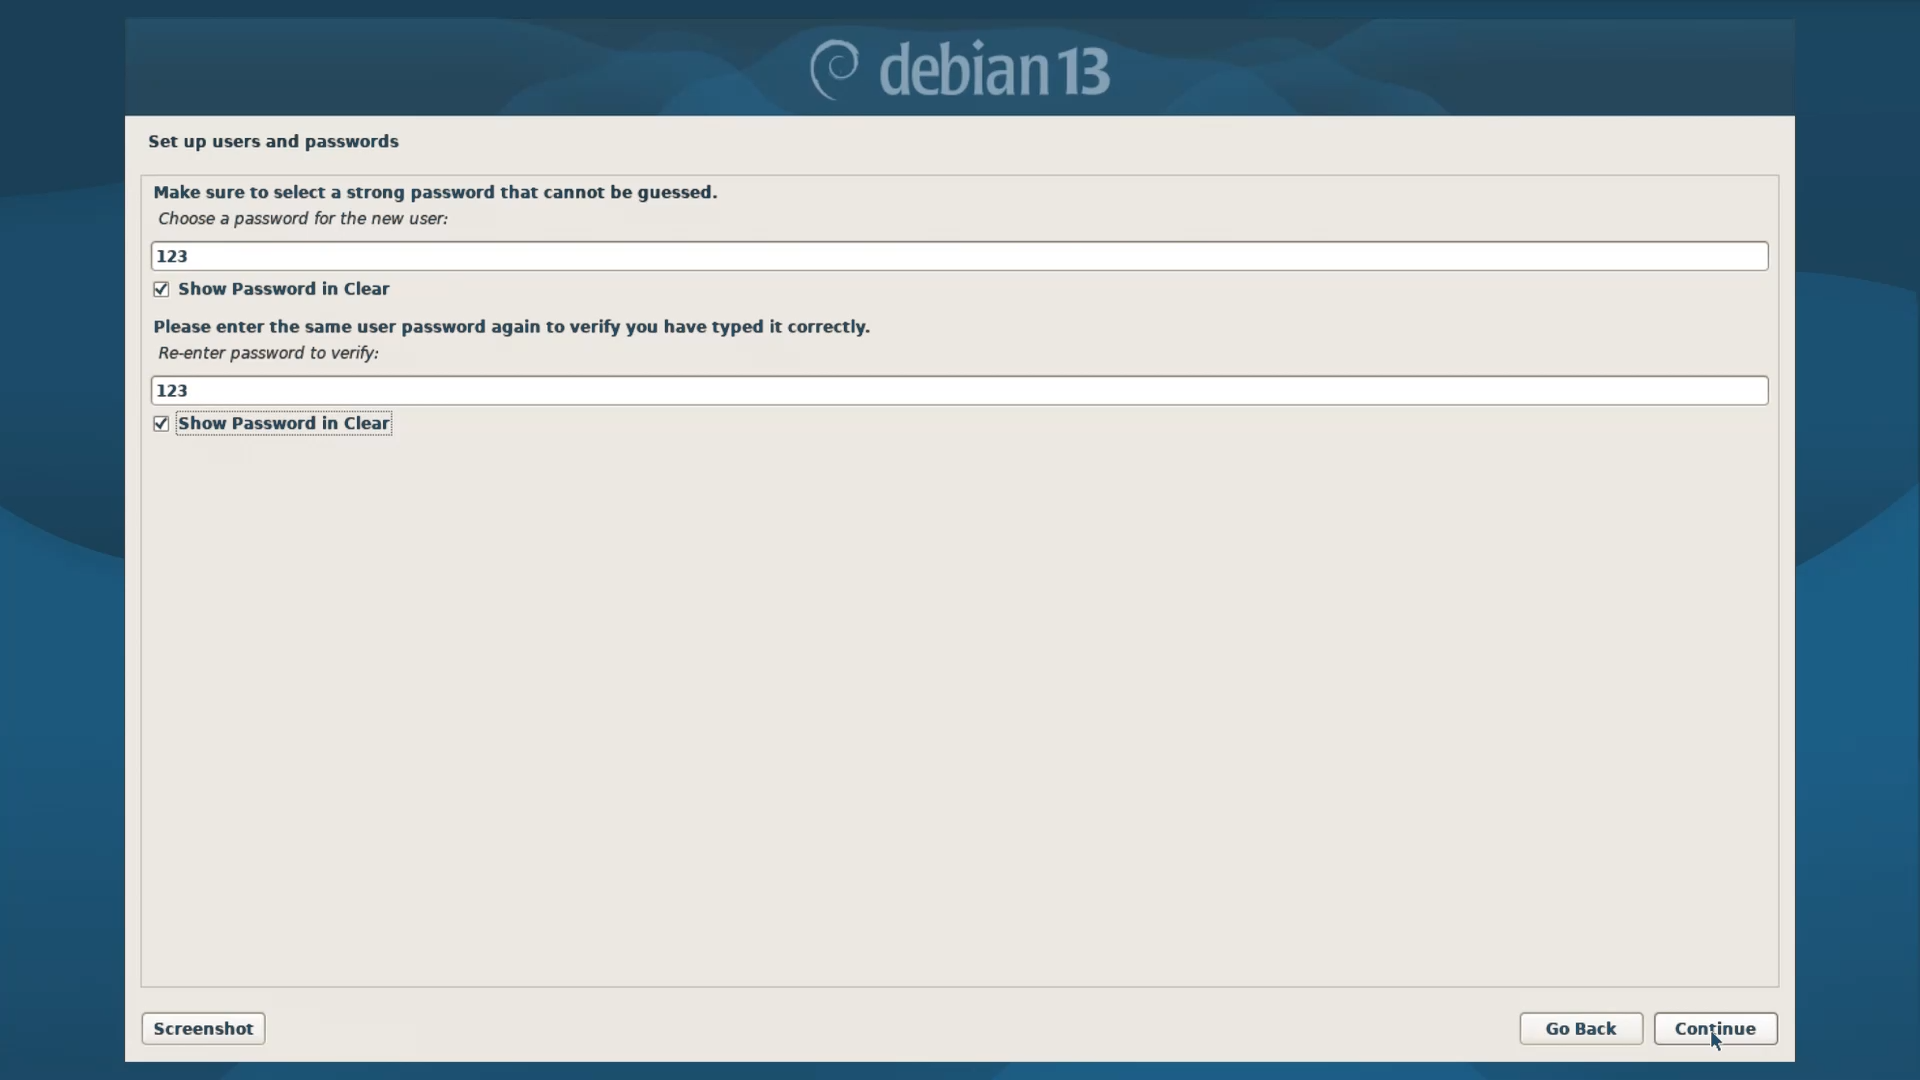
In the next step, create a password for your newly created user account. You can use the same password as the root account. But if someone else is also going to use your system, then it’s better to use a different password.
Step 3.10 - Disk Partitioning

After creating a User Account Password, the Installer will automatically set up your System time and clock and start the Partitioning process, where Disk partitioning for the system needs to be done. If you are thinking of dual-booting, then go with the Last Option, which is manual. But for beginners, I will only recommend the first option, that is “Guided - Use Entire Disk”.
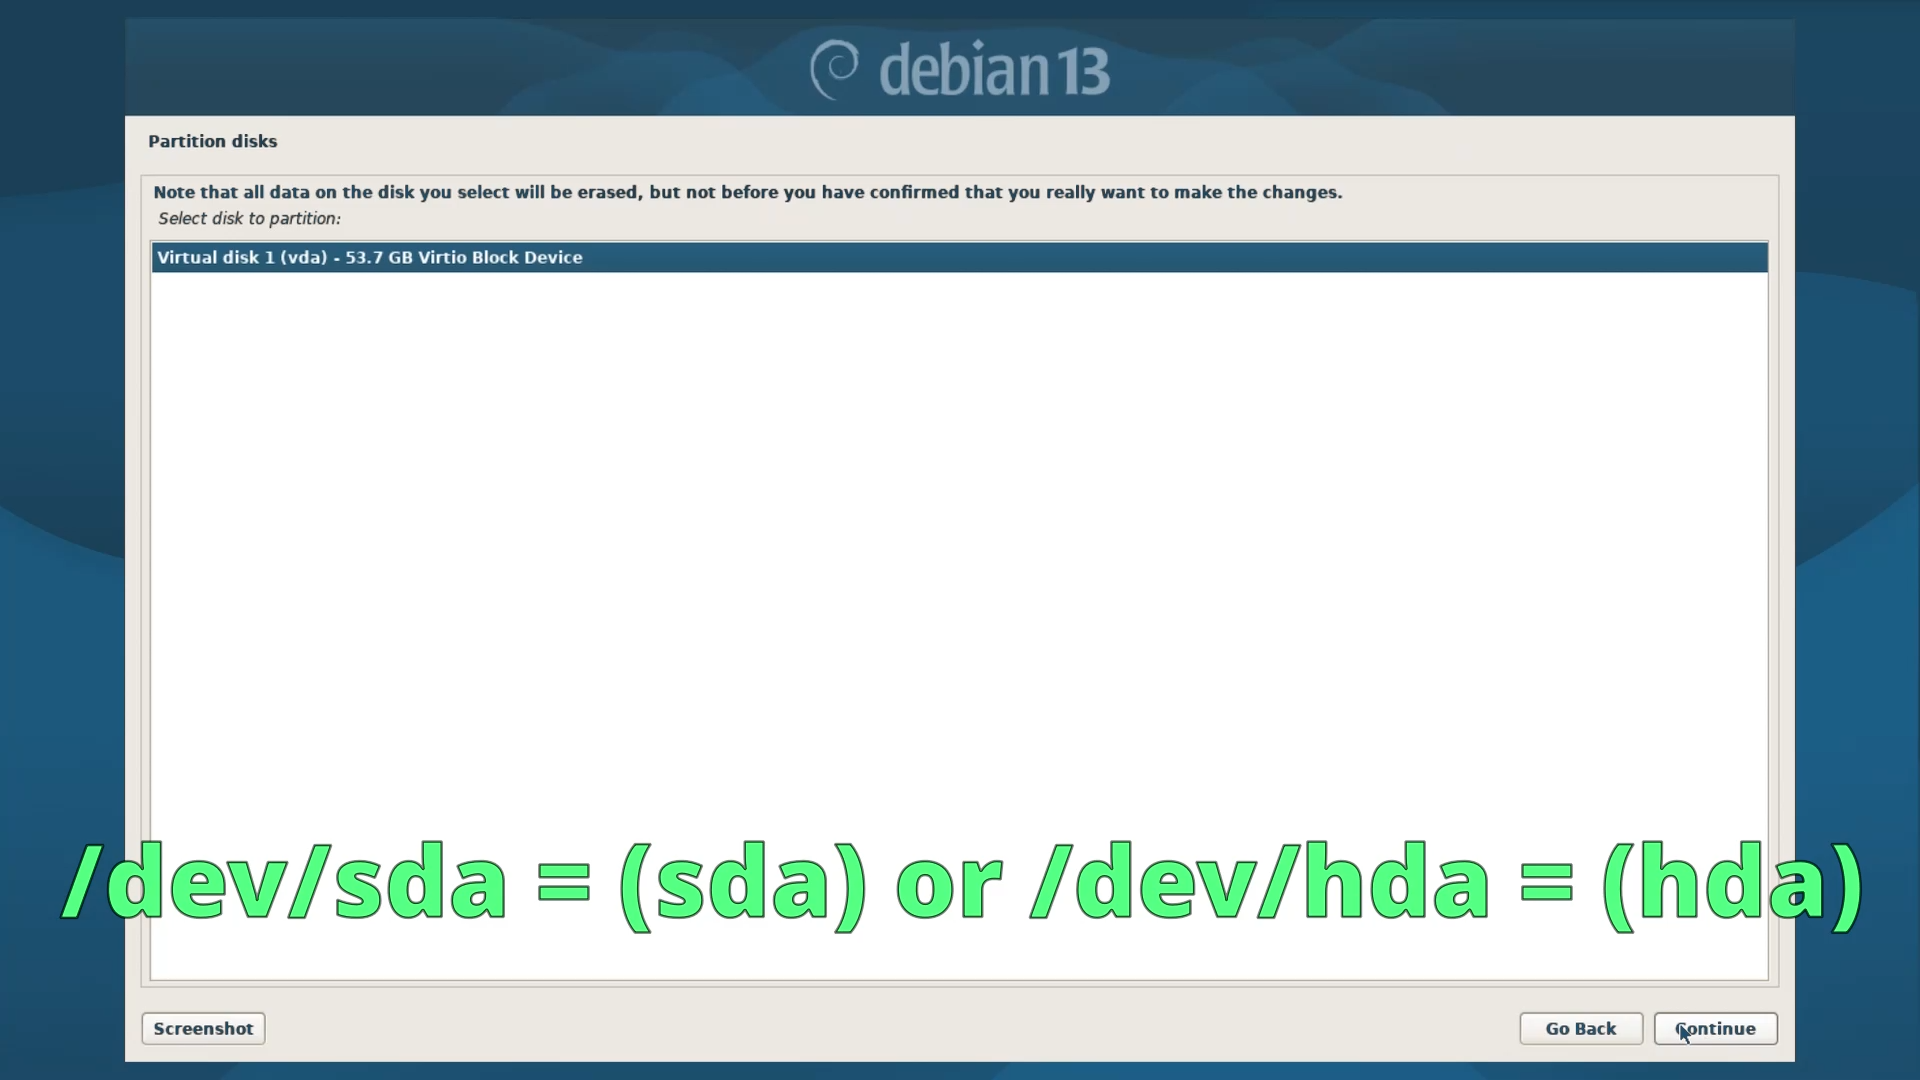
In this Section, the first thing to do is select your Disk drive. In the case of a Virtual Machine, it might show only one “vda” disk. But in the case of a real machine, there might be multiple disks and they will be listed as “sda”, “sdb”, and in some cases, they can be listed as “hda”, “hdb” and so on. But there is nothing to worry about because they all function the same. So select your listed disk and continue.
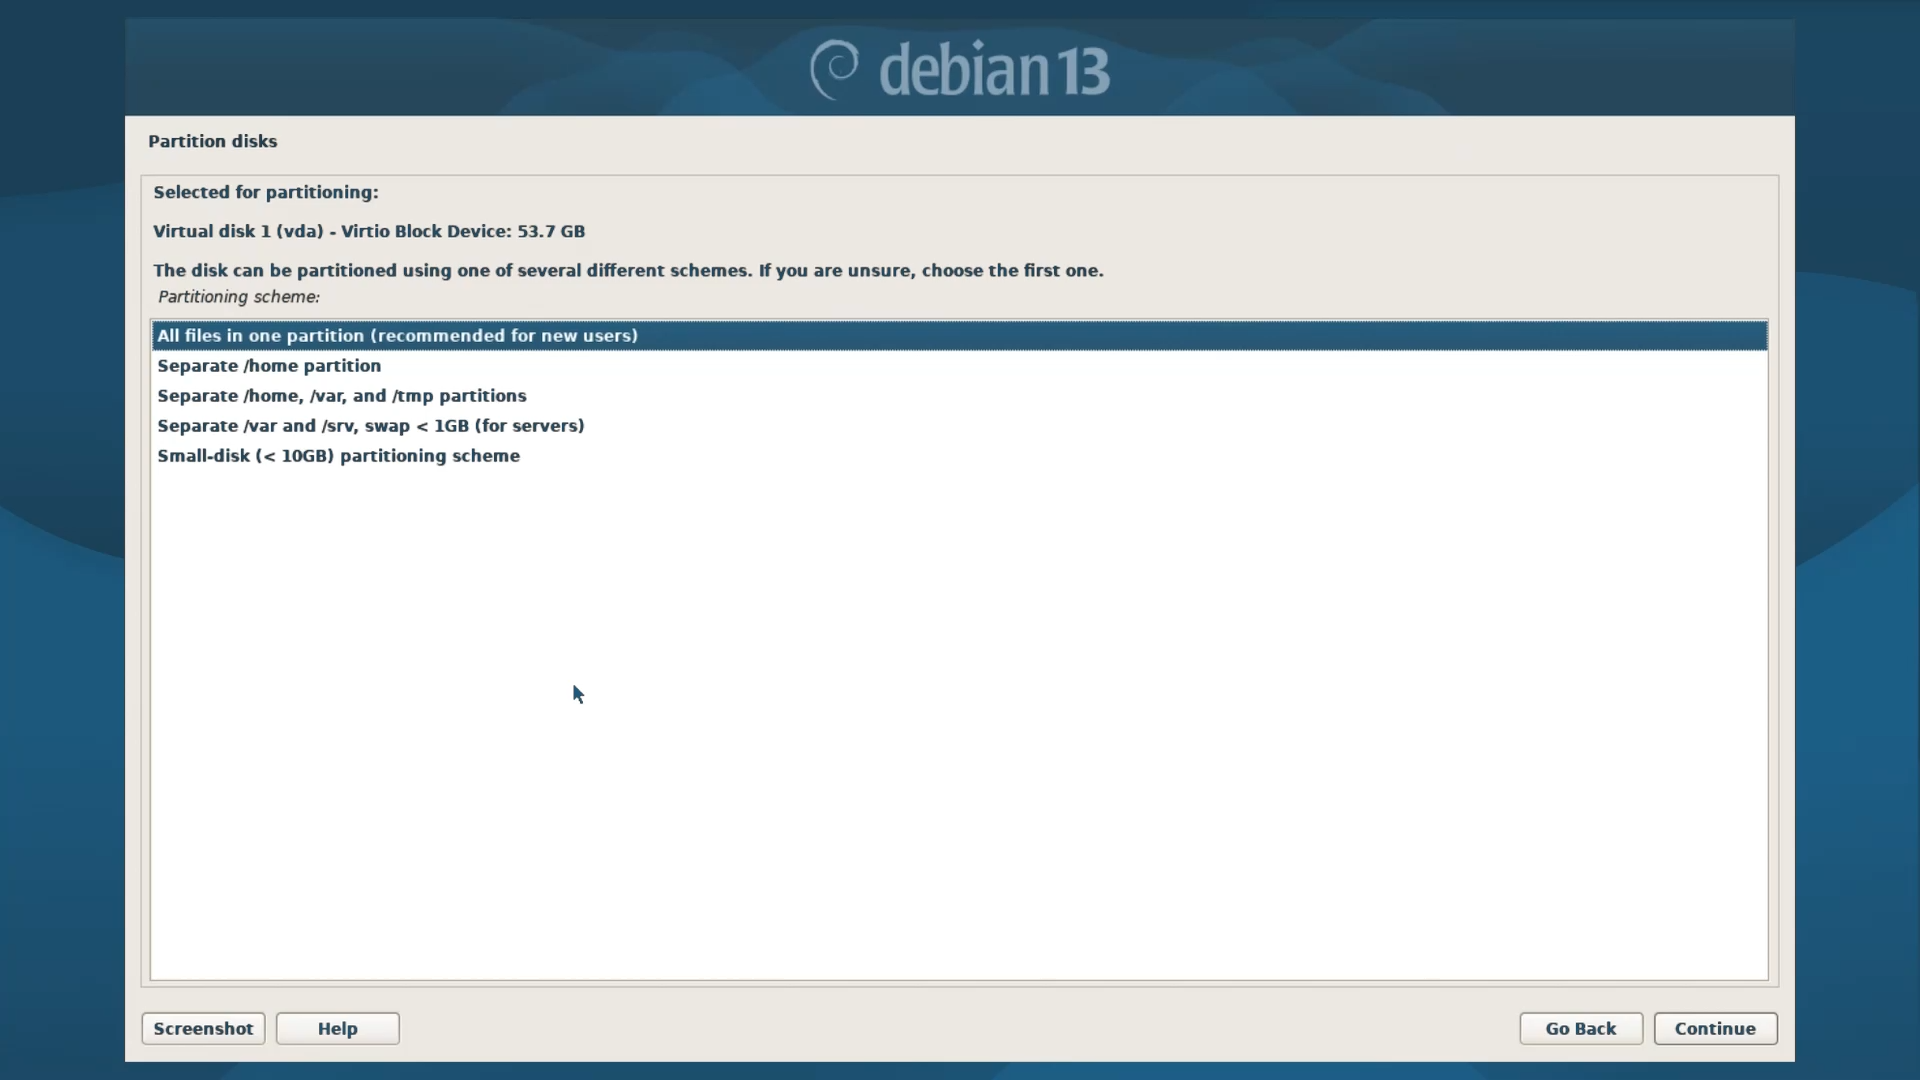
Next, after selecting a disk, there will be five options. The first option, which is “All files in one partition”, is generally recommended for everyone. But if you are someone who has already used Linux in the past and has a habit of distro hopping, then you can go with the second option, which is “separate /home partition”. But in my opinion, options two to five are way overkill as well as complicated for any beginner, so it’s better to skip them and go with the first option.
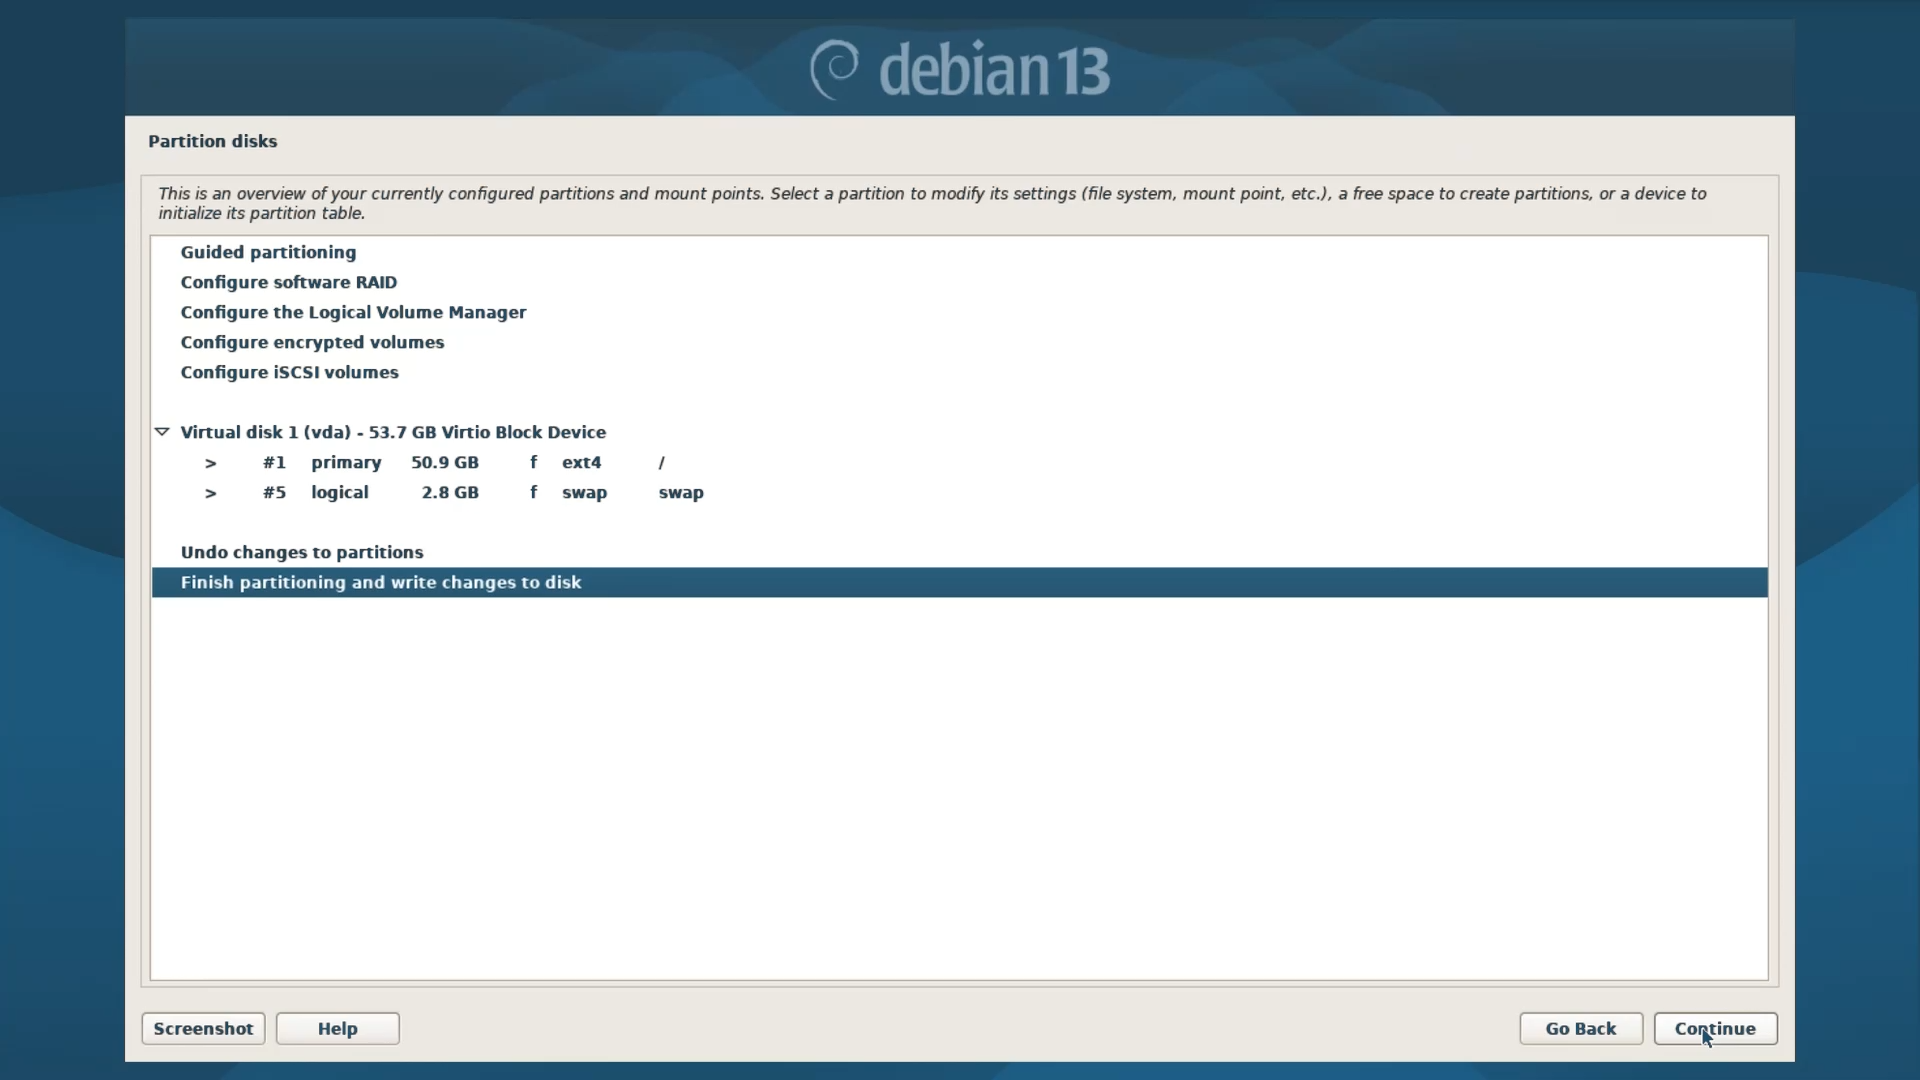
Once you select the first option, the installer image will automatically create two partitions. The first one is the boot partition, and the second one is the Swap Partition, which acts like a secondary RAM for a Linux System. Now select the last option, which is “Finish partitioning and write changes to disk”, and then continue and finally YES to write changes to disk. This will format the disk and install the base system.
Step 3.11 - Package Manager Configuration
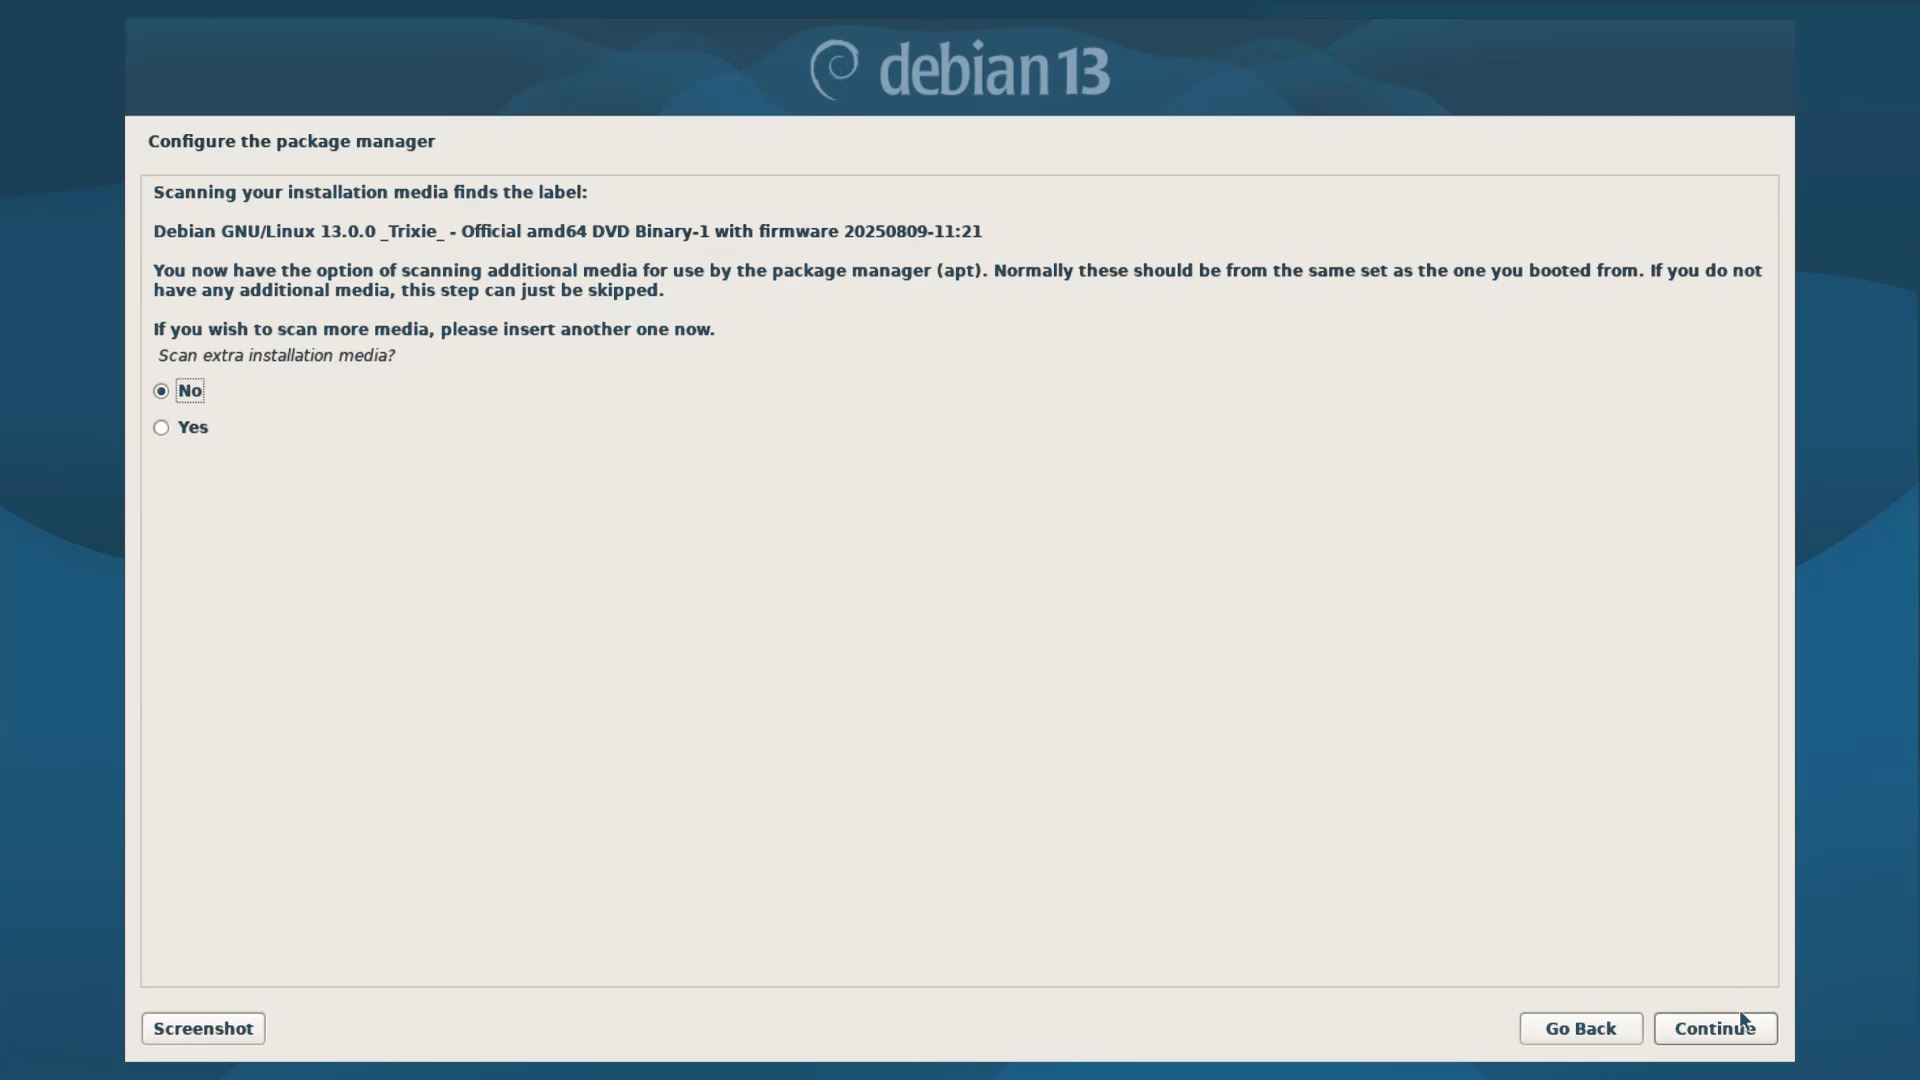
Here, the Installer basically ask if there are any additional media disks available or not. Those who have installed Debian back in the days of CDs and DVDs will know that Debian used to come in a pack of 2 CDs. But now you can skip this one, with NO.
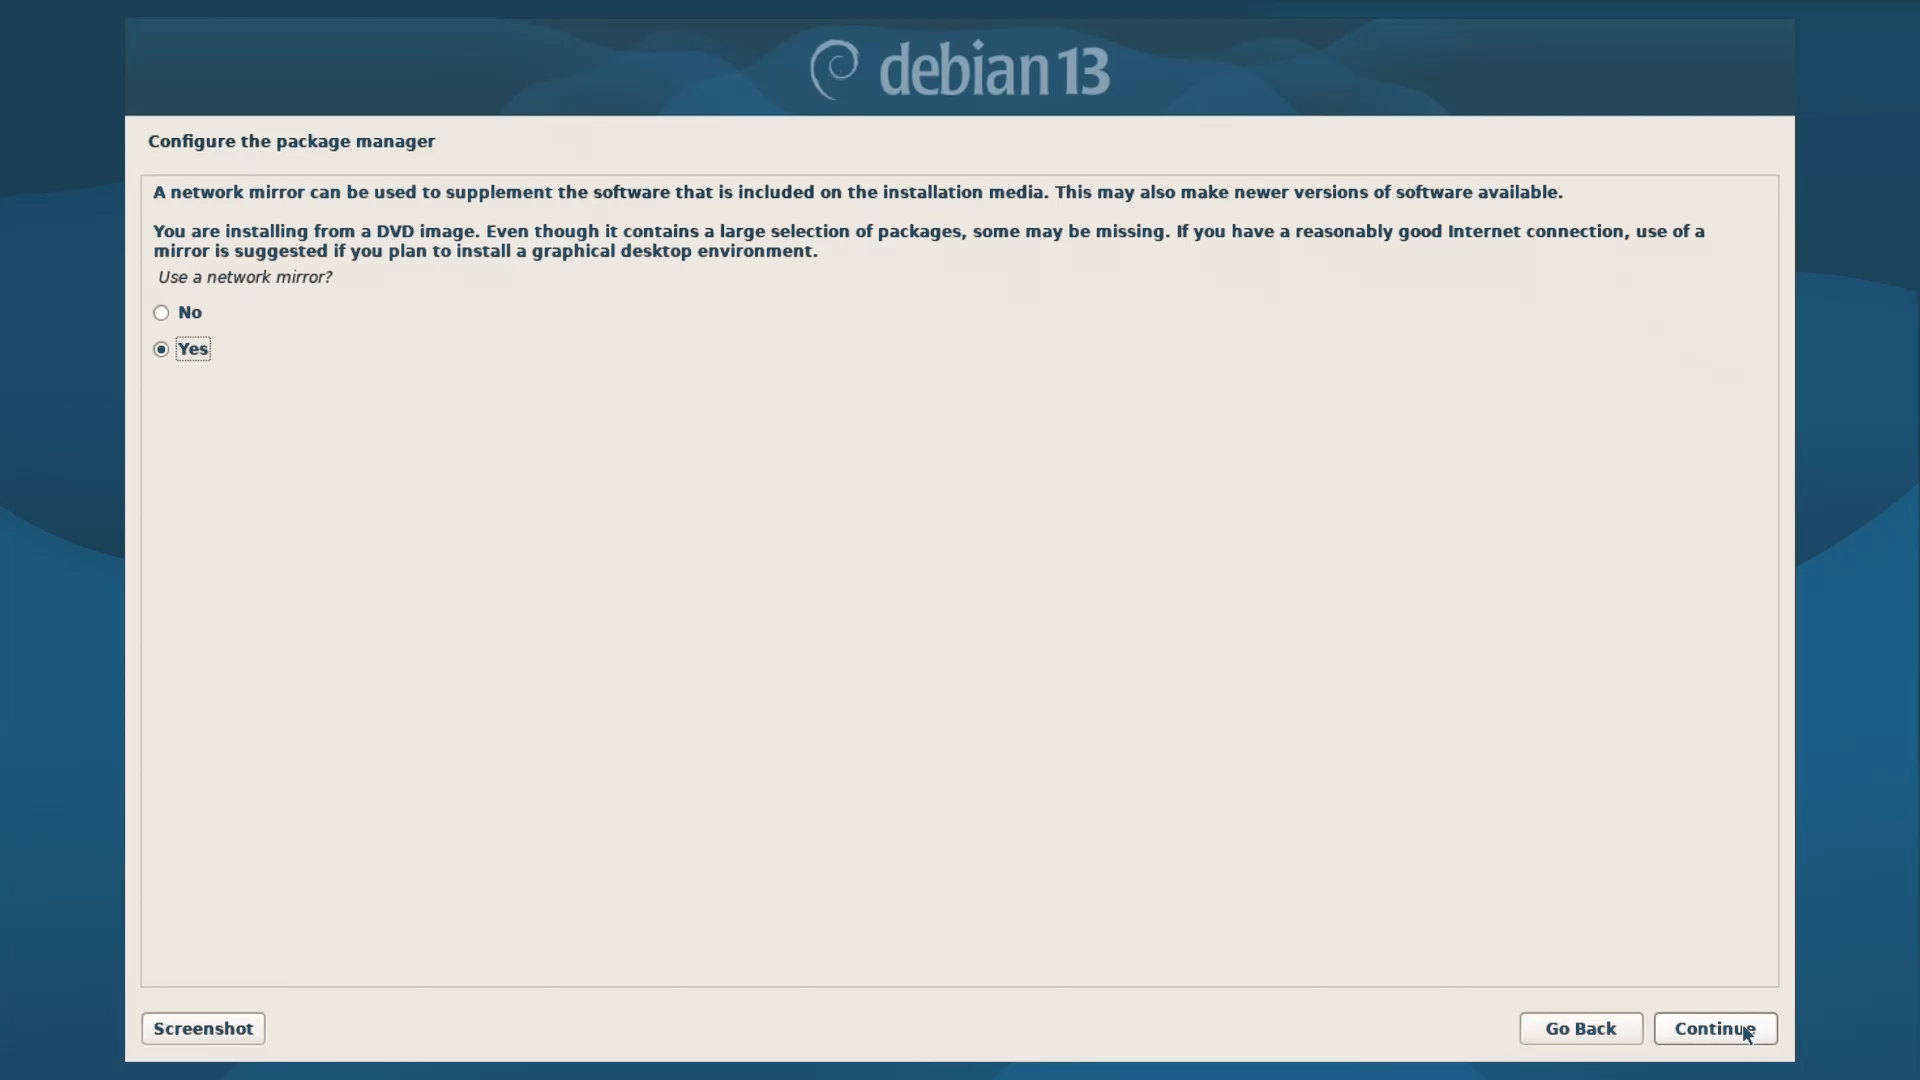
Next, it will ask if you want to install the package versions which are available on the Disk or if you want to update them. So select Yes because updated packages are always better.
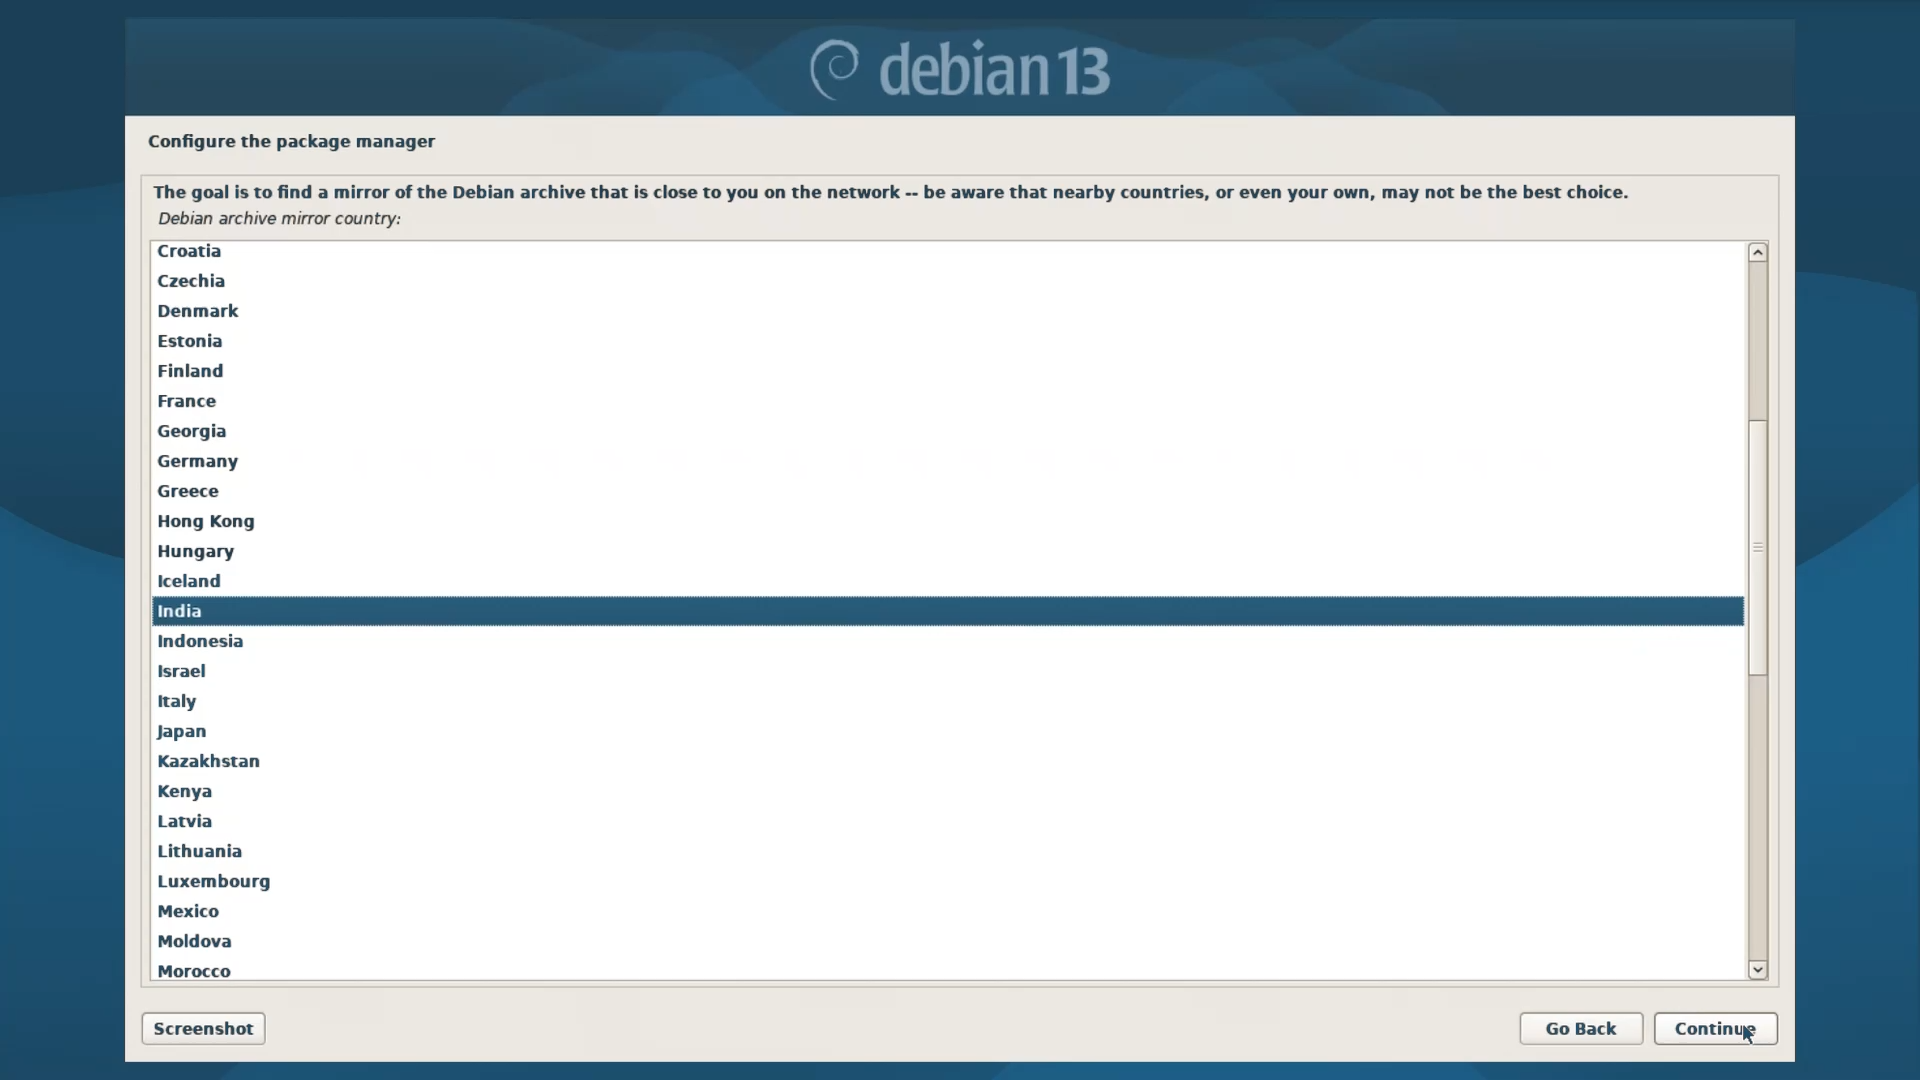
Then, in the Next section, it will ask to select a Package download mirror. Select your current location. But if you cannot find your location in the list, you can also choose any place which is closer to your actual location.
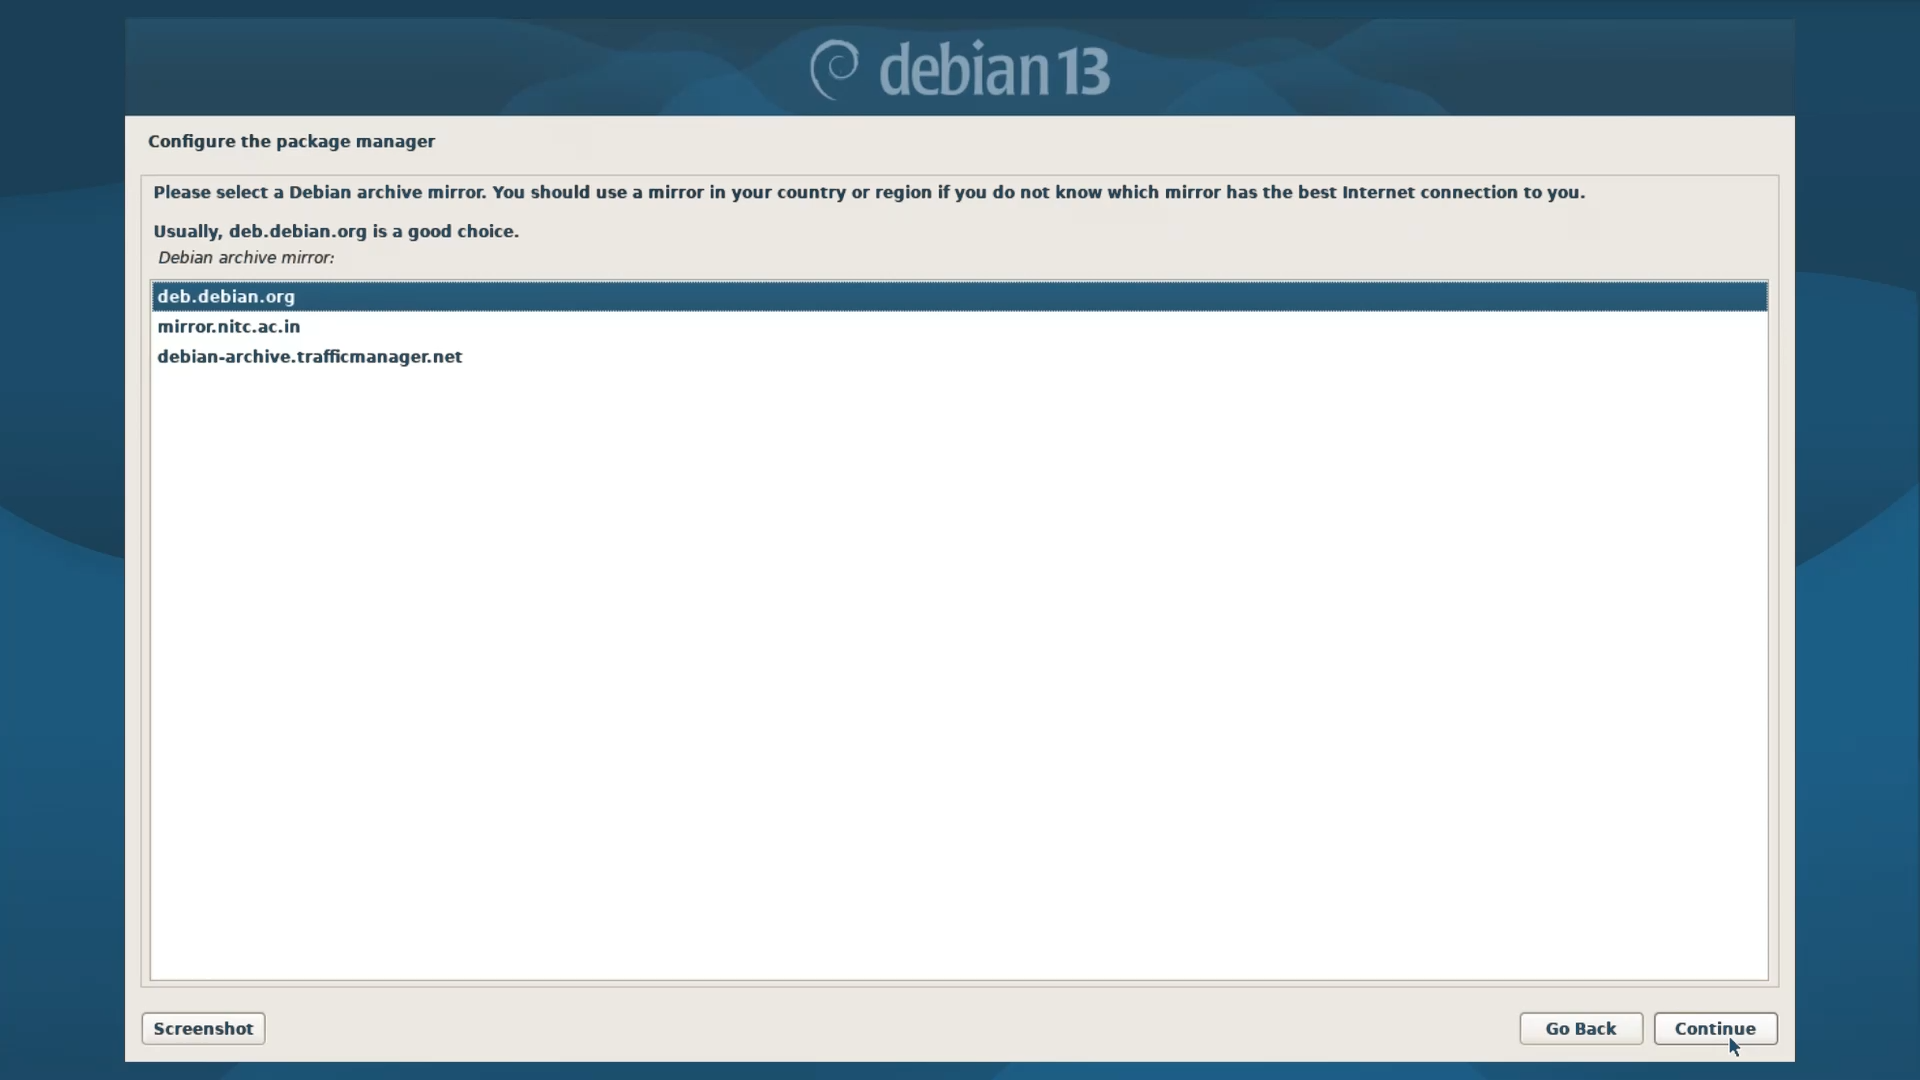
Then the installer will ask to select an archive mirror. If you are not sure about your archive mirror, then select the default one that is deb.debian.org, which performs the best.
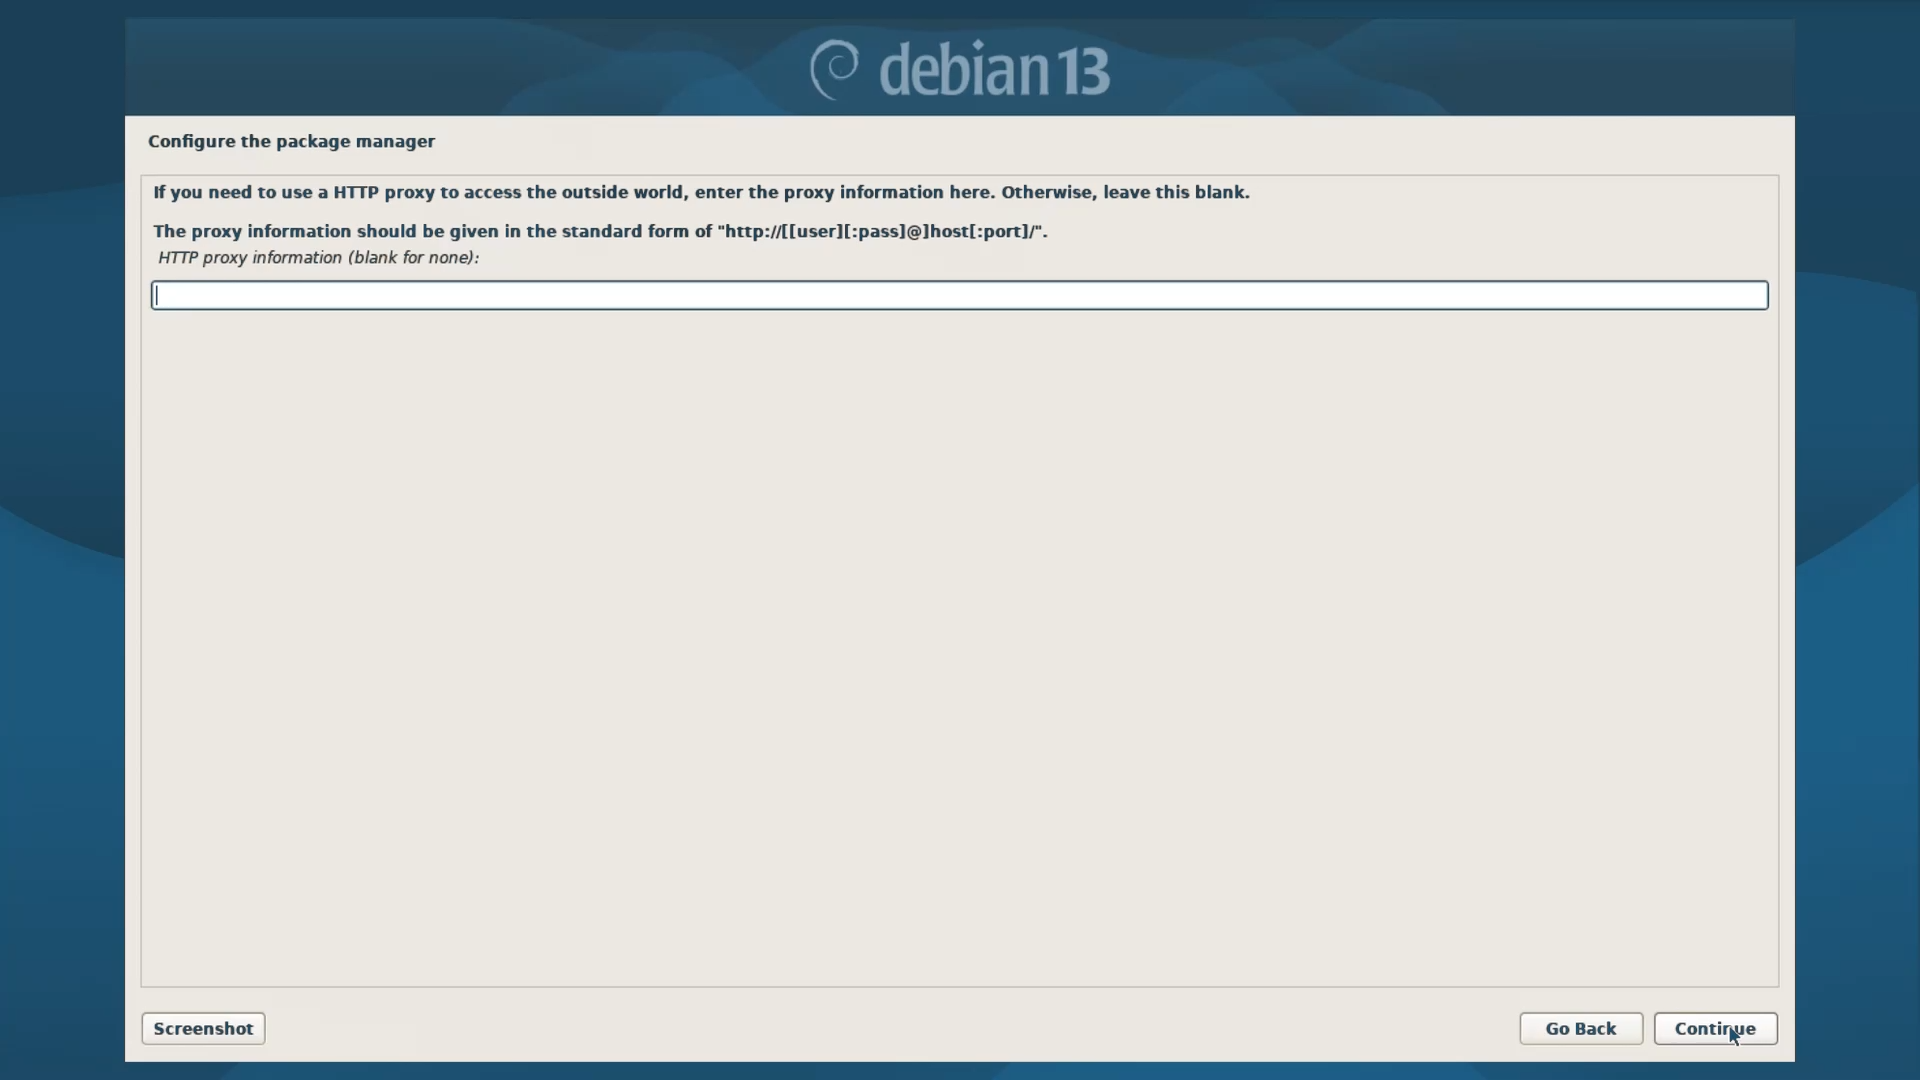
Next, Proxies are not necessary for an ordinary user, so leave this blank and continue.
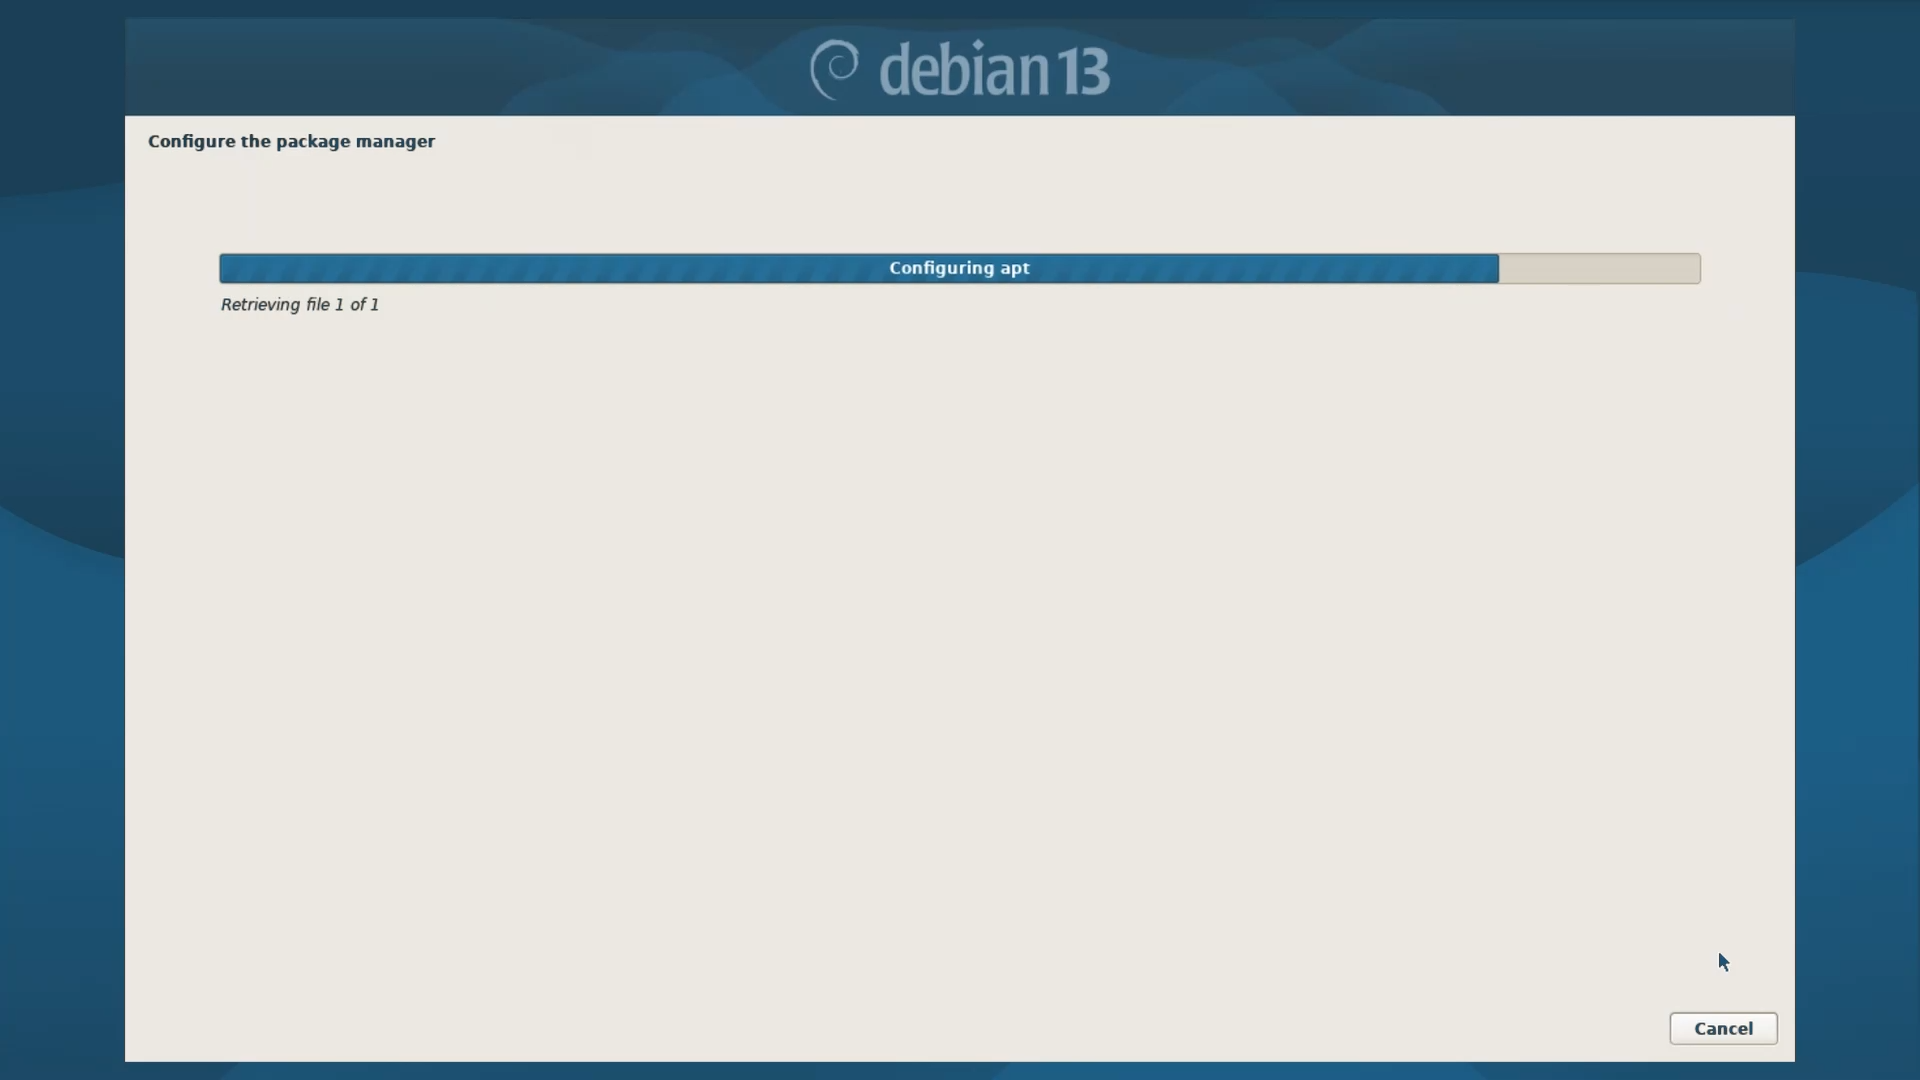
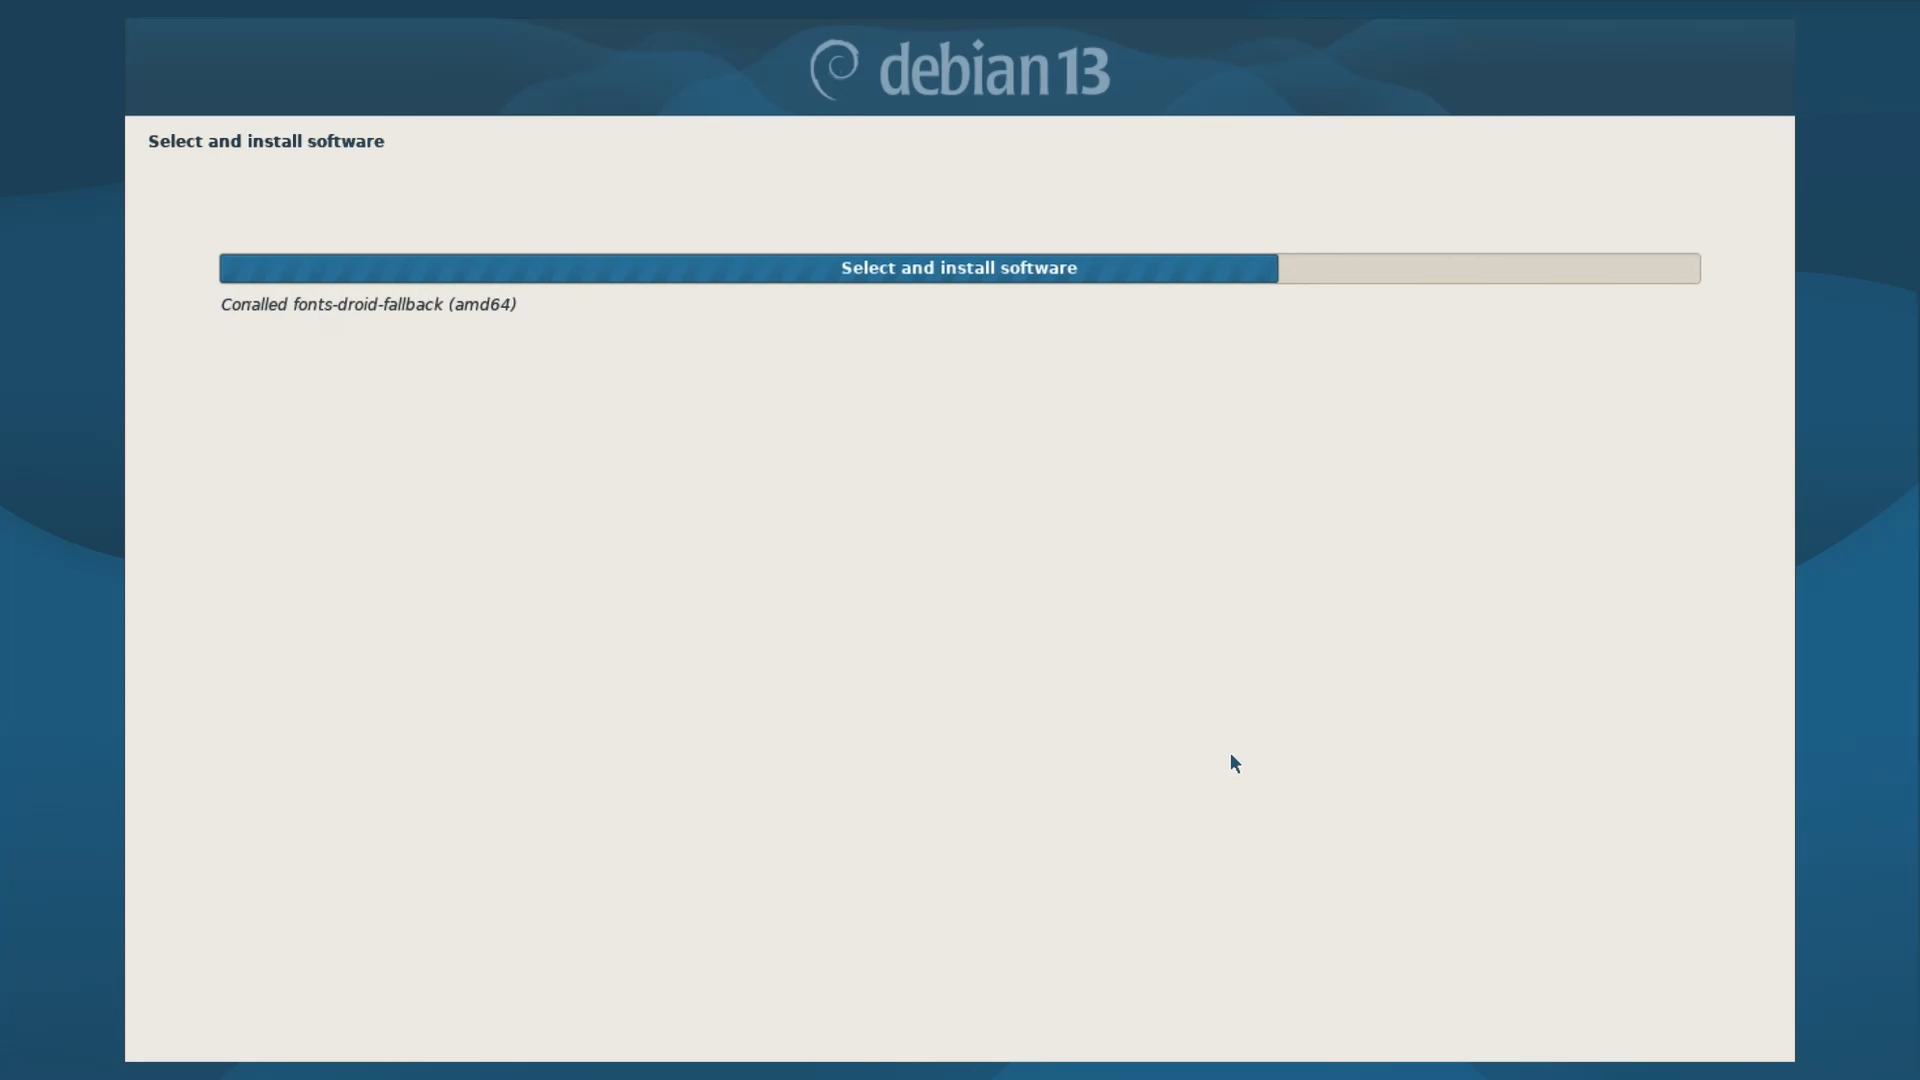
And once the Package Manager Configuration is complete, the ISO Image will start updating and installing the available packages. This updating Process might take a few minutes, depending on your internet speed.
Step 3.12 - PopCon or Popularity Contest Survey
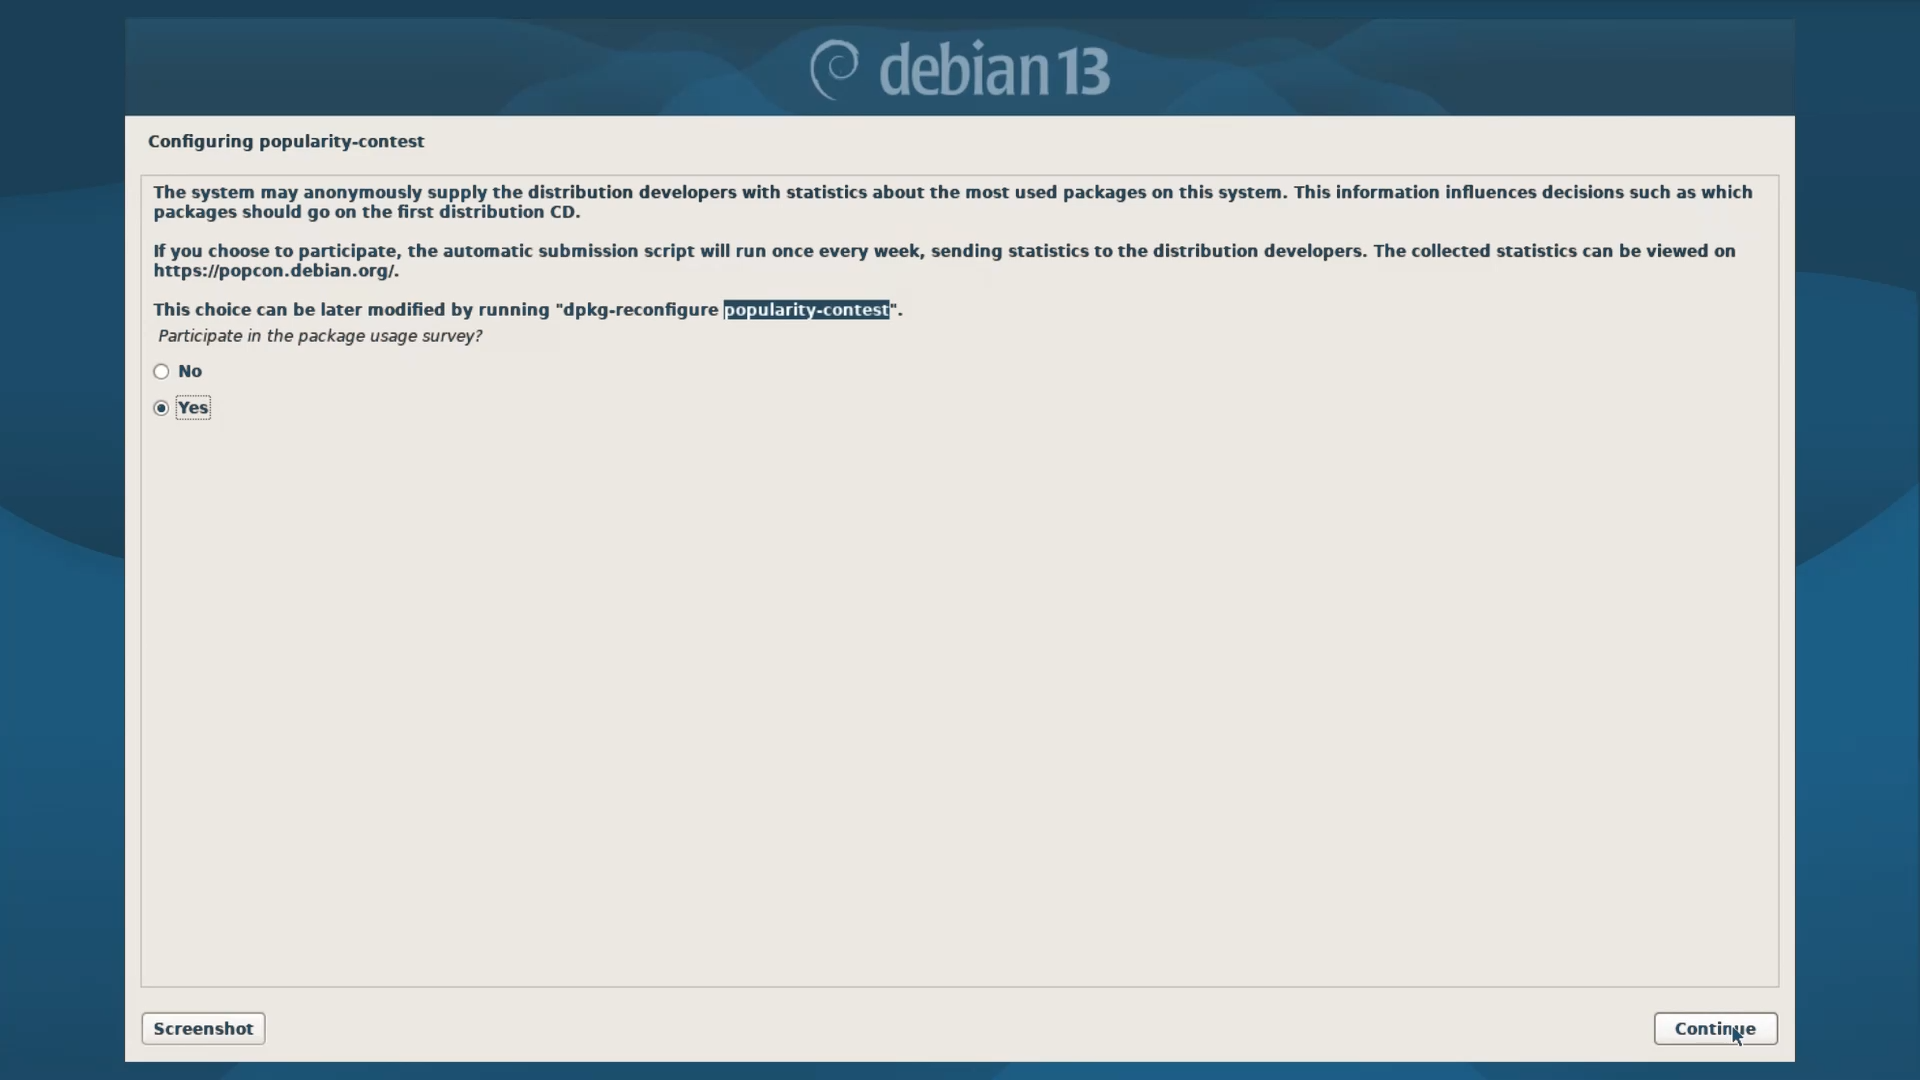
In this next step, the Installer will ask if you want to take part in their popularity contest surveys or not. Basically, what it means is that it will collect some Statistics from your system and send them back to the Debian developers. It will help them to make Debian better in future. I always select YES because I want to support this Open-source Project. But you can also select No if you do not like sharing your information. It’s your choice.
Step 3.13 - Software and Desktop Environment Selection
In this Step, the “Tasksel Manager” will appear, which by default, will select three options. Debian Desktop environment, GNOME, and Standard system utilities.
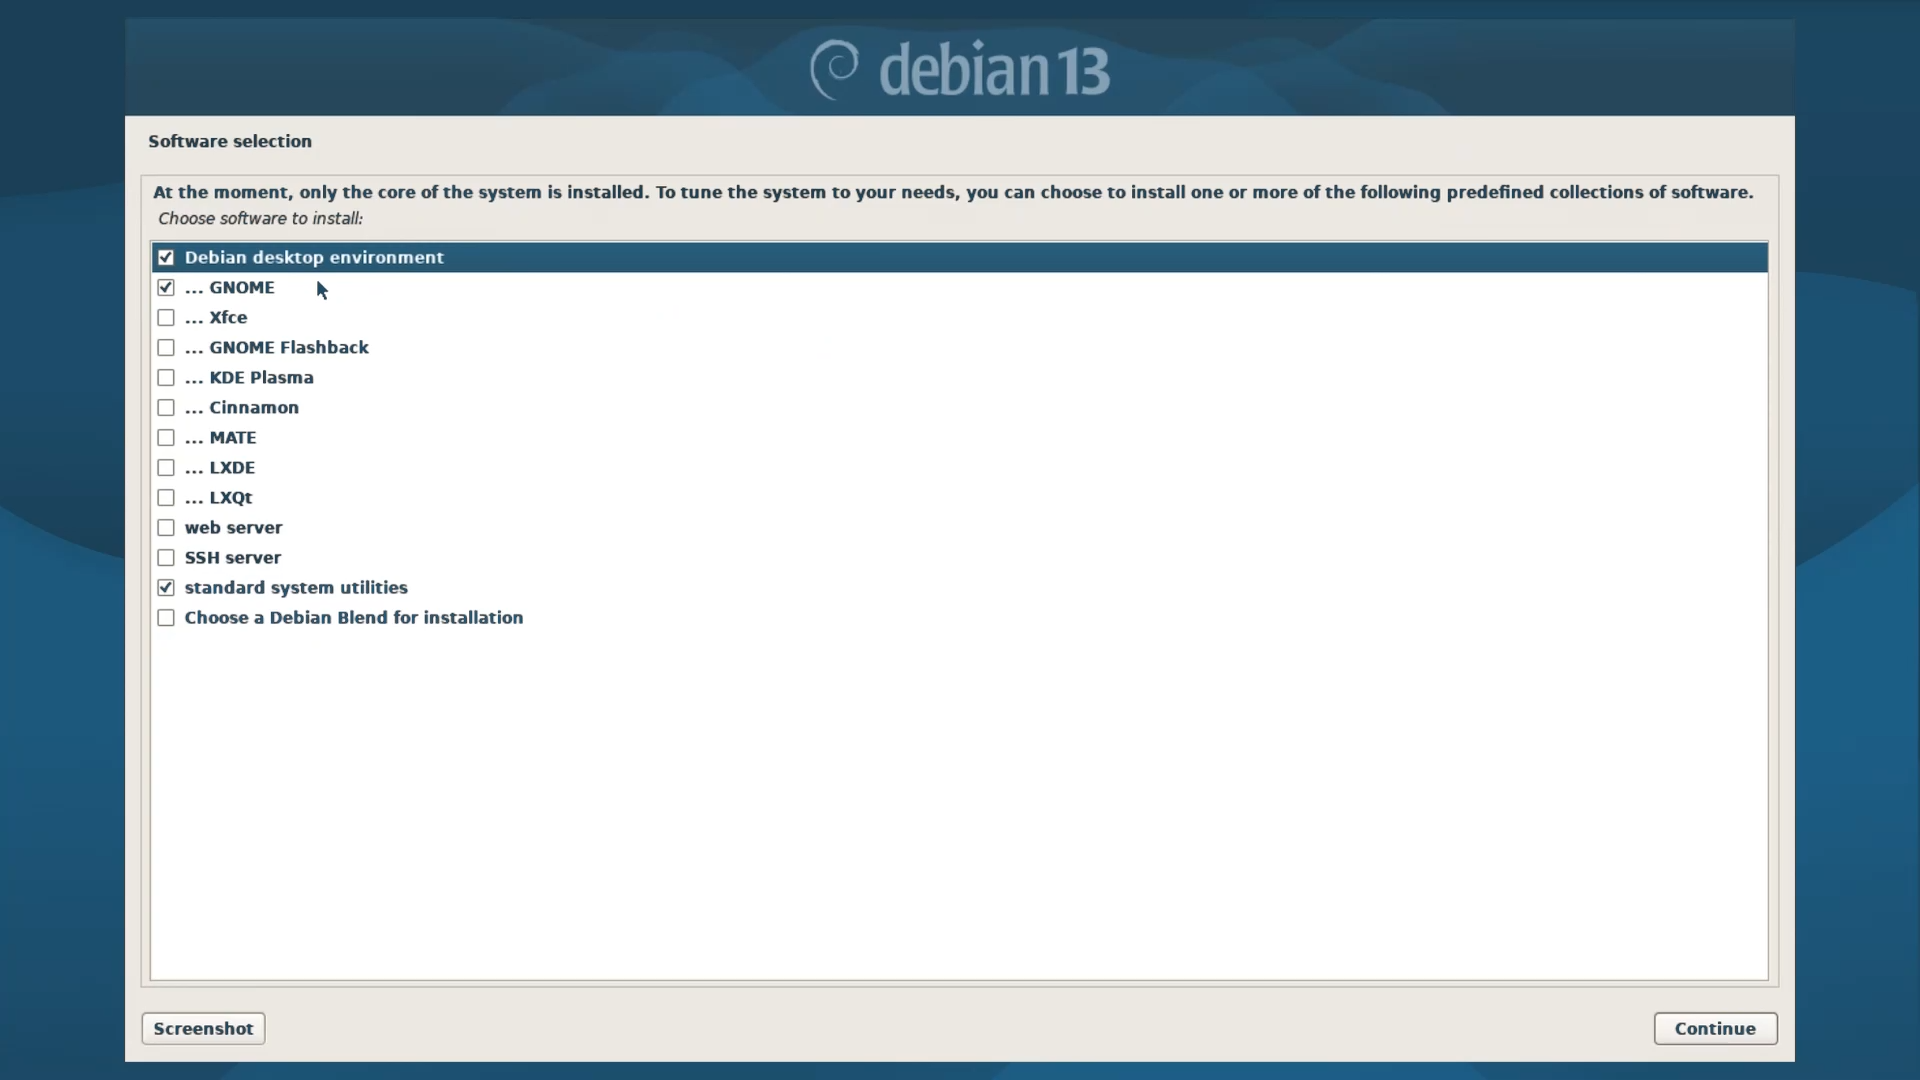
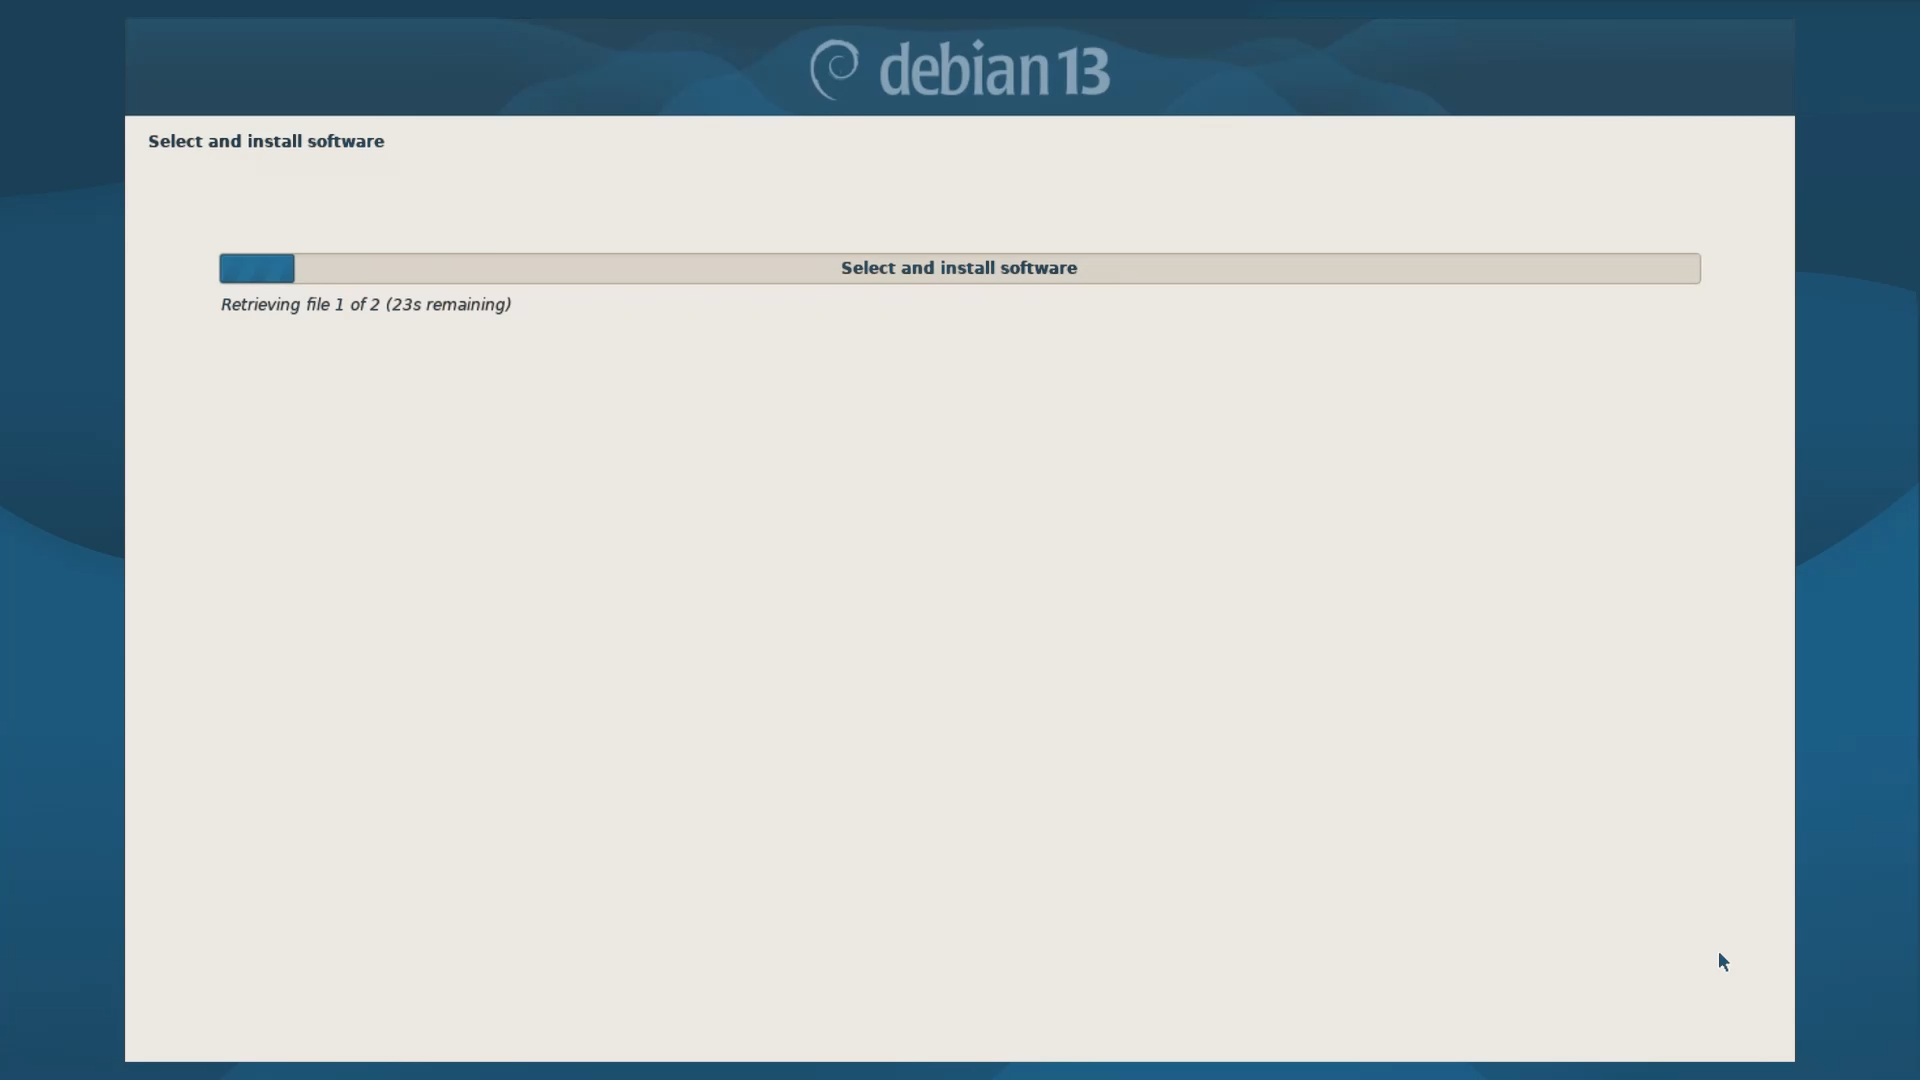
Here, the most important thing to note is that you must never deselect the Standard system utilities; otherwise, your system will be nonfunctional. If you wish to use Debian as a lightweight server, in a CLI and TTY mode, you can unselect the Debian Desktop environment and GNOME options. But if you want to use Debian with a Graphical User Interface, then you must select the Debian Desktop environment and one of these eight Desktop environment options. You can also select more than one Desktop Environment, but remember that it will consume more disk space. Lastly, you can also install a Web Server and an SSH server if you need. But for a beginner, the default settings are more than enough. So continue and let the installer install the whole system.
Note: If you are using a net-install ISO, then the installation process might take between 5 and 10 minutes, depending on your internet speed, but if you are using the Complete ISO, it will not take very long.
Step 3.14 - GRUB Install
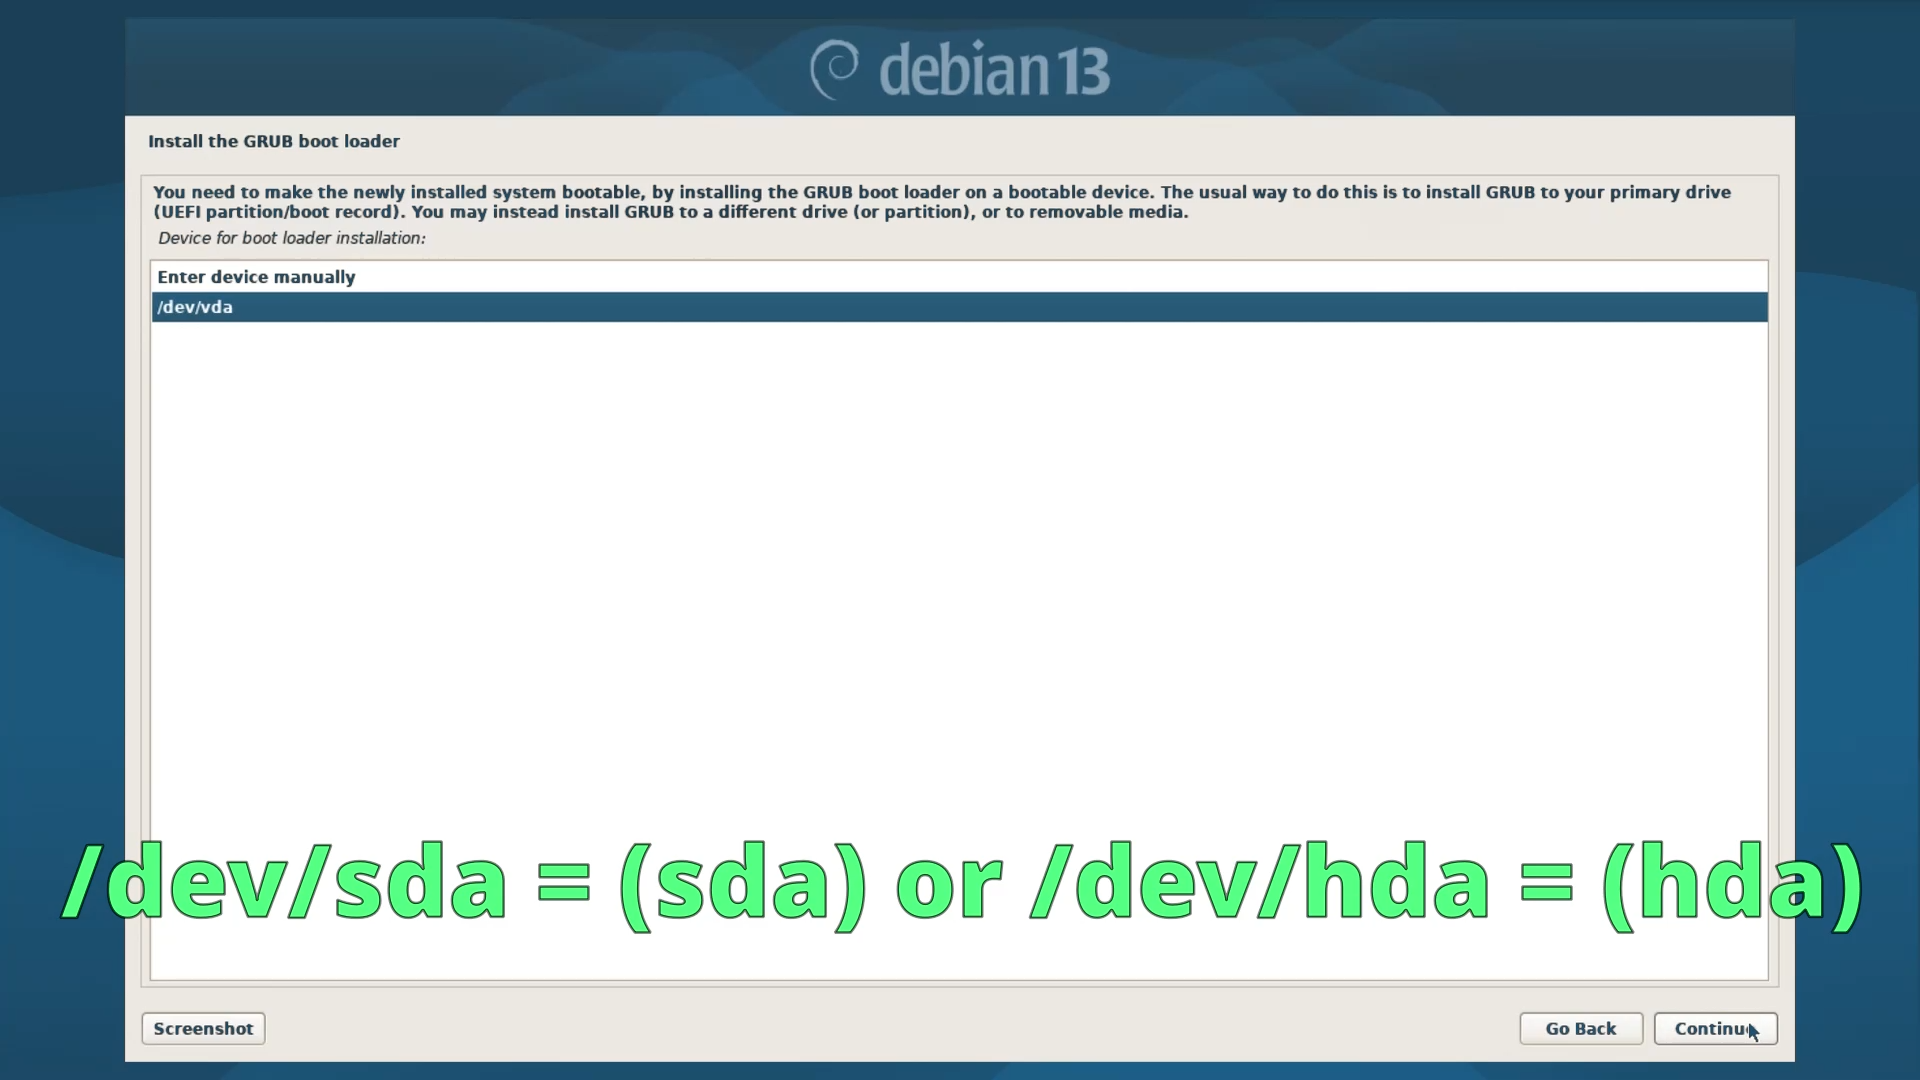
Once the installation is complete, the last thing to do is install the GRUB boot loader to your primary drive. The Installer will automatically select YES, continue and then select your primary disk. The primary drive could be /dev/vda, /dev/sda, or /dev/hda, depending on your drive type, as mentioned earlier. Select it and continue. And the Installation will be complete.
Step 4 - Reboot the System and Verify
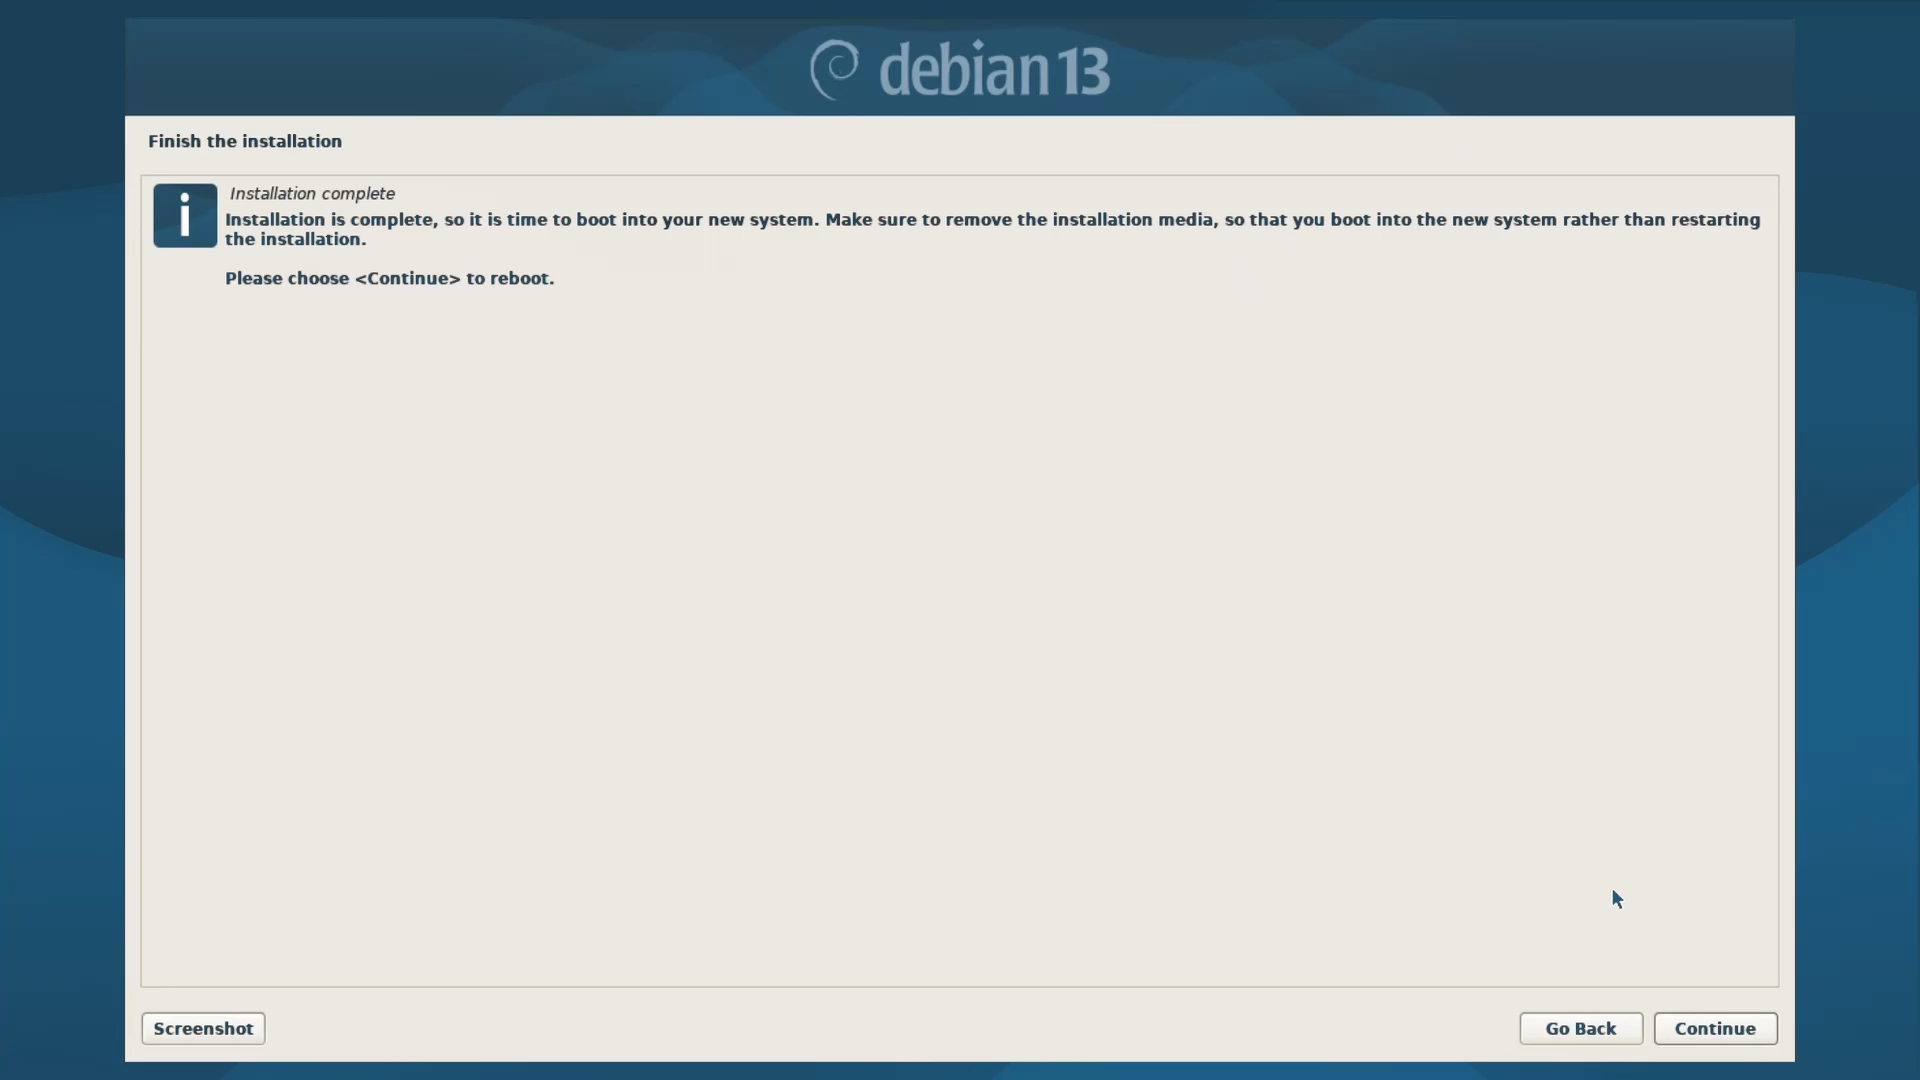
After the Installation is complete, the Installer will ask to reboot the system.
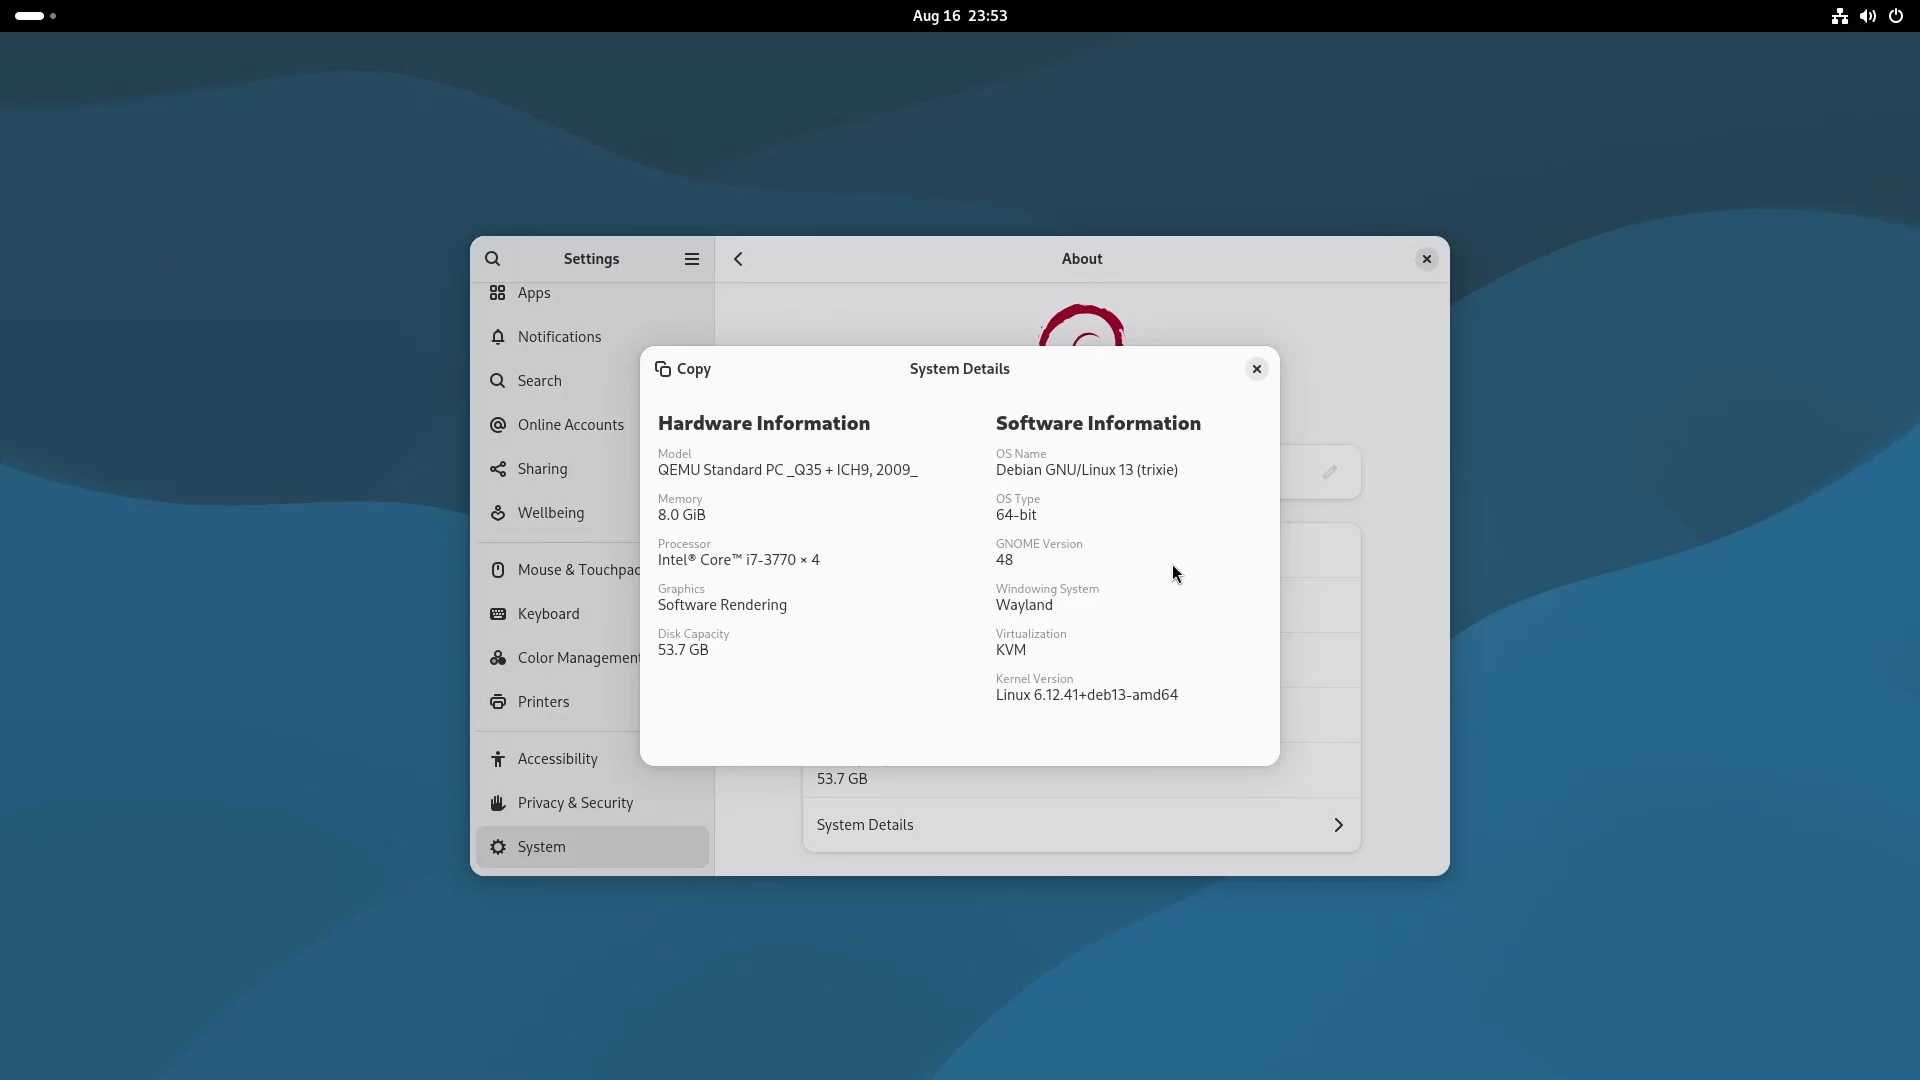
Once you do it, the GDM login manager will appear. The User ID will be automatically captured, so just enter your user password. And you will be inside the newly installed Debian Trixie. You can also verify your system details by going to Settings > System > About > System Details.
💬 Engage With The Community:
🎬 Prefer watching? Here’s the detailed video:
📑 If you enjoyed this article, you may also like our guide on:
🔀 Share this Article: