How to Install Zorin OS 18: Complete Step-by-Step Guide
Quick Summary
Installing Zorin OS 18 is simple. Download the Core ISO, create a bootable USB or test it in VirtualBox, then run the installer. Choose your language, keyboard layout, software options, and disk settings. After installation, you’ll have a clean Linux system with support until 2029, which is perfect for Windows and MacOS switchers.
Main Article
Zorin OS 18 has just been released.
If you’re new to the world of FOSS, here is what you need to know: Zorin OS is designed specifically for Windows and MacOS users who want to make the switch. It looks familiar, runs faster, is more secure and is completely free. Zorin OS 18 is based on Ubuntu 24.04 LTS, runs on Linux kernel 6.14, features a customised version of GNOME 46 desktop environment and comes with 5 years of support until 2029.
This guide will show you how to install Zorin OS 18 properly, whether you want to test it safely in VirtualBox or install it directly on your hardware. Both methods are covered in detail below.
Step 1: Download Zorin OS 18 ISO
The first step in this process is to download the Zorin OS 18 Core Edition installation ISO. Go to “zorin.com” and click the blue Download button, which will take you to Zorin OS’s Main Downloads page. There you’ll see four editions:
-> Zorin OS Pro - Costs $48, comes with extra features and support
-> Zorin OS Core - Free, best choice for everyday use (recommended for this guide)
-> Zorin OS Education - For students and schools
-> Zorin OS Lite - For older, low-resource computers
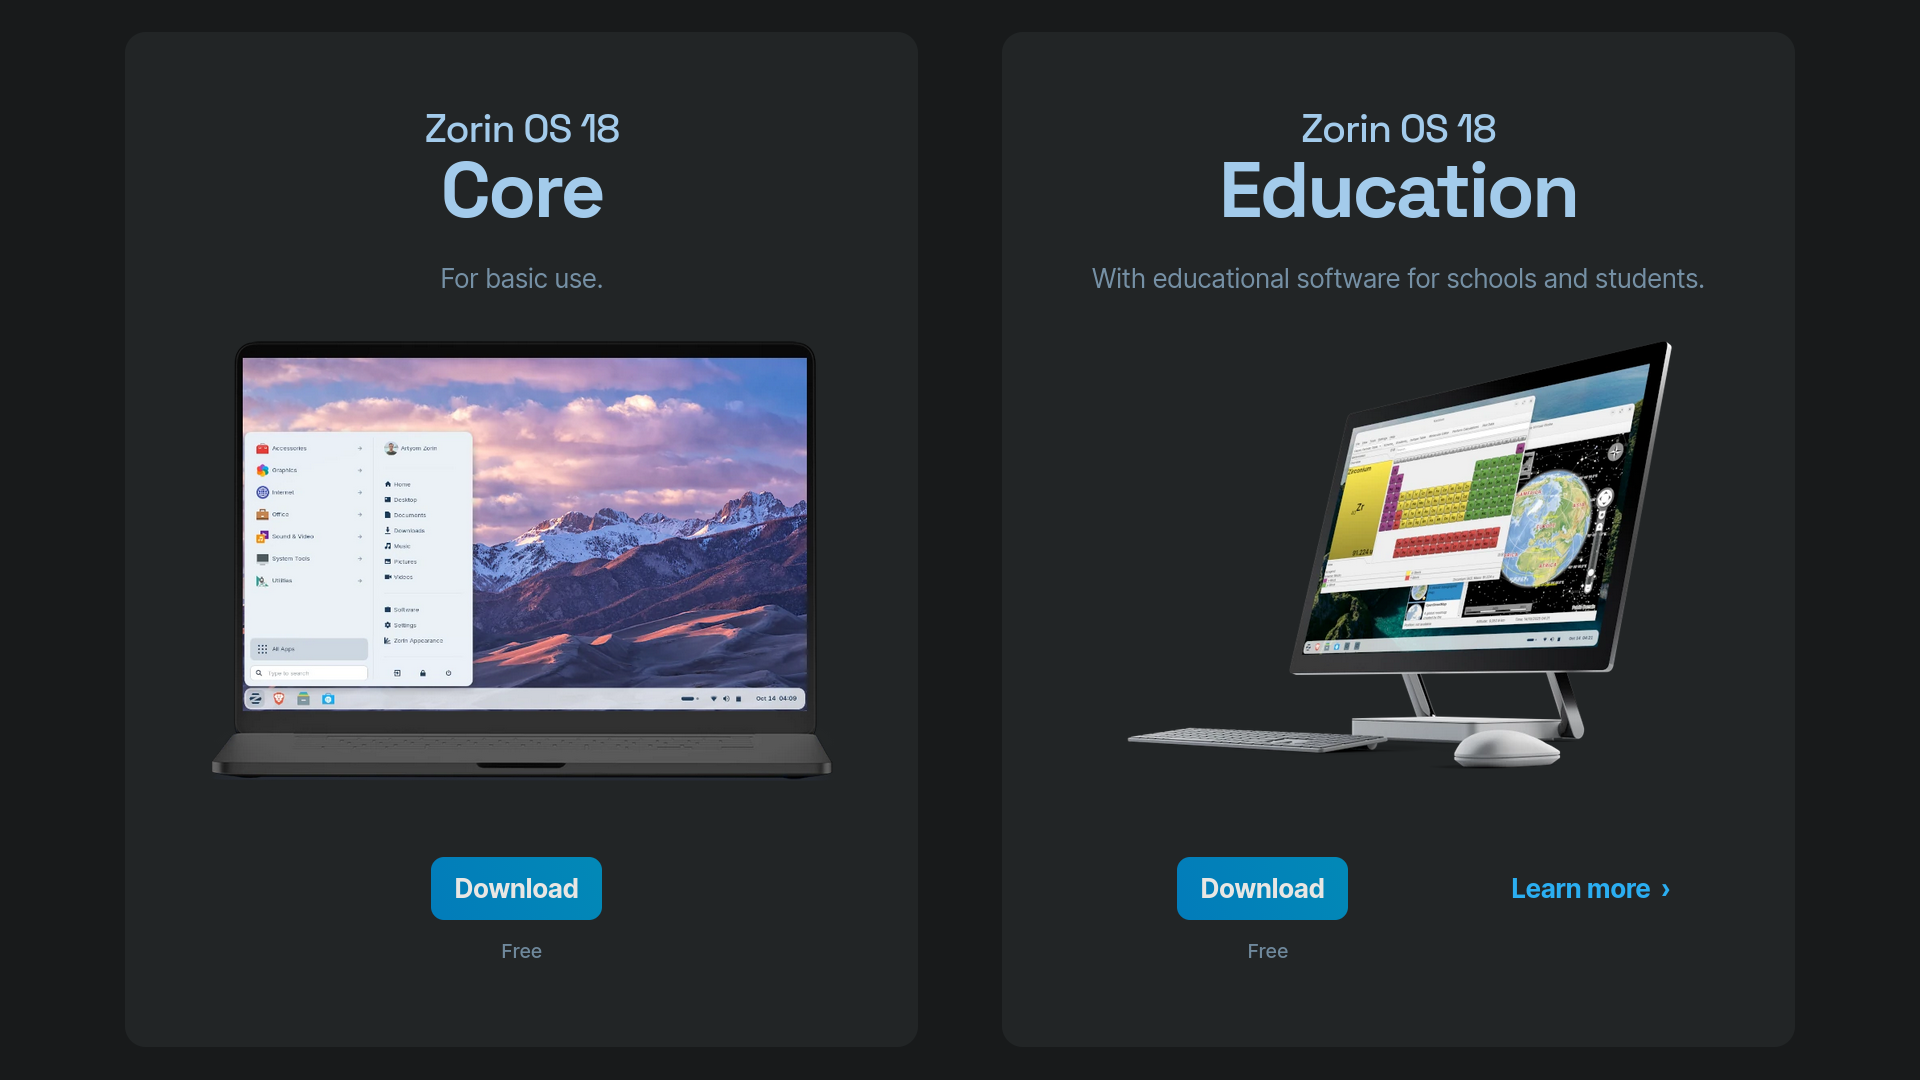
Click Download on Core Edition. It will ask you to provide your email address and subscribe to the Zorin OS newsletter, but you can skip this and proceed to the ISO download. The file is about 3GB, so it may take a few minutes to download.
Step 2.1: VirtualBox Installation (Safe Testing)
If you want to test Zorin OS 18 without touching your current system, use VirtualBox.
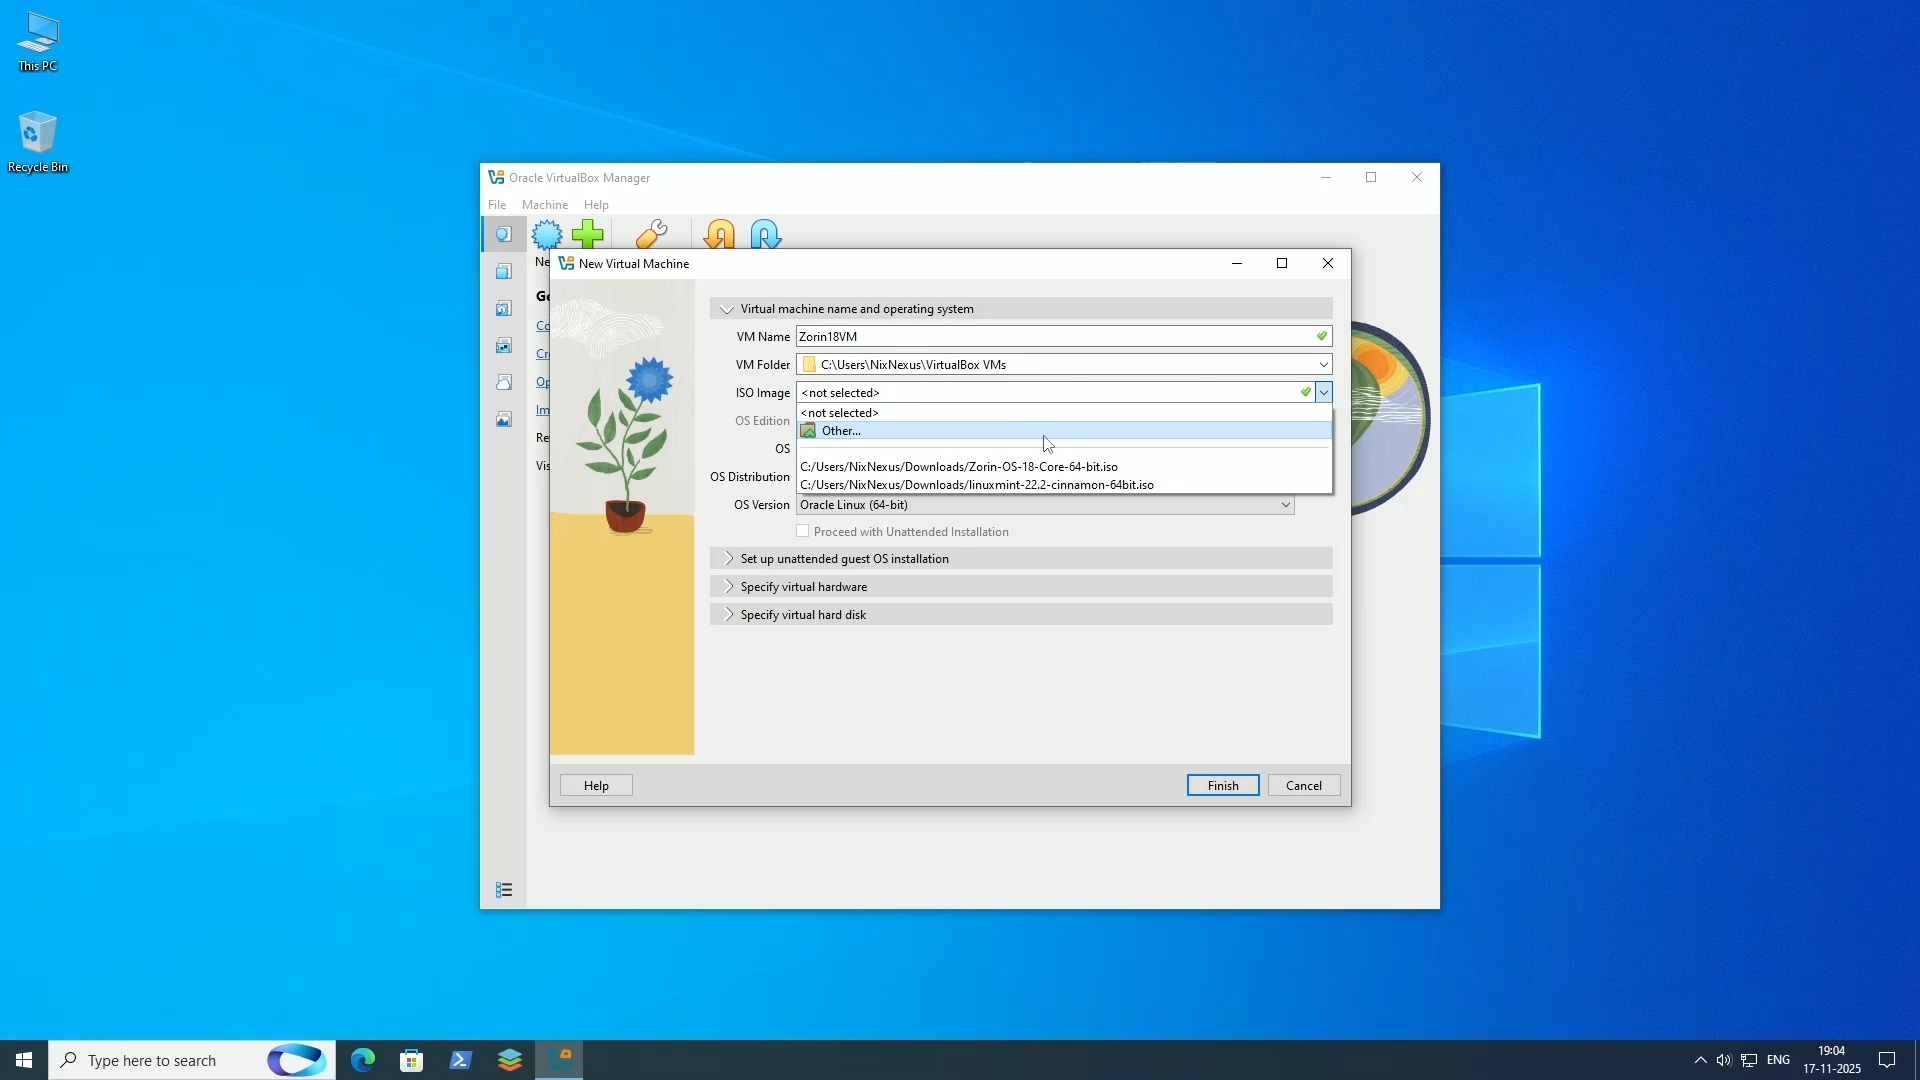
Open VirtualBox and click New. First, name your Virtual Machine (for example, “Zorin18VM”). Leave the Virtual Machine Folder as the default. Select your downloaded ISO from the dropdown menu.
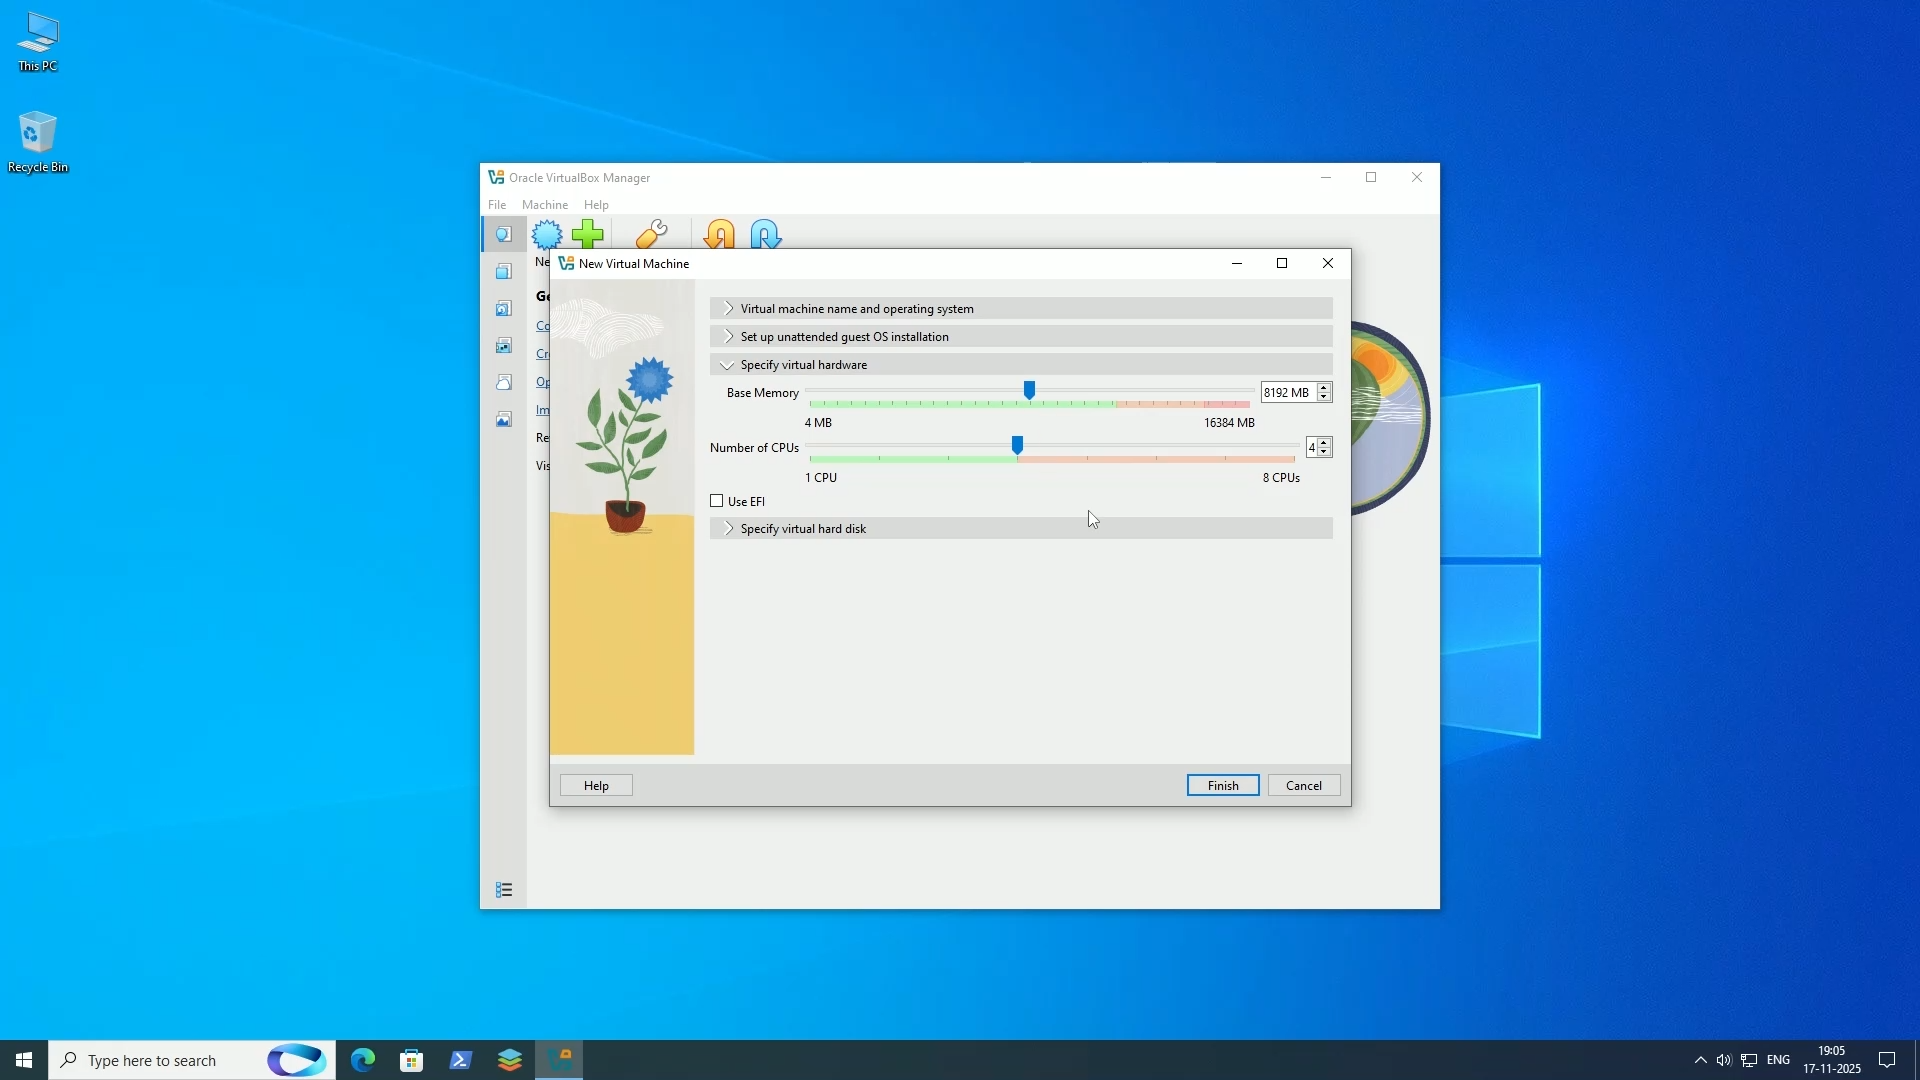
Then, jump to “Specify Virtual Hardware” and allocate resources. To get the best result, allocate half of your system resources.
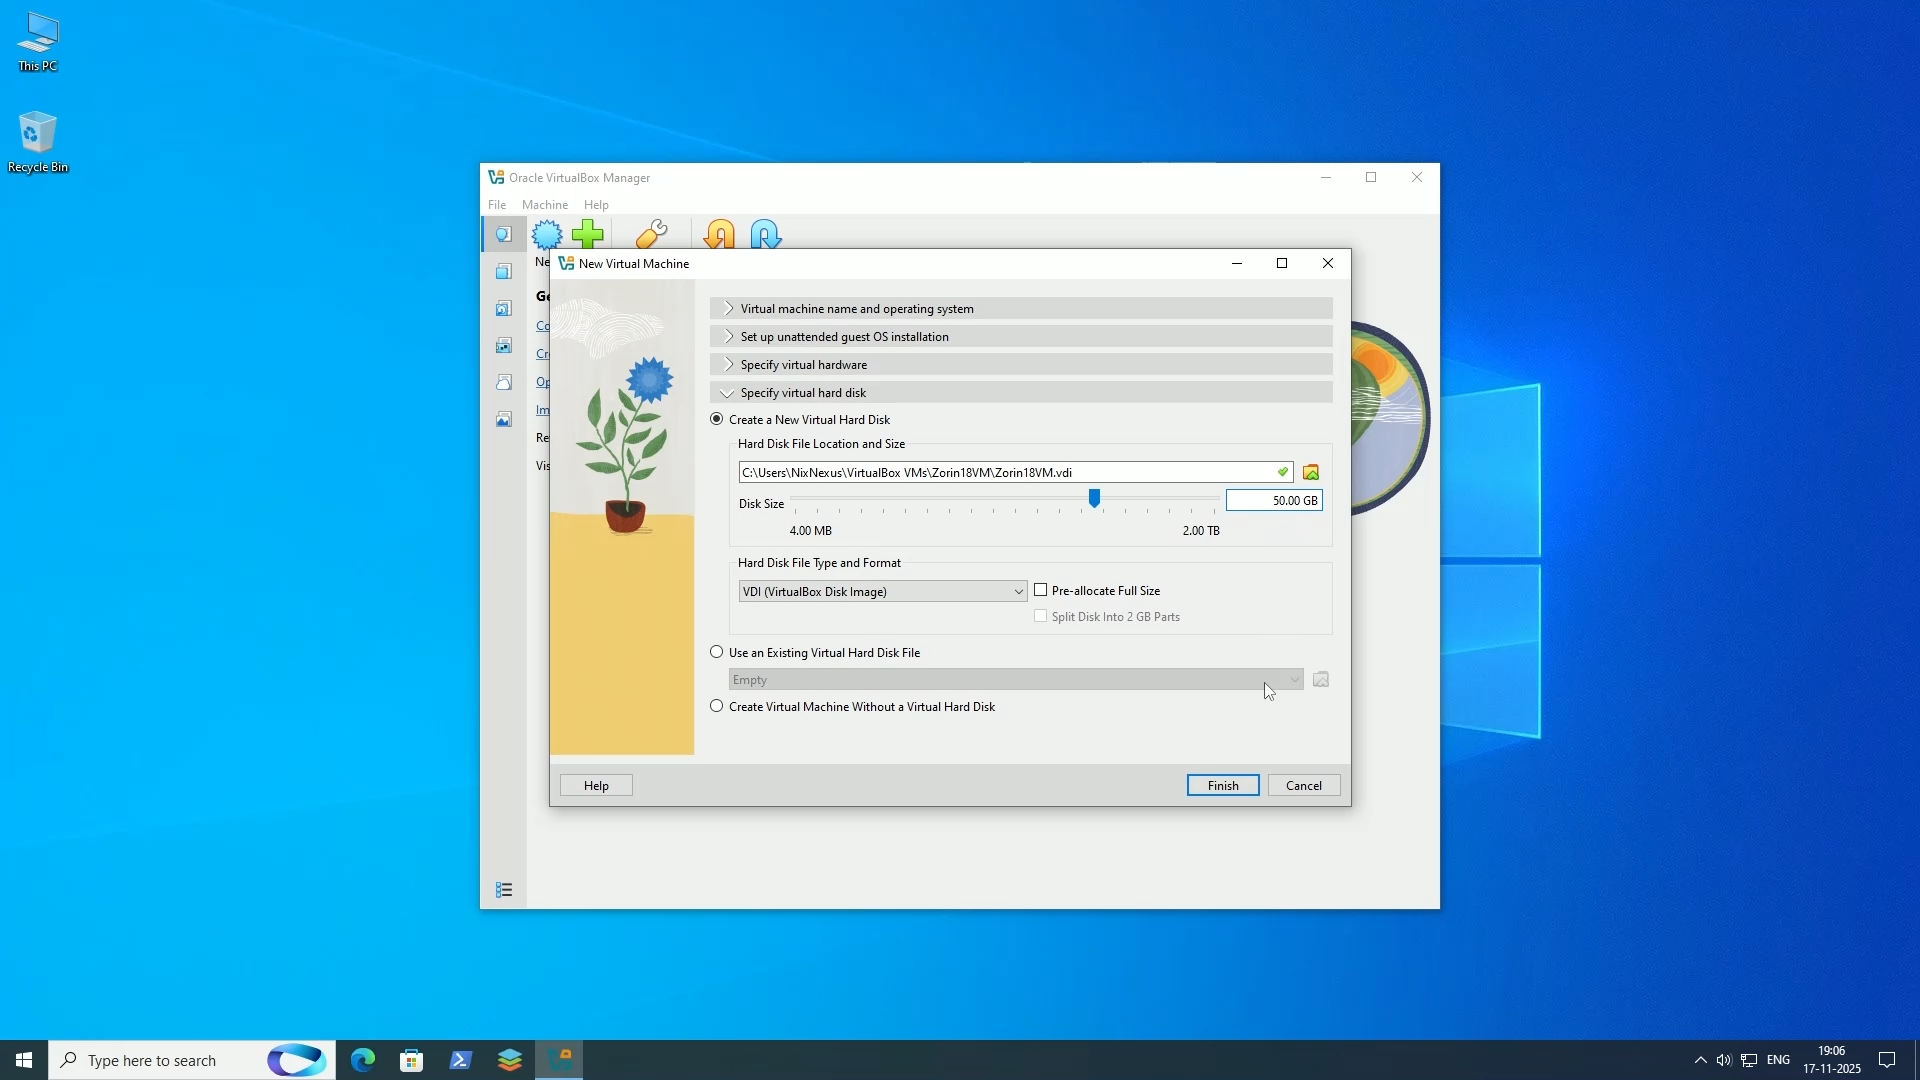
Next is “Specify Virtual Hard Disk”. Here, leave everything as default, but increase the Hard Disk space to at least 50 GB if you plan to install apps and games. Then click Finish, and your VM is ready. Now, click Start to boot it.
Step 2.2: Bootable USB Creation (Physical Installation)
If you are ready to install Zorin OS 18 on real hardware, you will need a bootable USB.
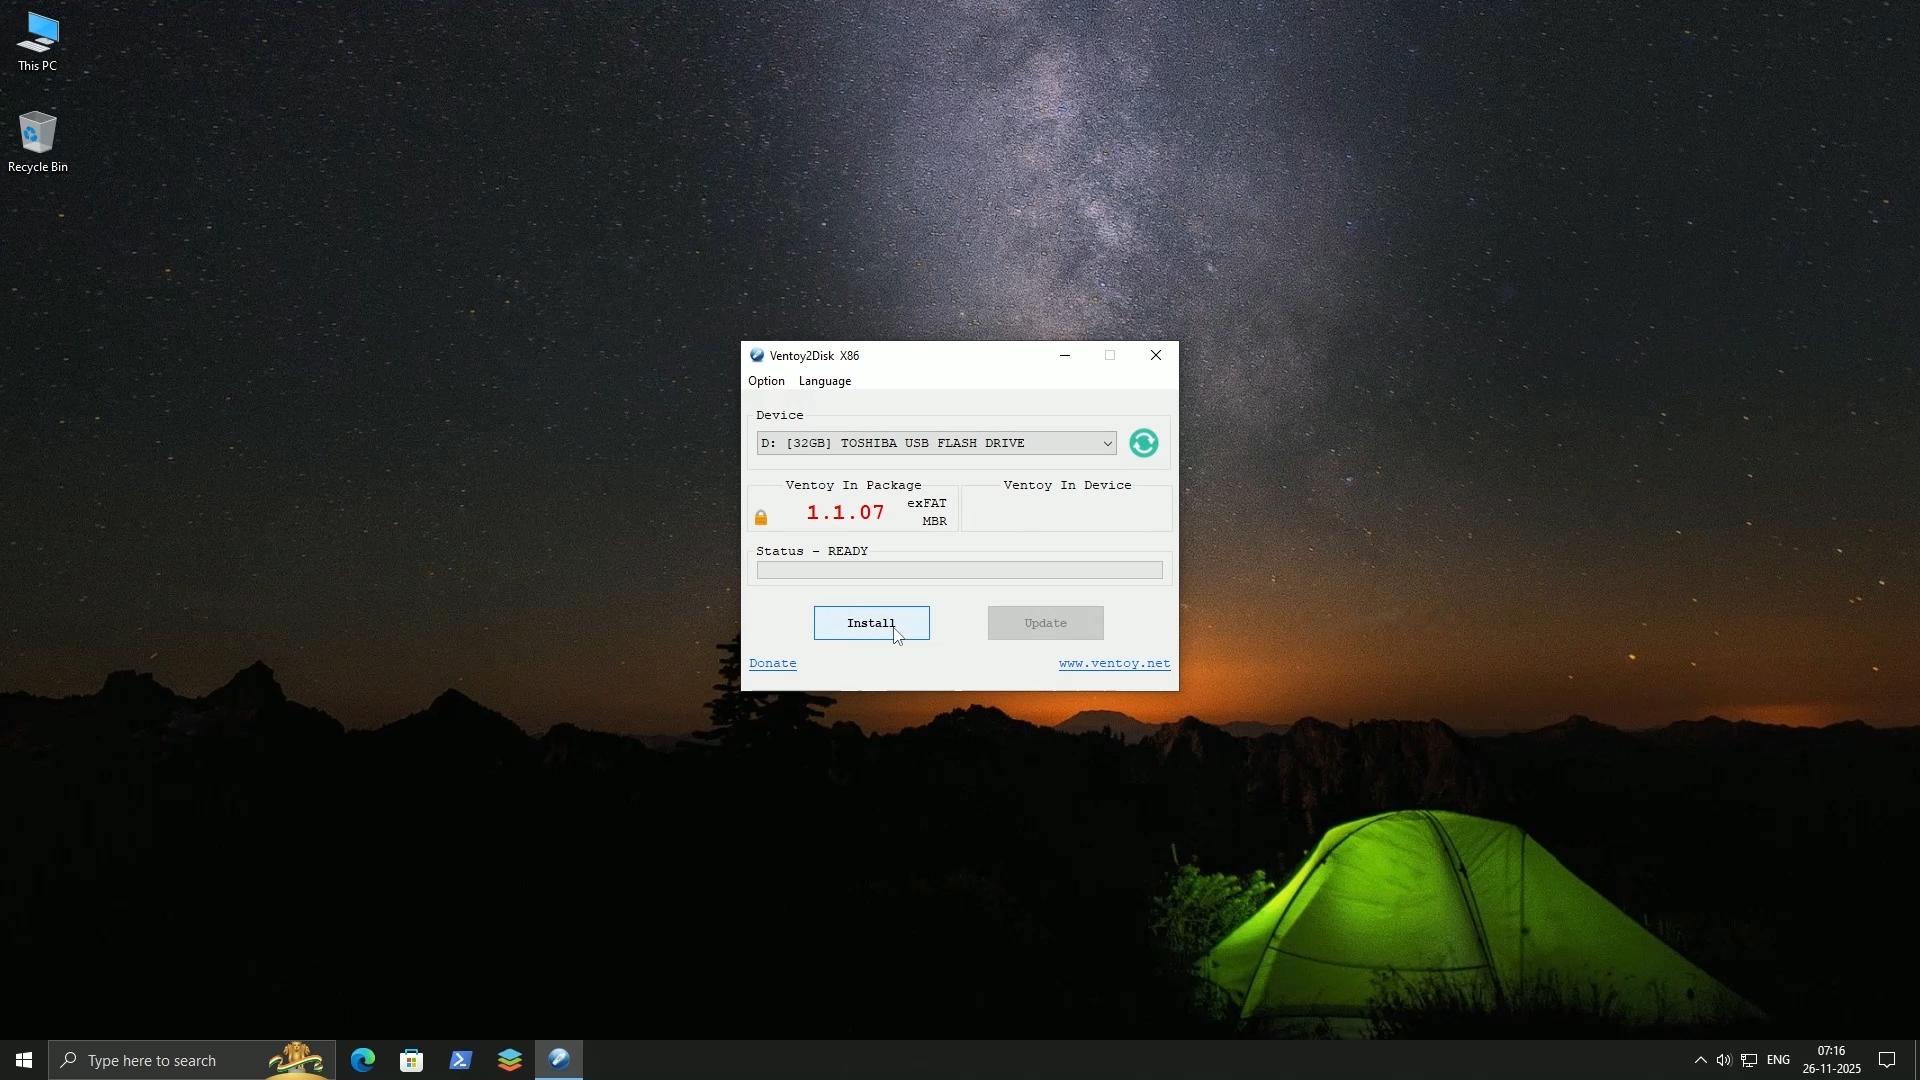
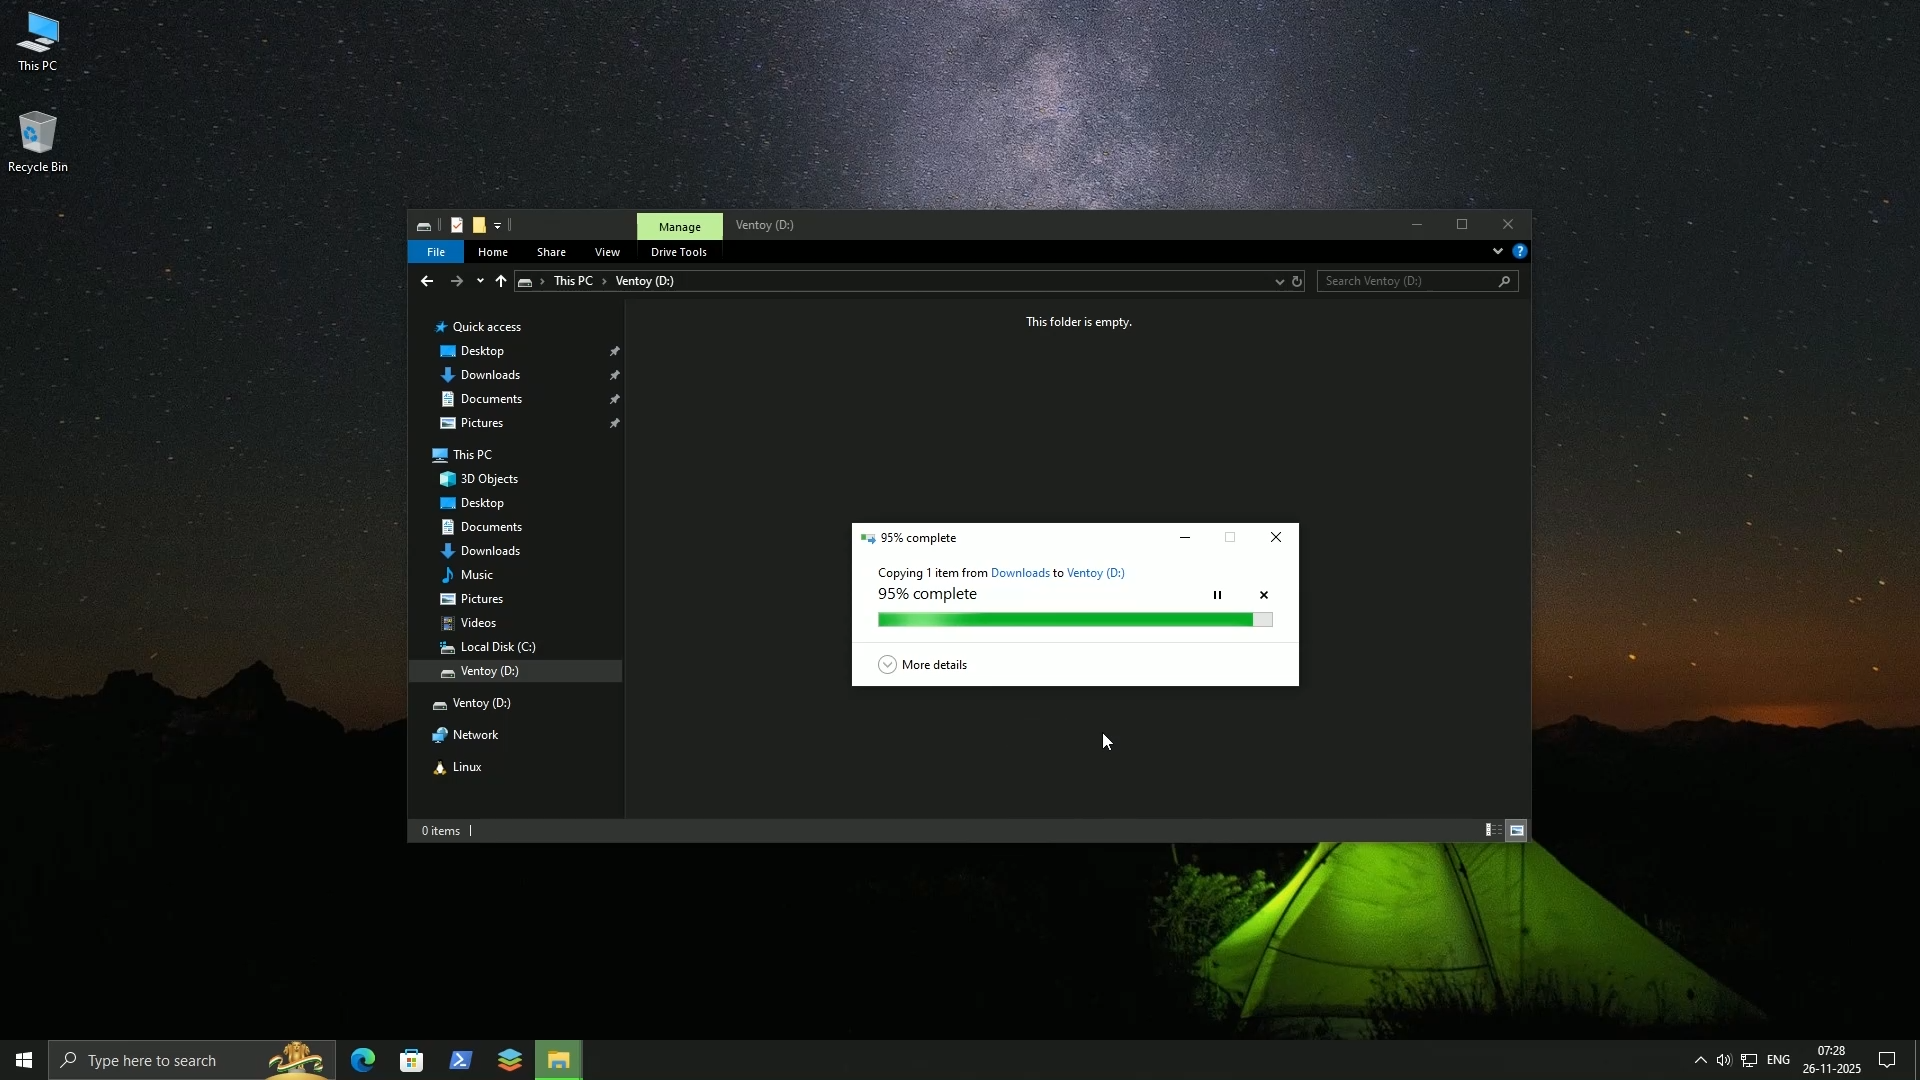
Ventoy is recommended because it’s simple and reusable. Open Ventoy, and your USB drive will be auto-detected. Just re-verify it, and click Install. Once done, simply copy-paste the Zorin OS ISO onto the USB drive. That’s it.
Now restart your PC and boot from the USB drive through your BIOS boot menu (usually F12, F2, or Del at startup).
Step 3: The Installation Process
If you are using VirtualBox, the Zorin boot screen will appear immediately. If you are installing Zorin OS through a bootable USB, then first select the Operating System and then “Boot in normal mode.”

In the Zorin boot screen, there are three options:
1. Try or Install Zorin OS - Recommended for most users
2. Safe graphics mode - If you have display issues
3. Try or Install with NVIDIA drivers - Only if you have an NVIDIA Graphic Card
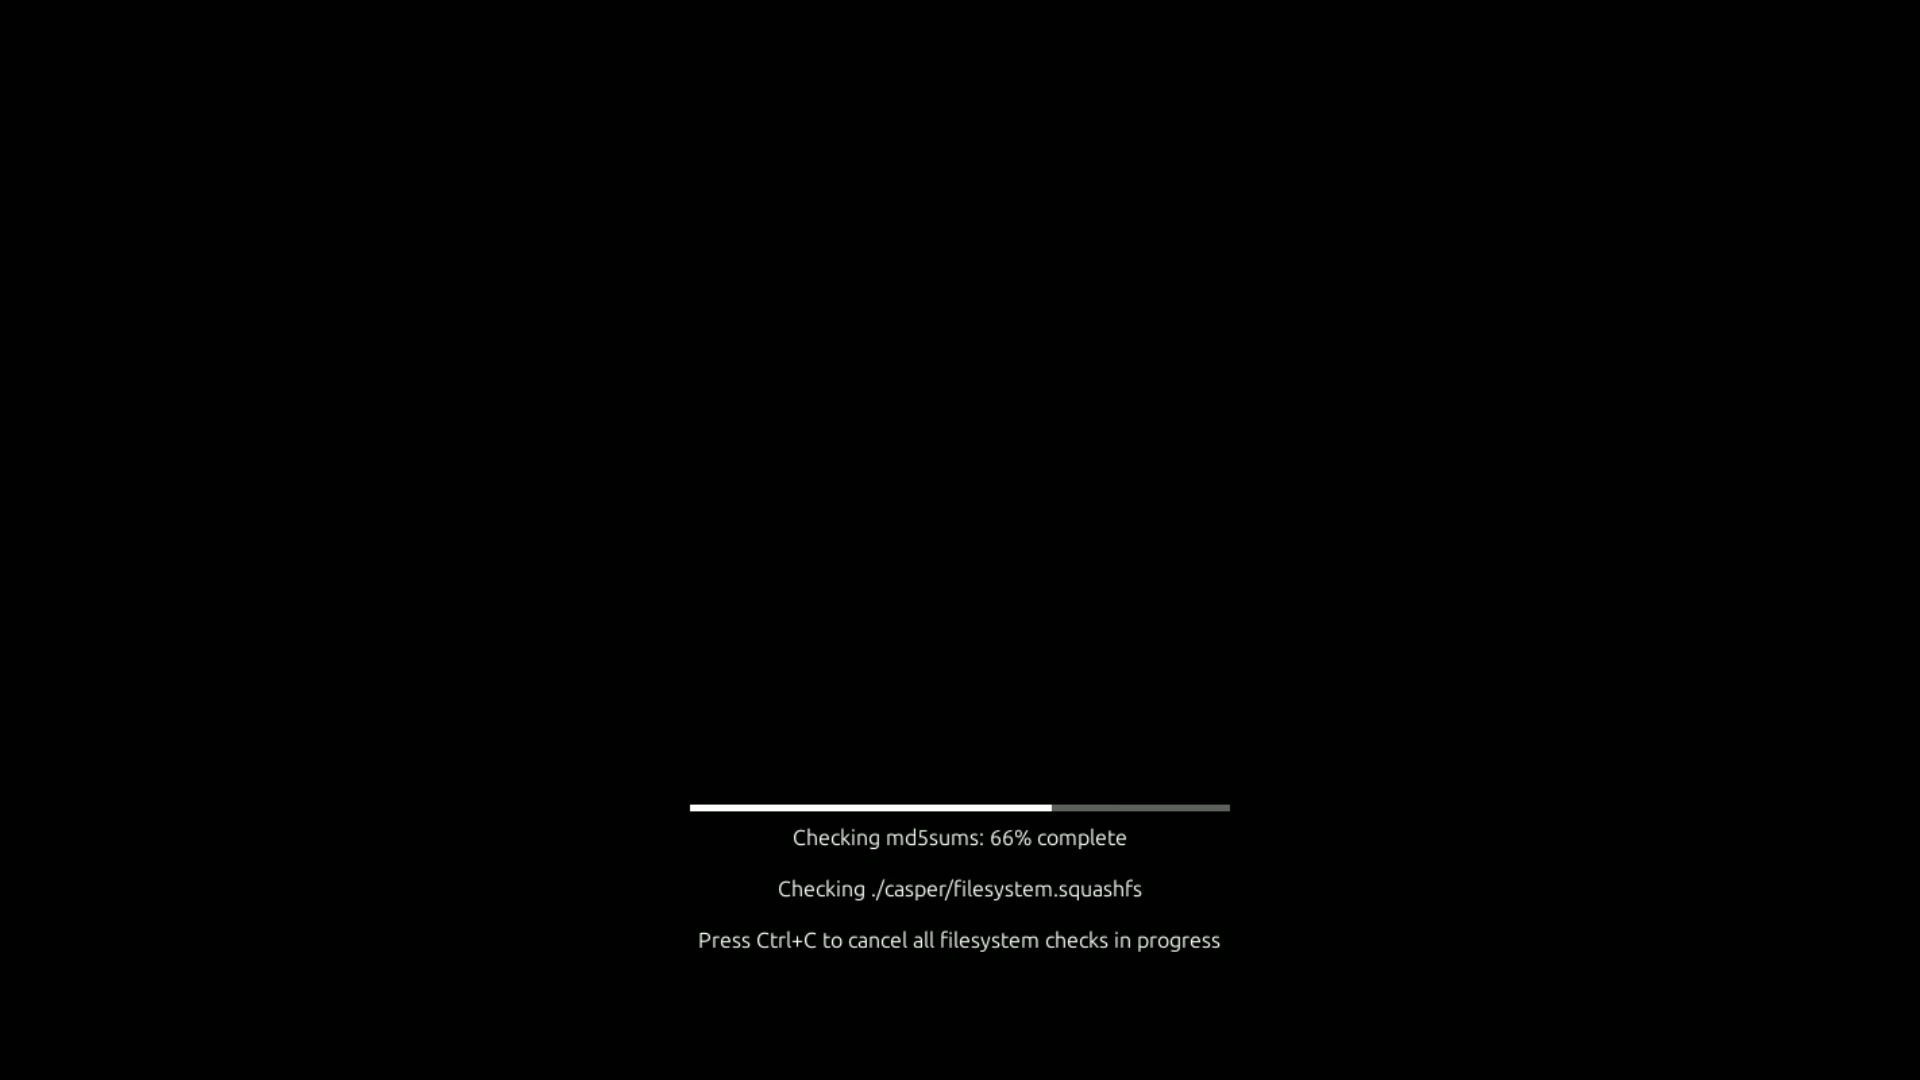
Select the appropriate option and press Enter. The installer will then do a filesystem check, but you can skip this by pressing Ctrl+C, and then it will load the installer.
Step 3.1: Welcome Screen
Like all Ubuntu-based distros, Zorin uses the Ubiquity Installer. On its welcome screen, there are three options:
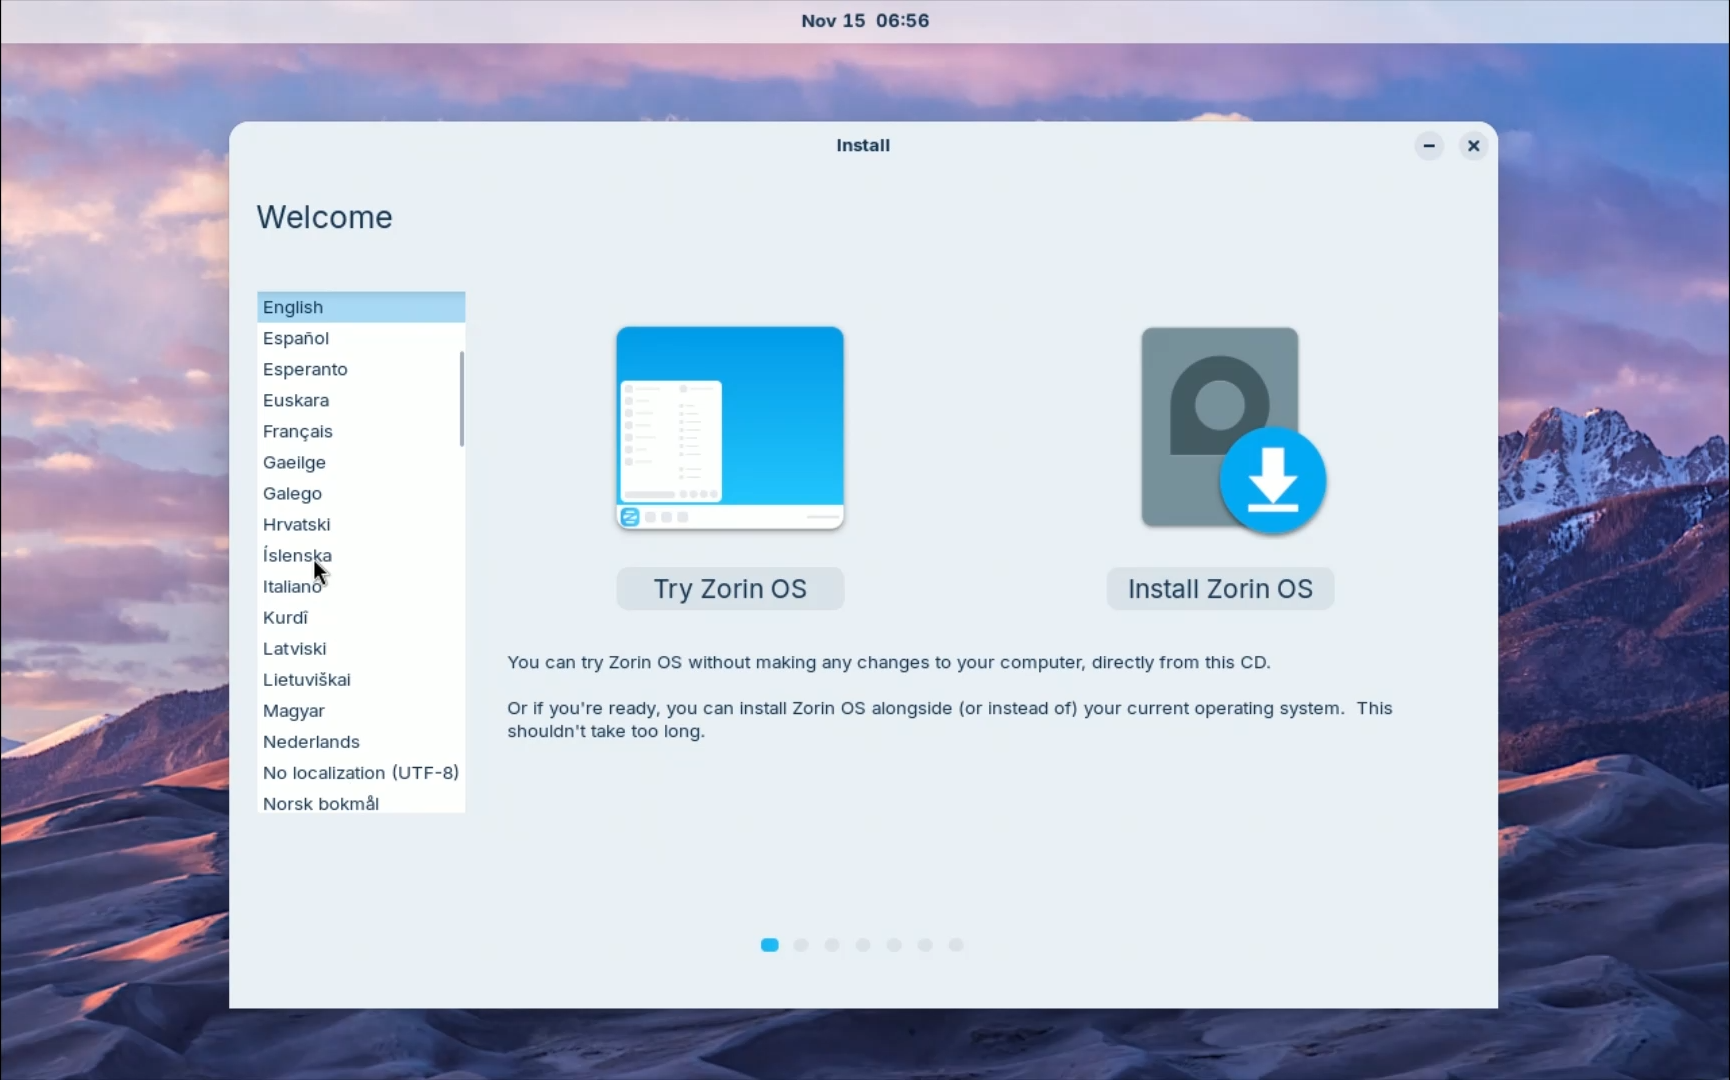
-> On the Left side: Language selection
-> In the centre: Try Zorin OS - To test Zorin OS 18 before installing
-> On the Right side: Install Zorin OS - To start the installation process immediately
If you want to explore first, click Try or quit the welcome screen. Otherwise, click Install to begin installation.
Step 3.2: Live Environment (Optional)
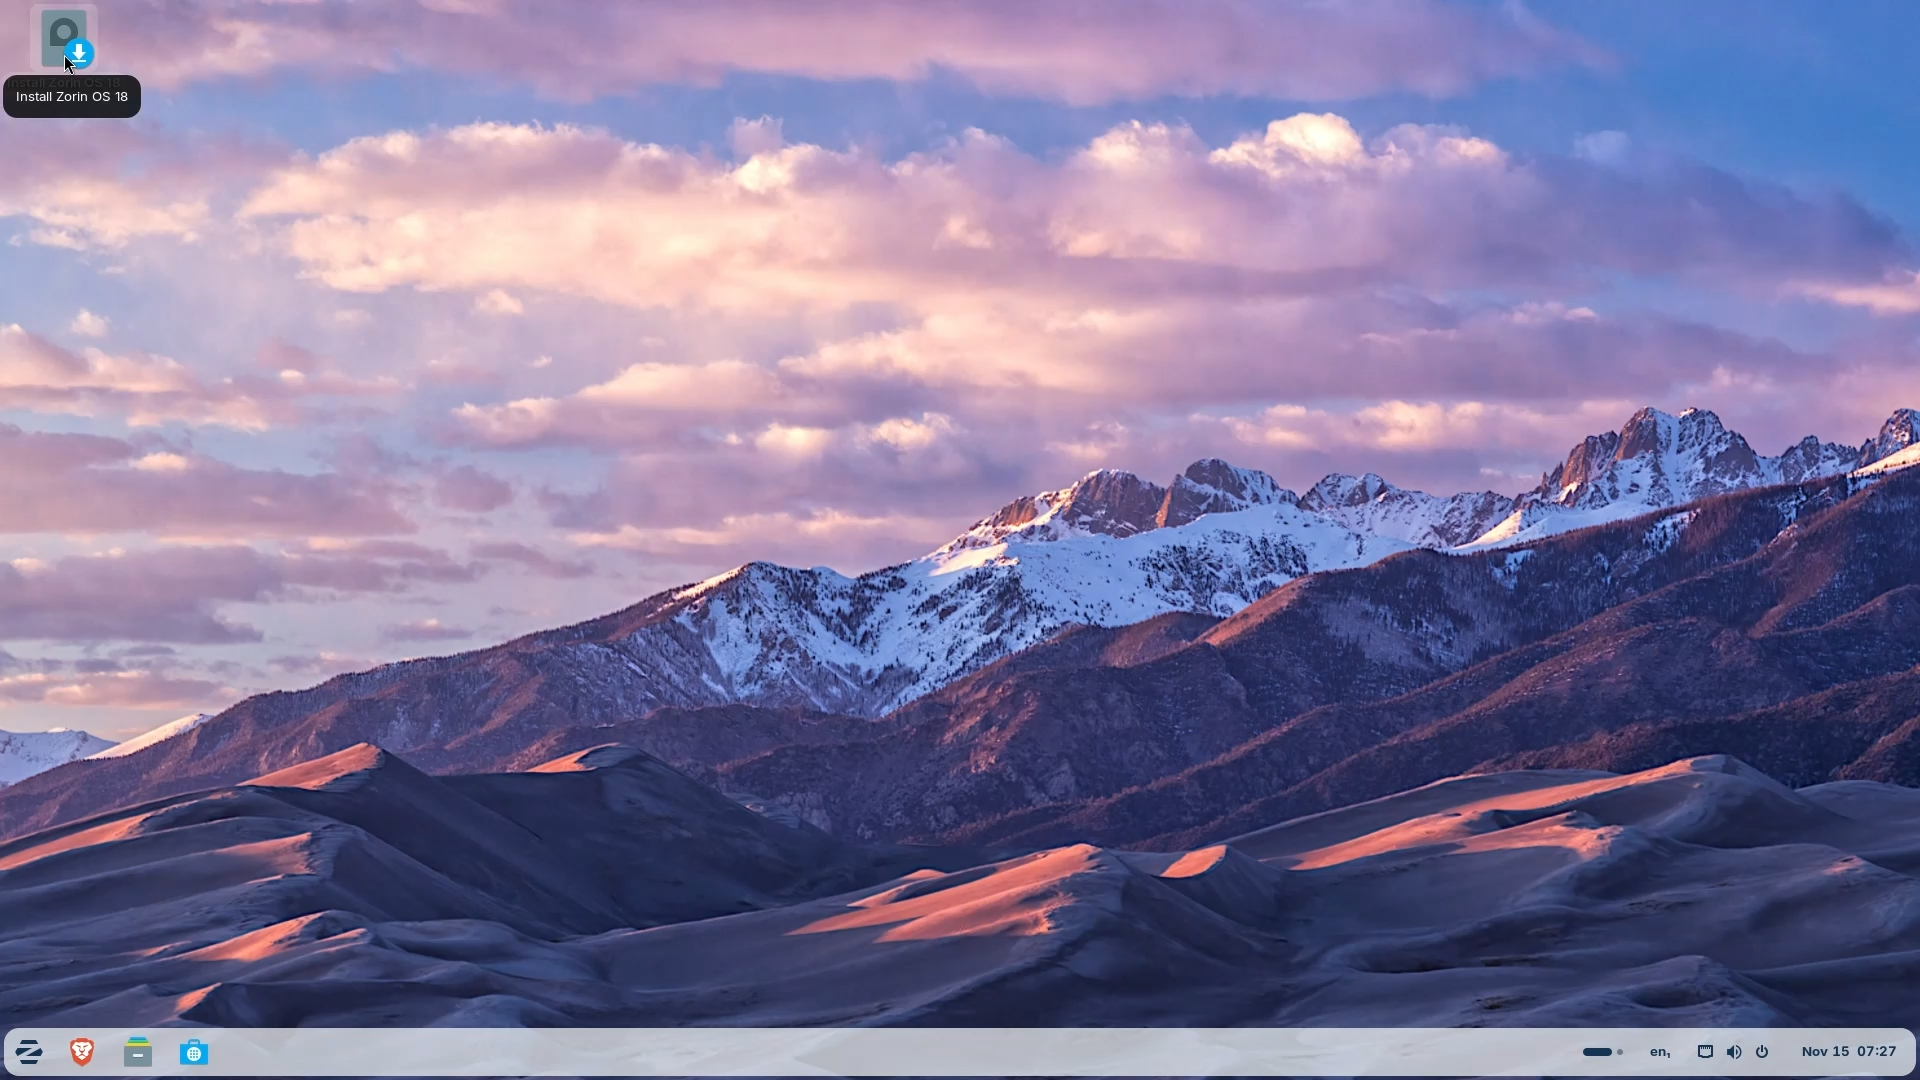
If you choose Try Zorin OS then it will launch the Live environment, where you can browse the internet, change desktop layouts, themes and all sorts of things. And to again start the installation process, launch the installer from the top left corner.
Step 3.3: Language Selection
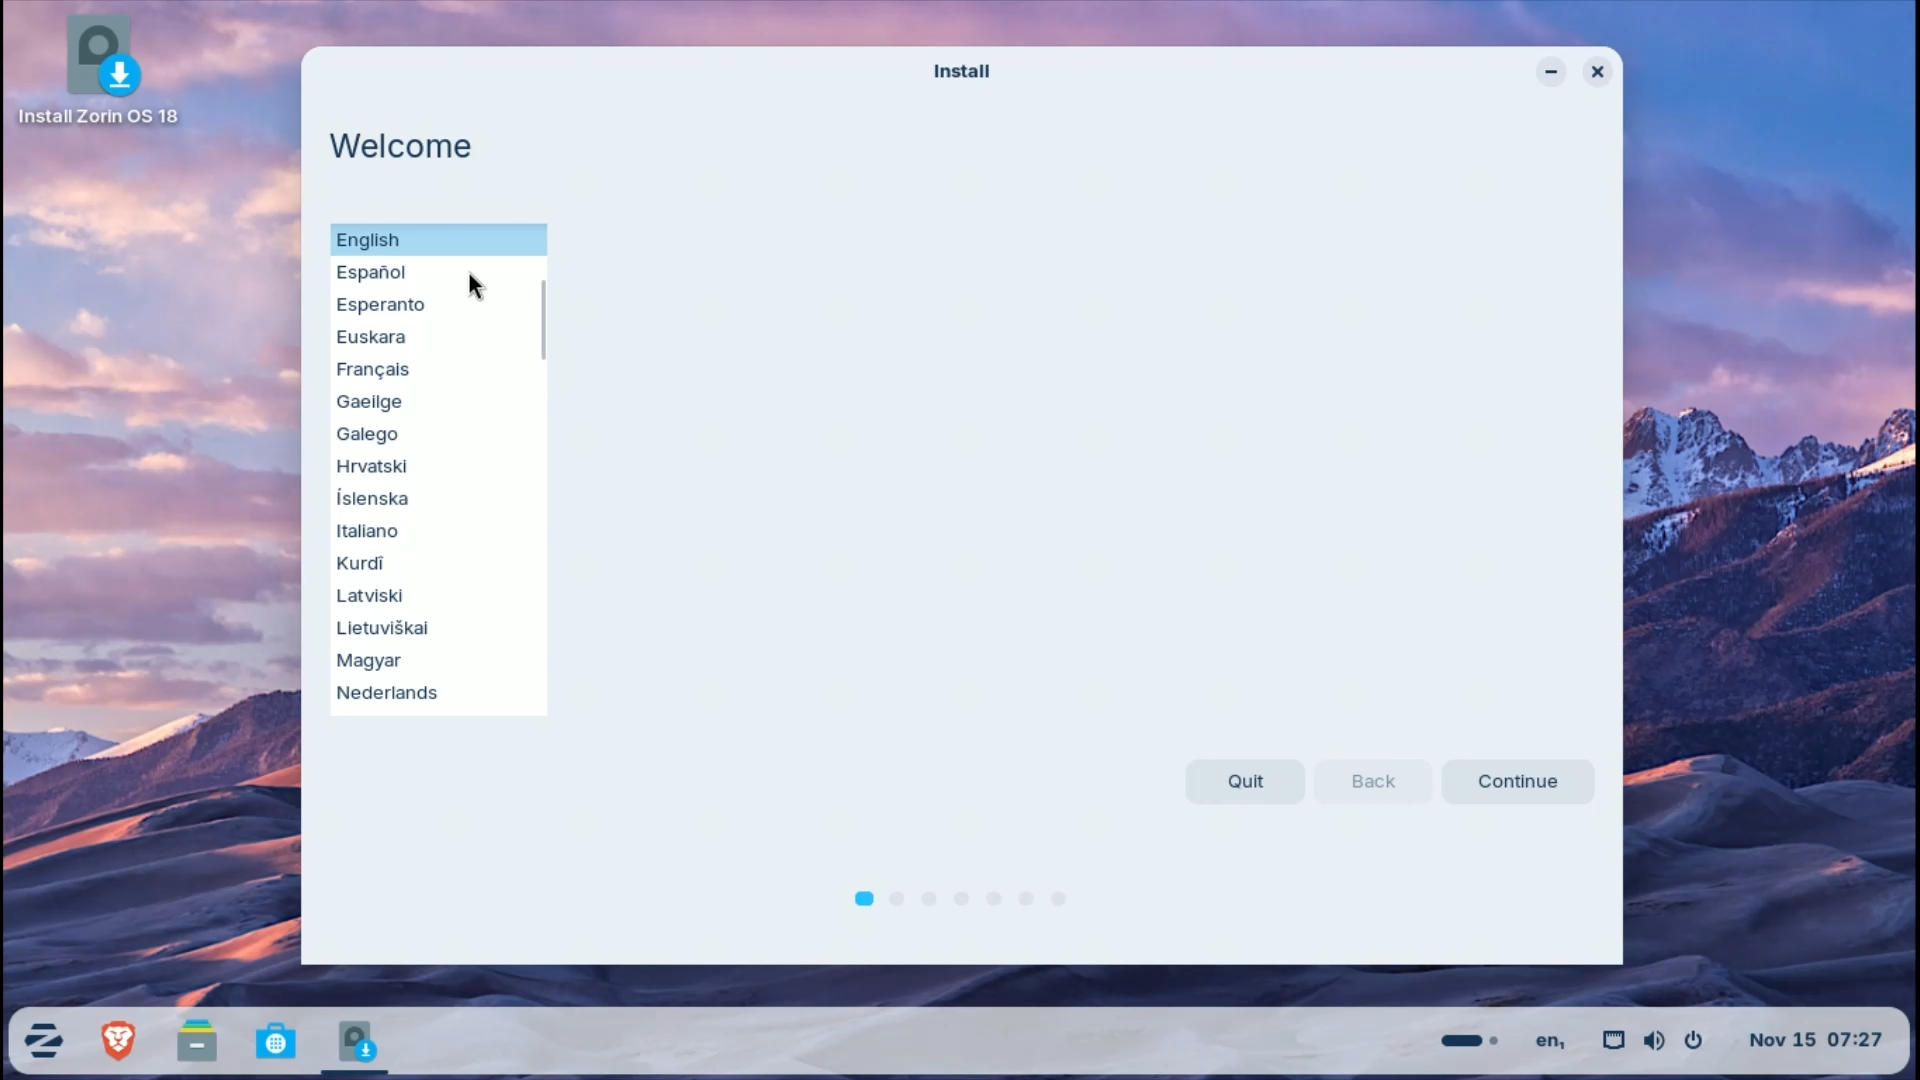
In the Installation Process, the first thing to do is choose your preferred language from the list. The language you select here will become your system’s default language.
Step 3.4: Keyboard Layout Configuration
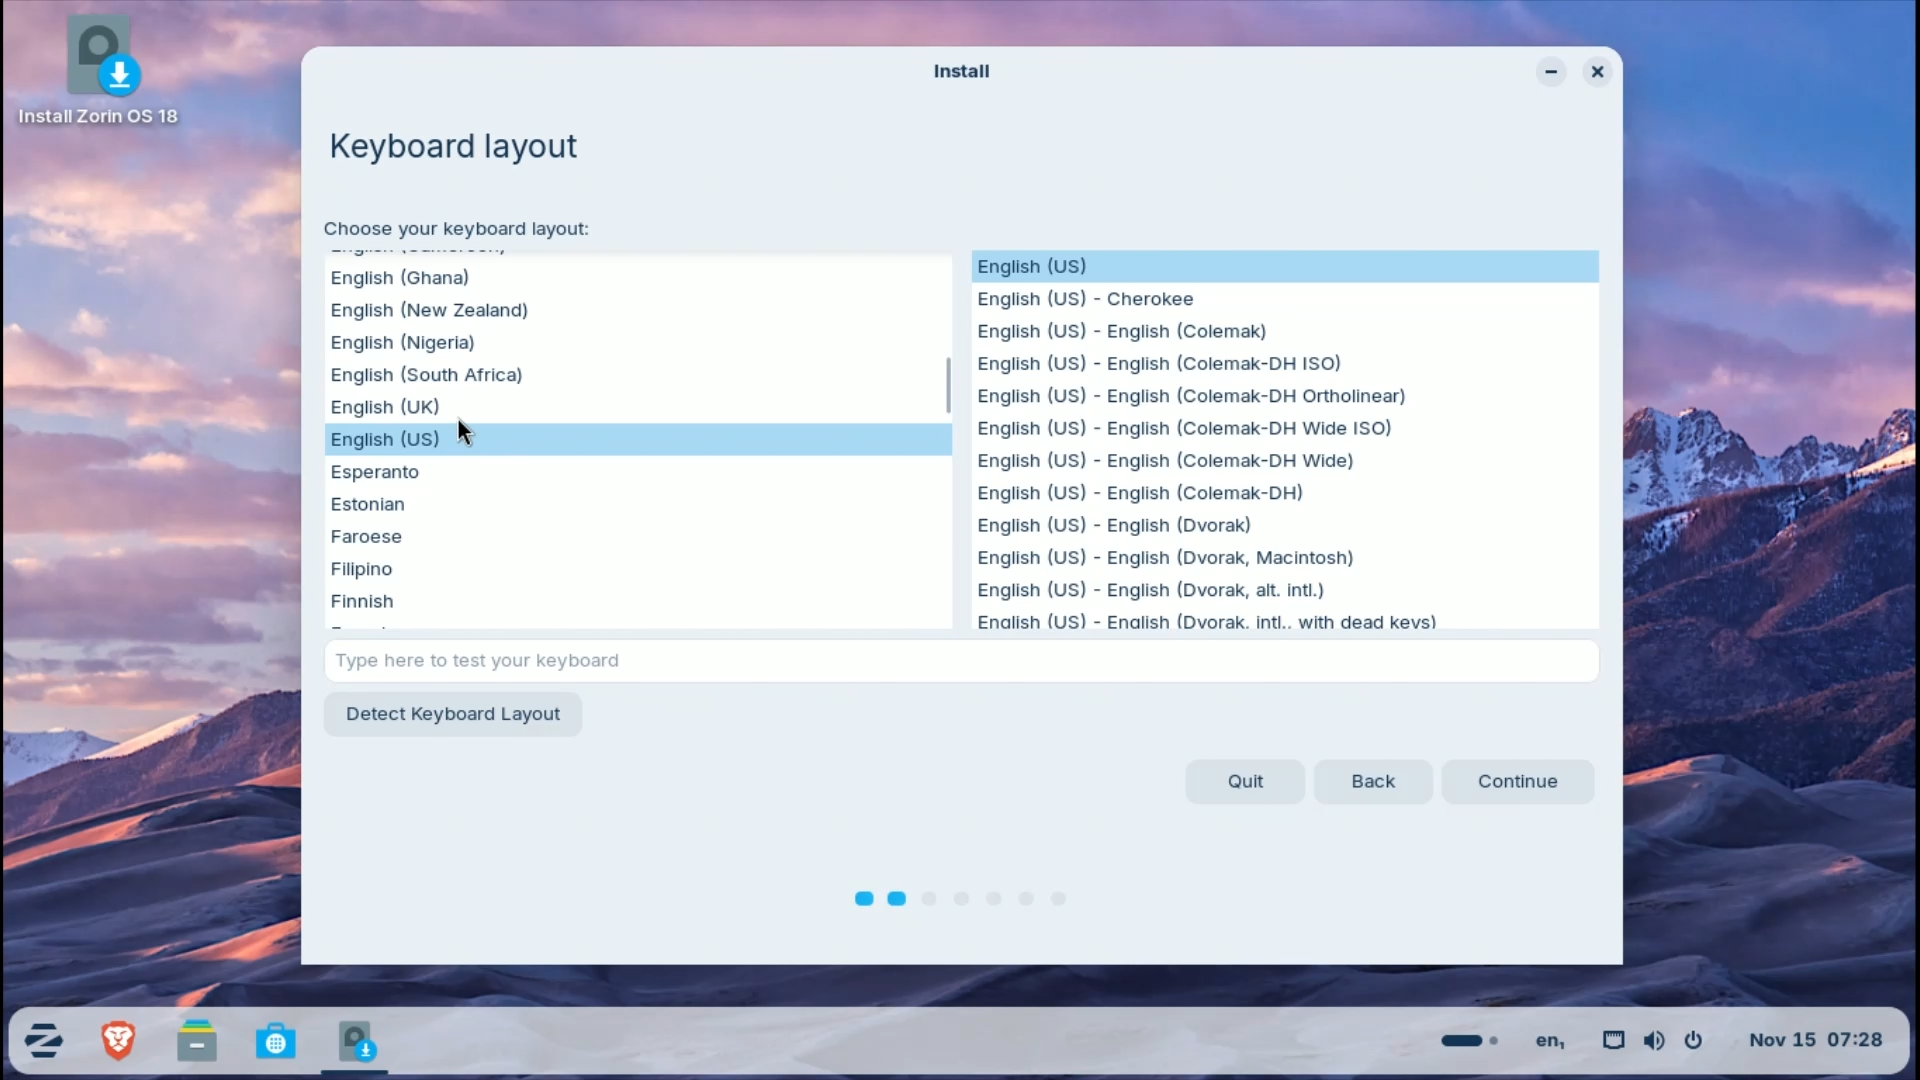
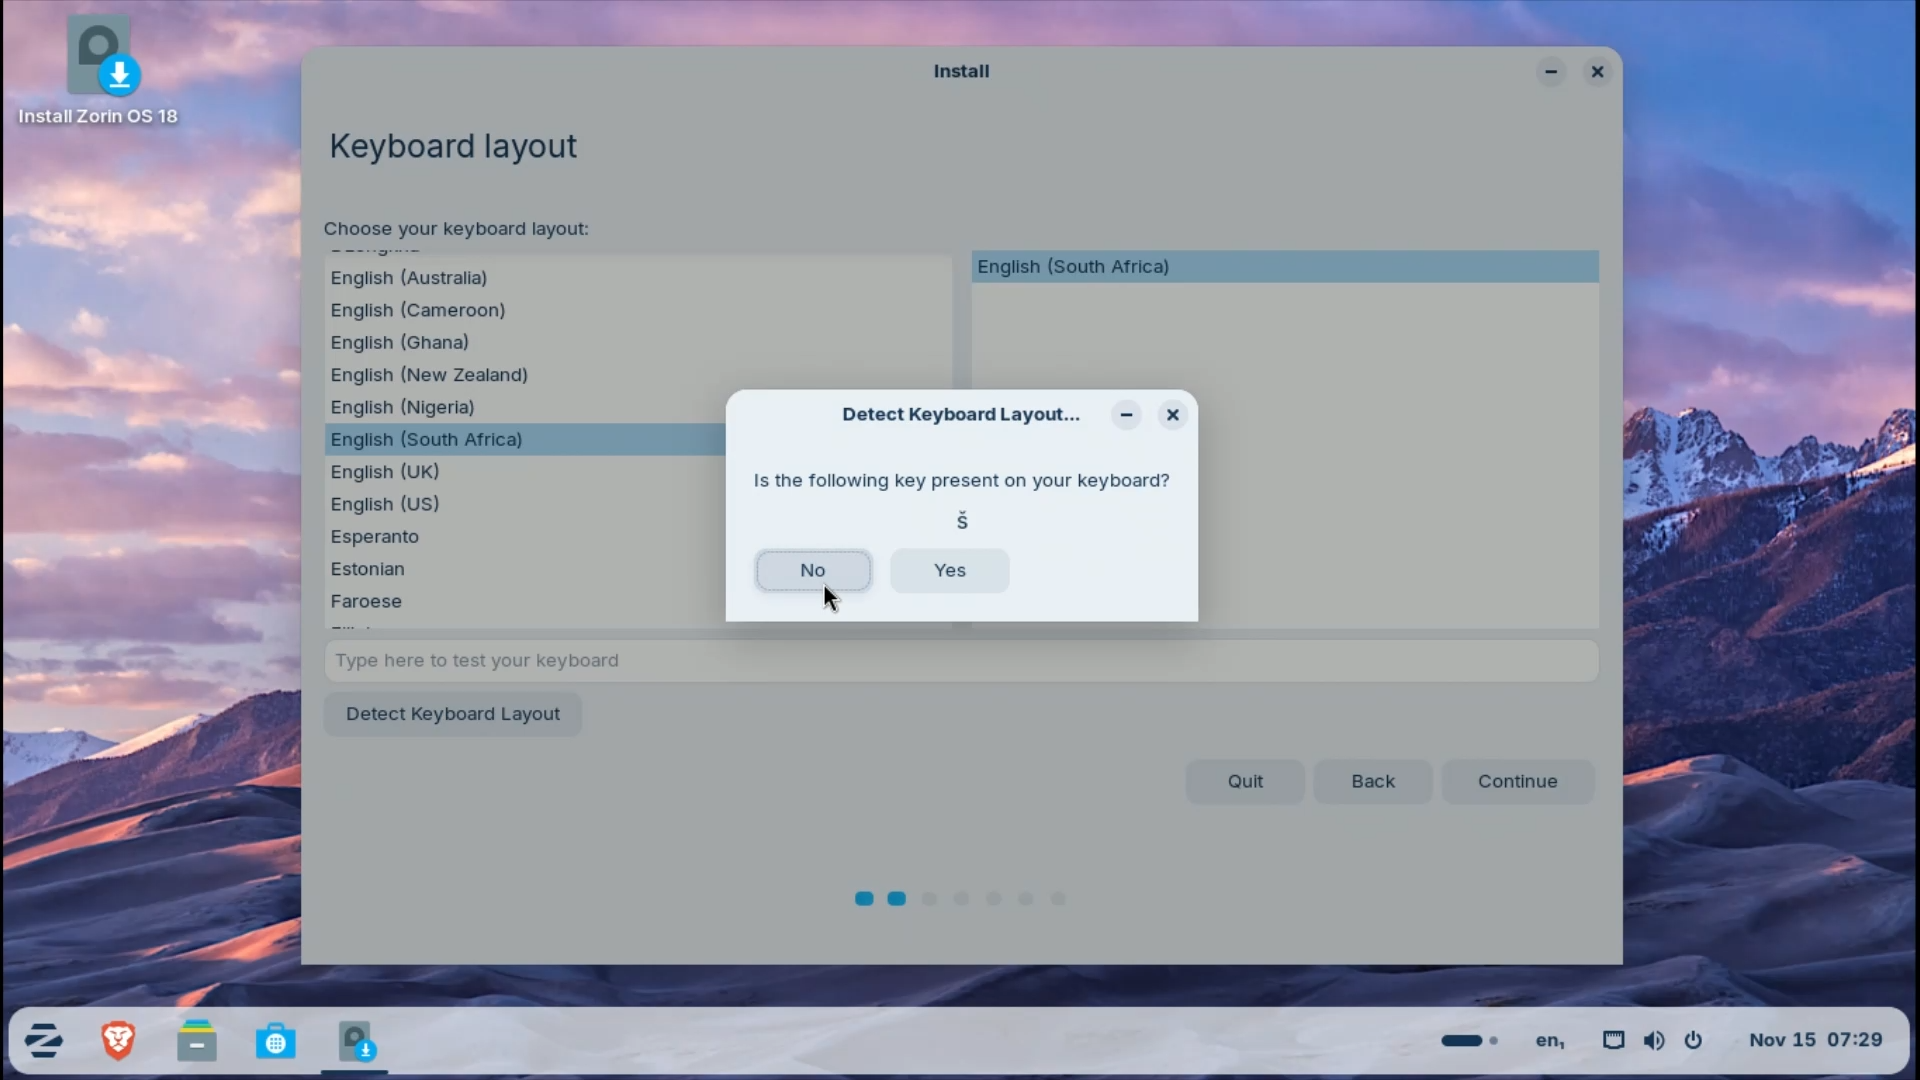
Next, select your preferred keyboard layout. For example, American English works for standard English layout keyboards. If you are unsure, click “Detect Keyboard Layout”. It will ask you to press a few keys. Follow the prompts, and it will detect your keyboard layout automatically.
Step 3.5: Updates & Software
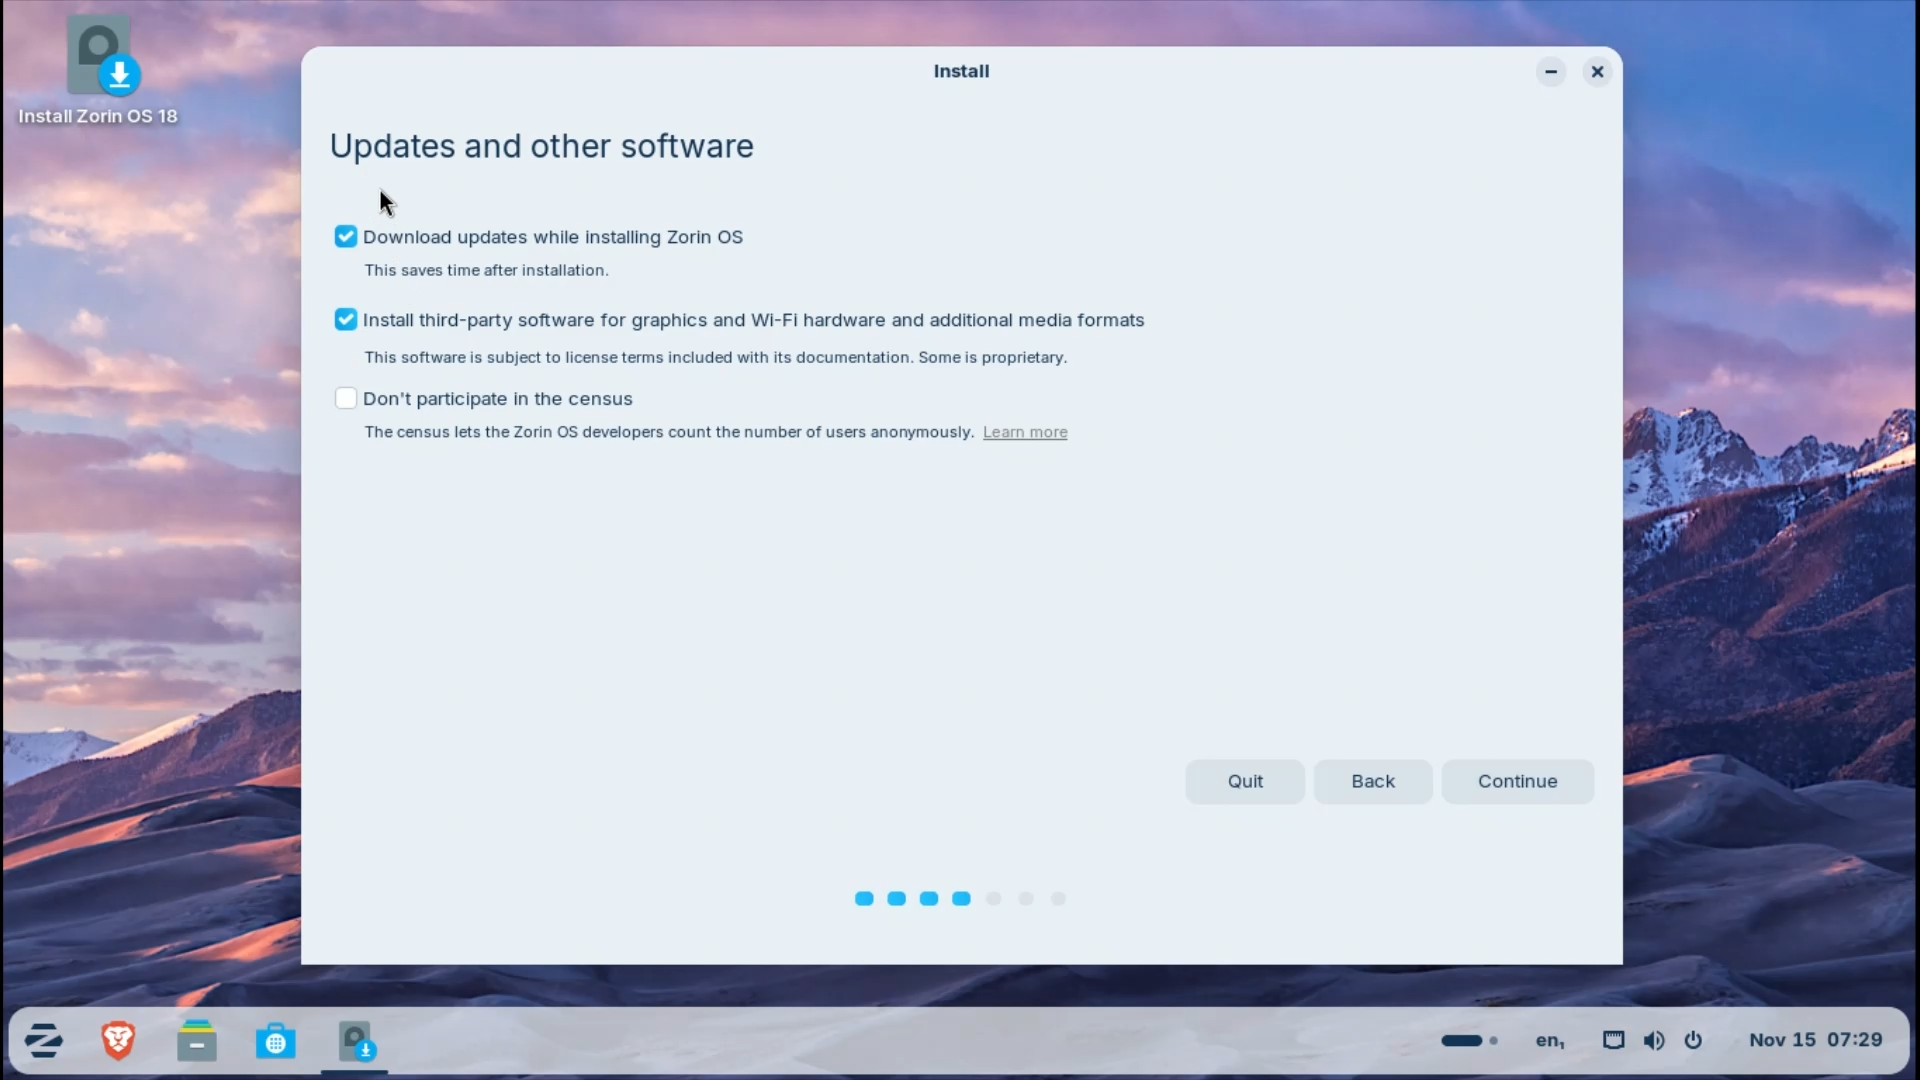
The first two options here are pre-selected:
-> Download updates while installing - Keep this checked if you want a fully up-to-date system upon installation
-> Install third-party software and drivers - Keep this checked for better hardware support
The final option is the Zorin OS census. If you want to support Zorin with anonymous usage data, leave it unchecked. If you do not want to share your data, check the box.
Step 3.6: Installation Type
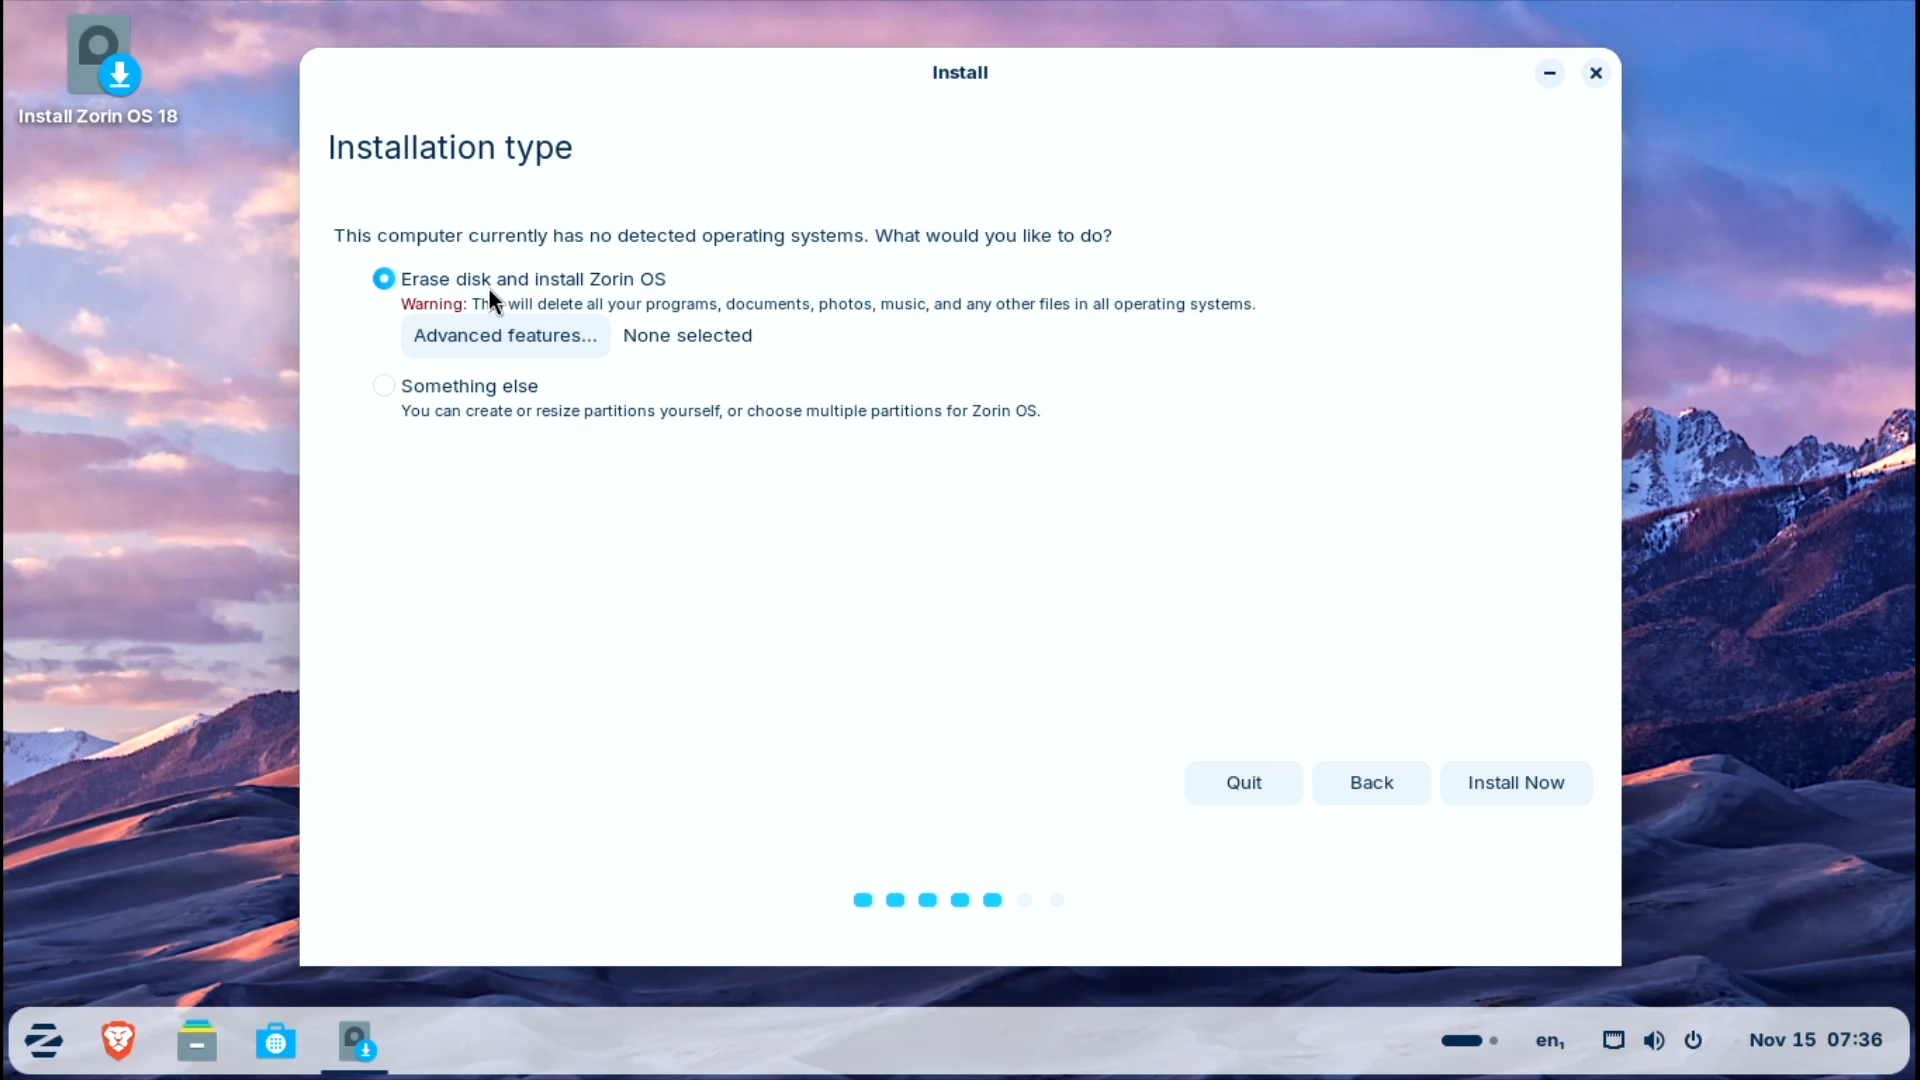
For beginners, the default first option, “Erase disk and install Zorin OS”, is the best choice. It will auto-partition everything. For VirtualBox users, this only erases the virtual disk; your real system is completely safe. For physical installations, double-check the drive you are selecting, because this will erase everything on it.

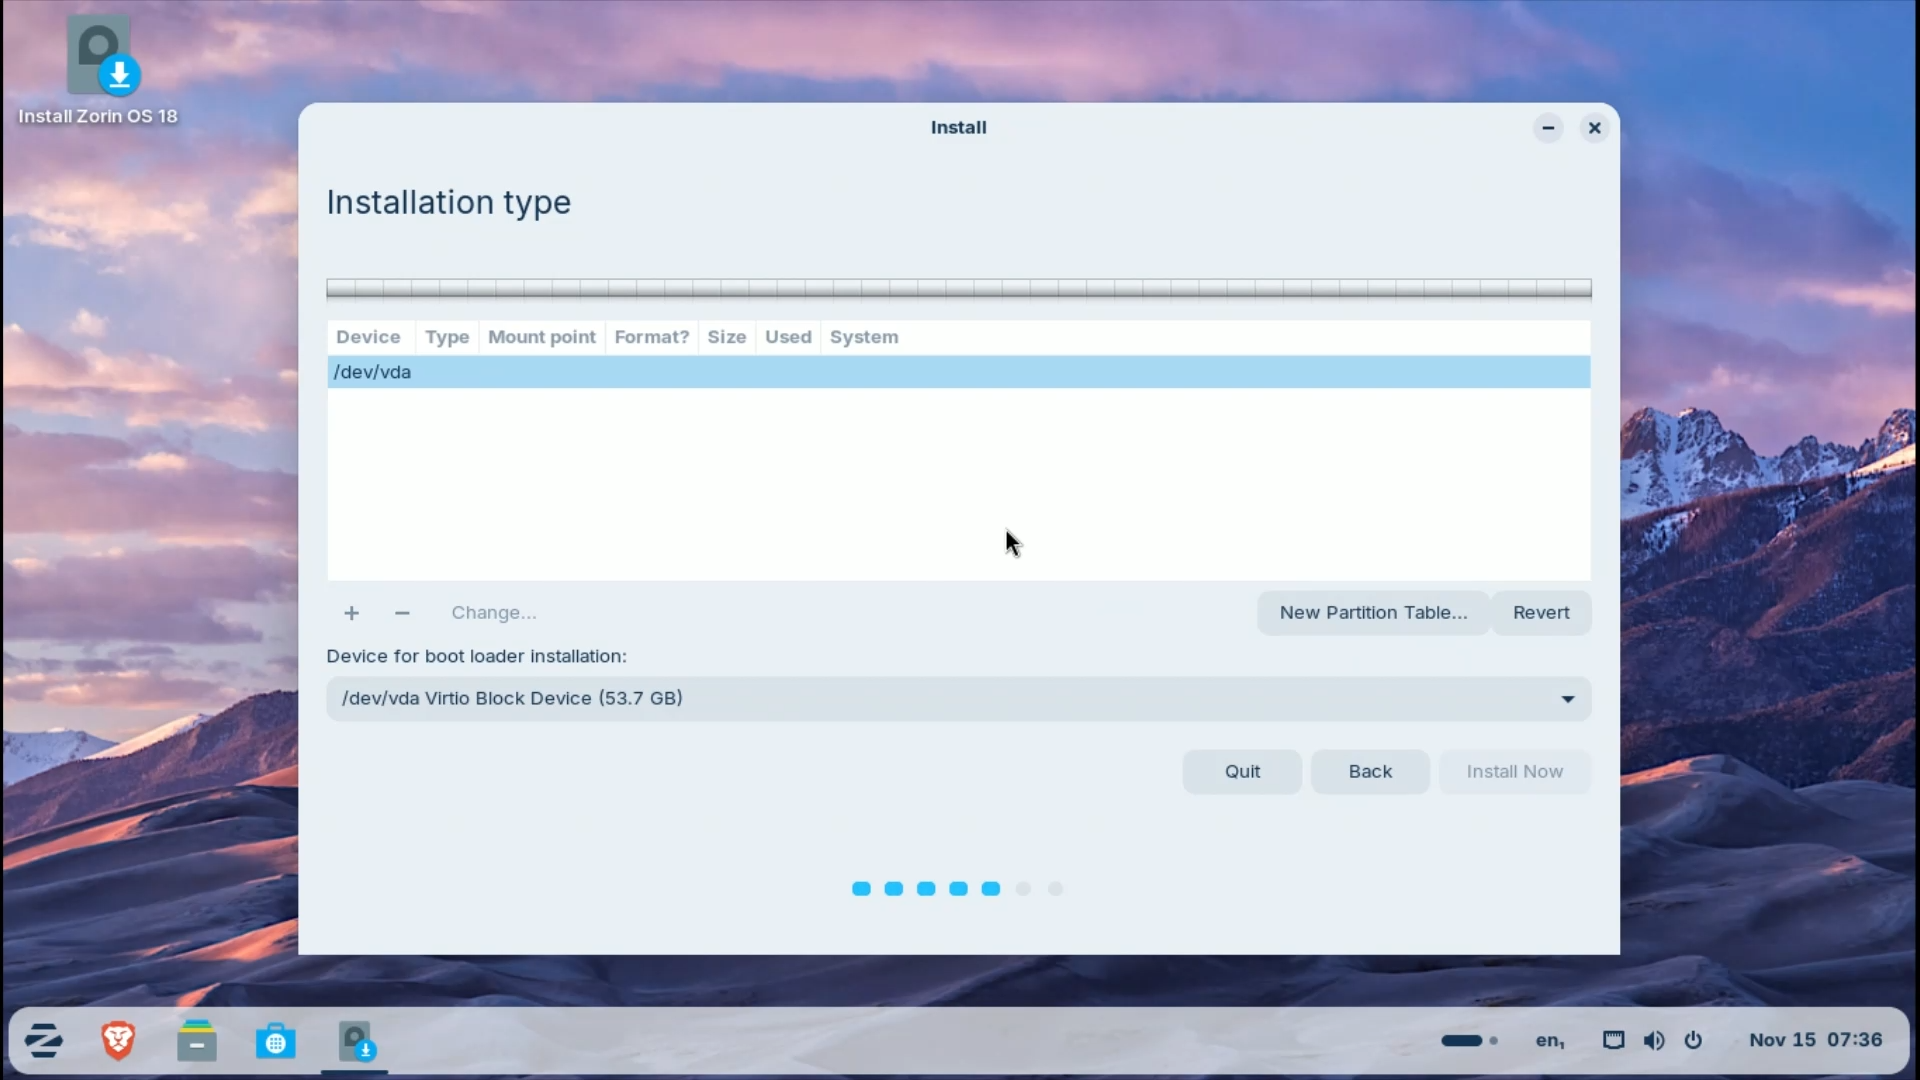

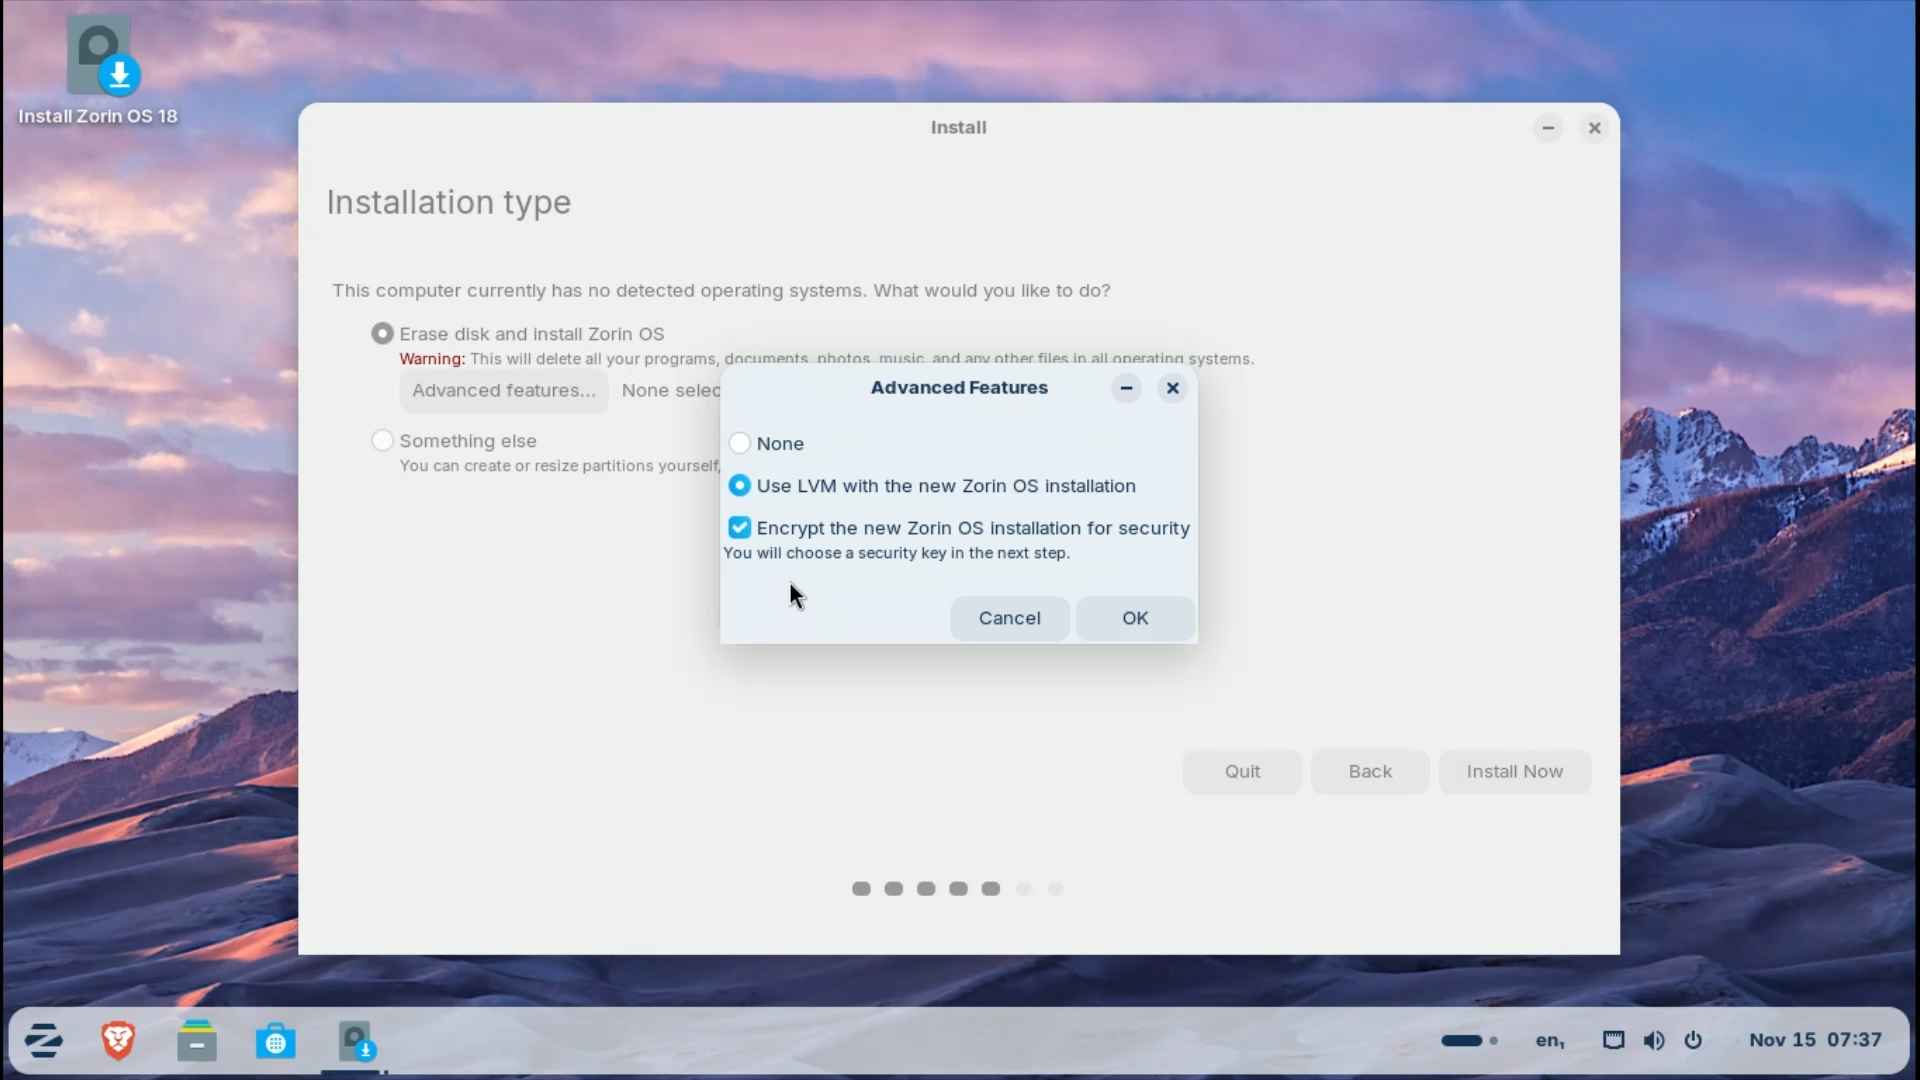
If you are dual-booting or want custom partitions, choose “Something else” But for most users, automatic partitioning works perfectly. Additionally, if you prefer to encrypt your disk or use Logical Volume Management, you’ll find these options in “Advanced features”.
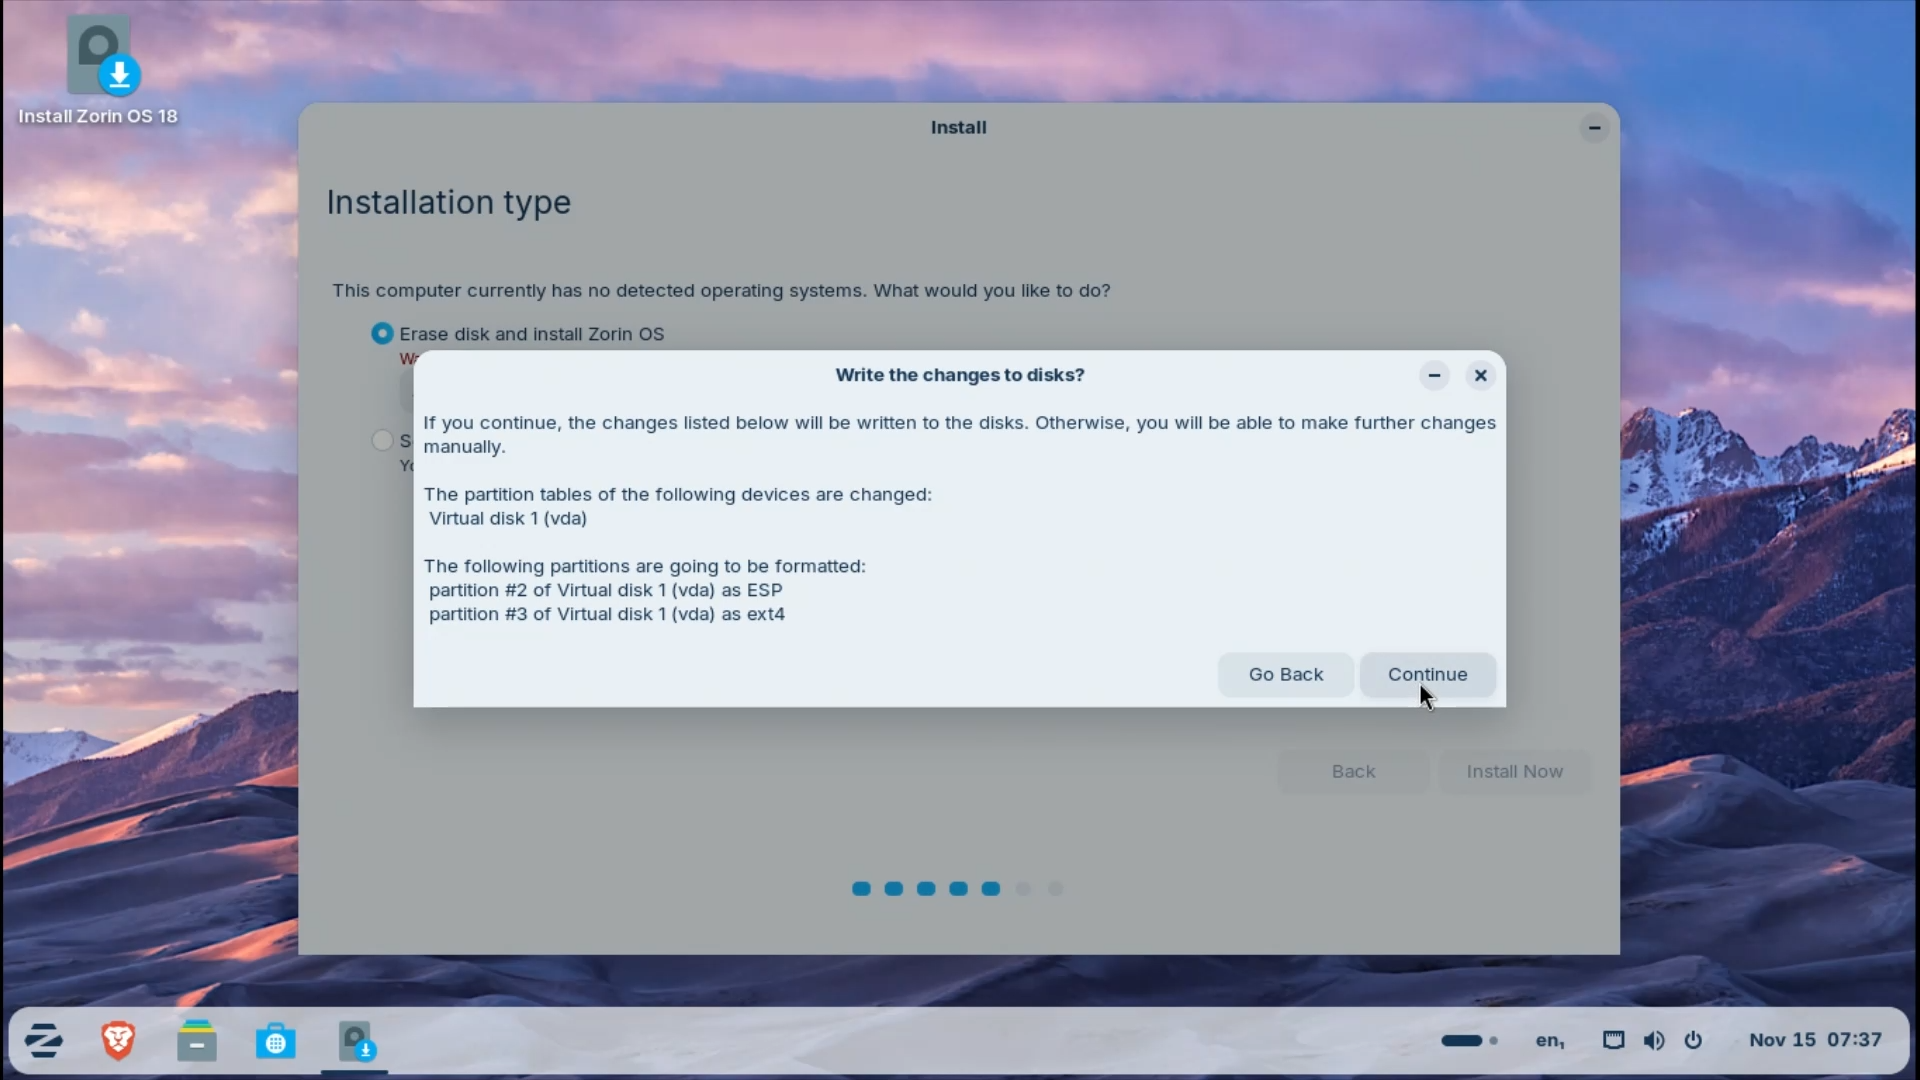
Click Install Now. The installer will create a swap partition and a boot partition automatically, and you can continue.
Step 3.7: Location and Time Zone
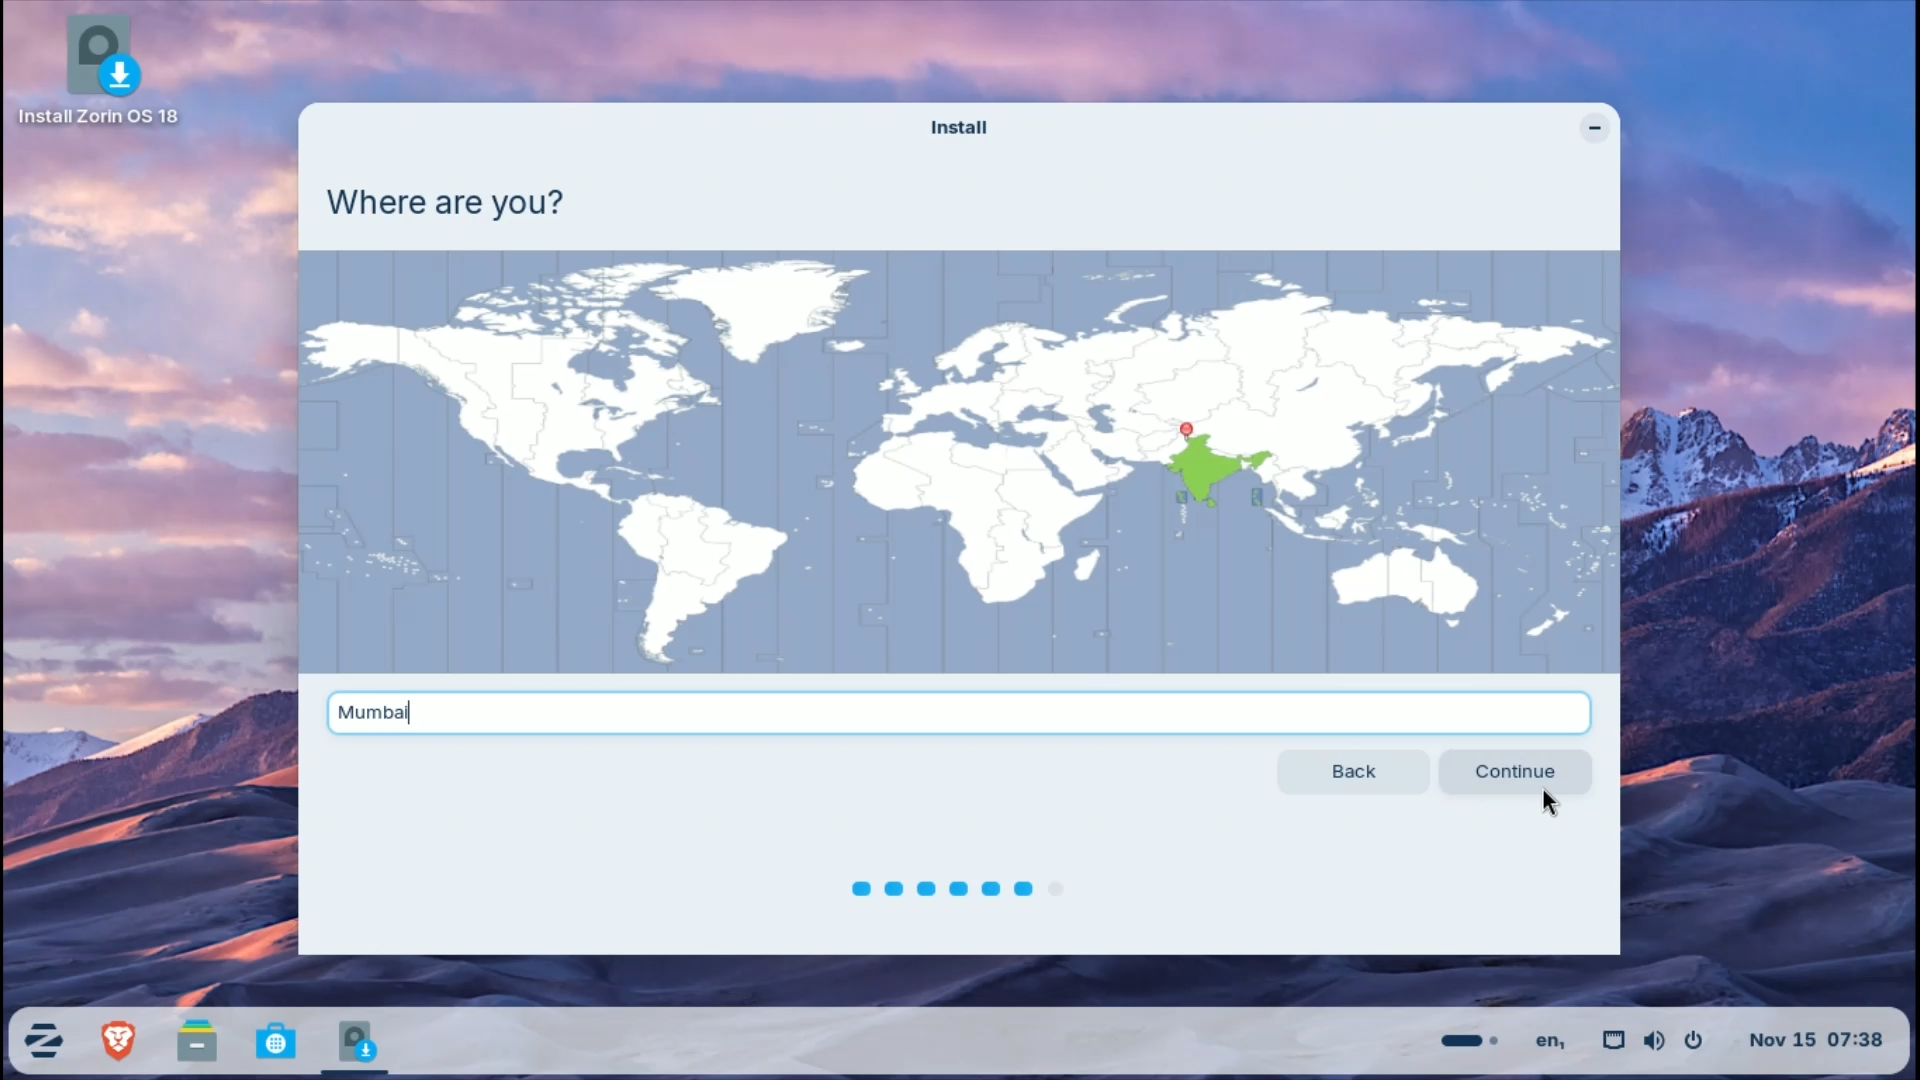
The installer should automatically detect your location and Time Zone. If it’s wrong, you can change it either by selecting a place on the map or by typing the name of the location in the search bar.
Step 3.8: User Setup
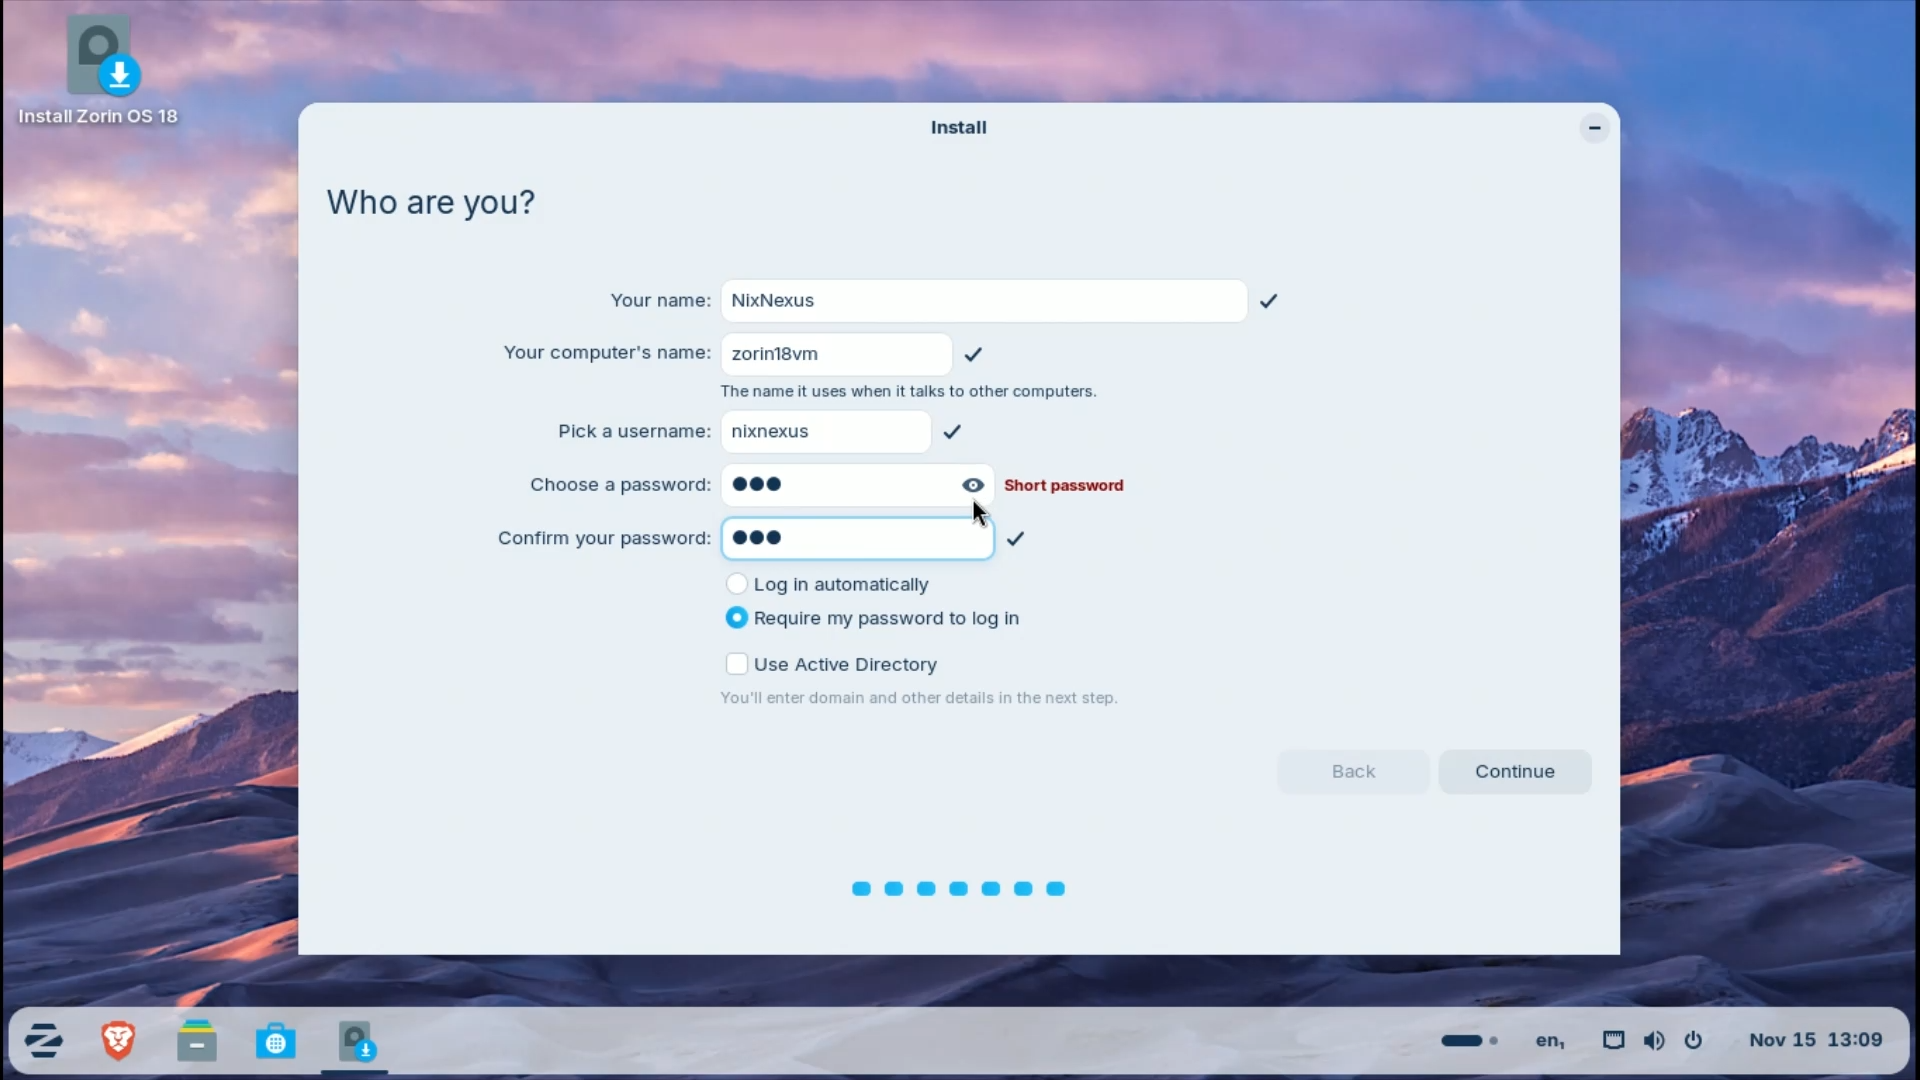
The final step is configuring your username and password. First, enter your name. The username and computer name will be auto-filled. However, you can change them if you want.
Then choose your password. Because this will be your user password as well as your root password, make sure it follows strong password rules.
Click Continue.
Step 3.9: Installation
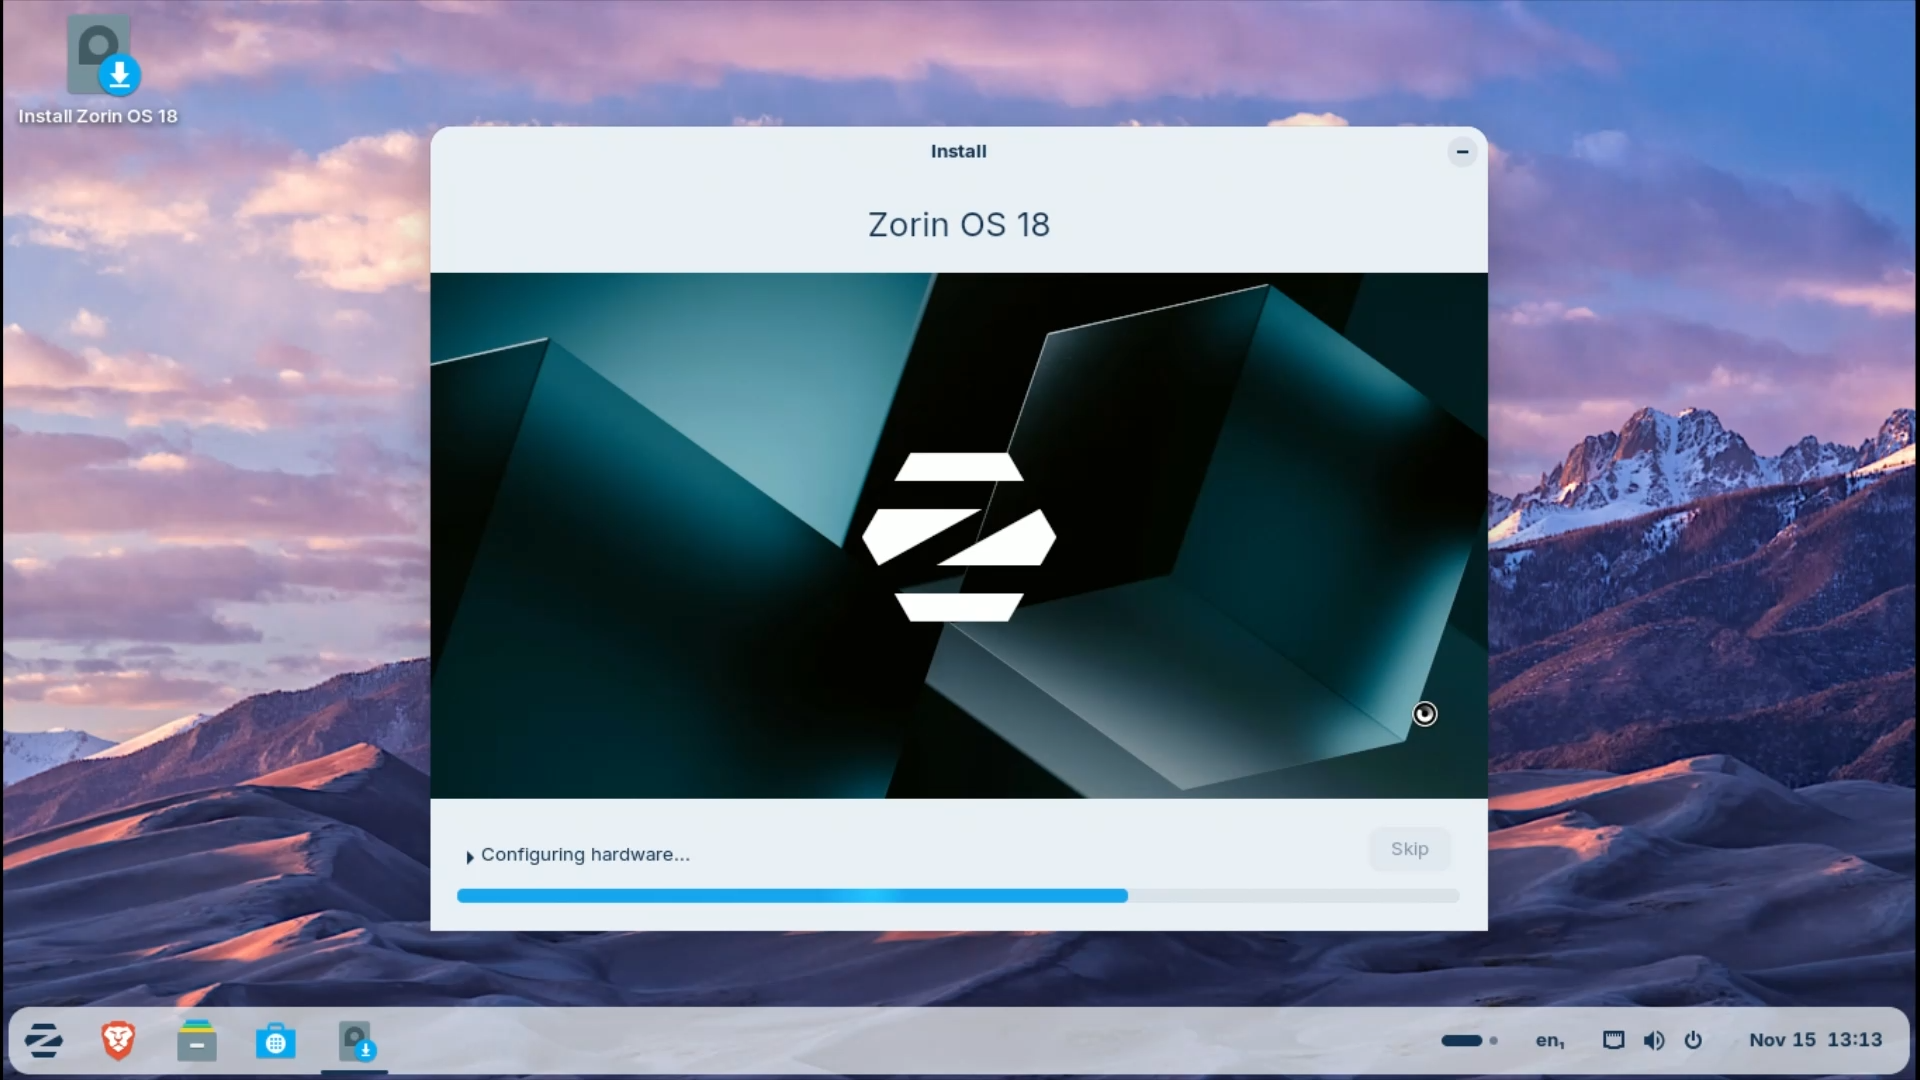
After completing the setup, the installer will copy files and configure your system. This takes about 10-15 minutes.

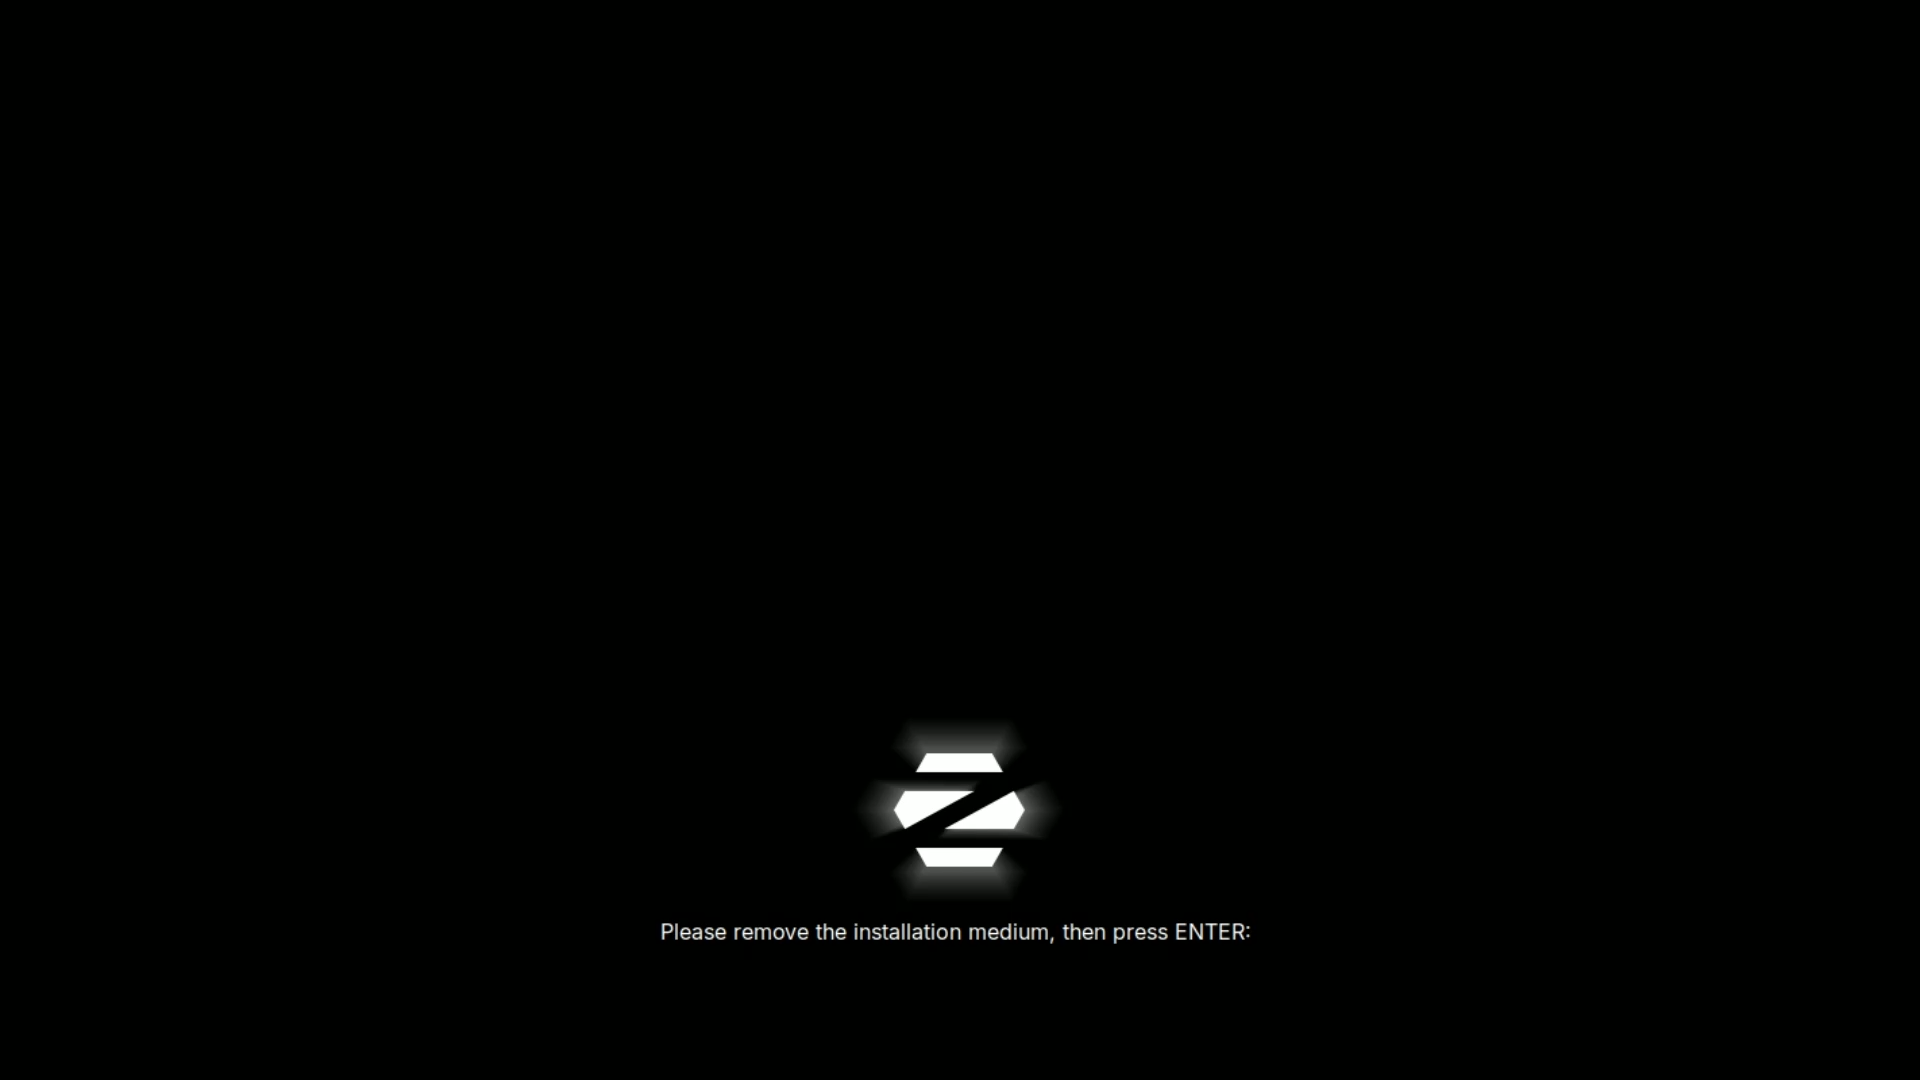
Once done, click Restart. If you are using a USB, it will prompt you to remove the drive. Do it, and with that, the Zorin OS 18 installation will be complete.
Step 4: First Boot
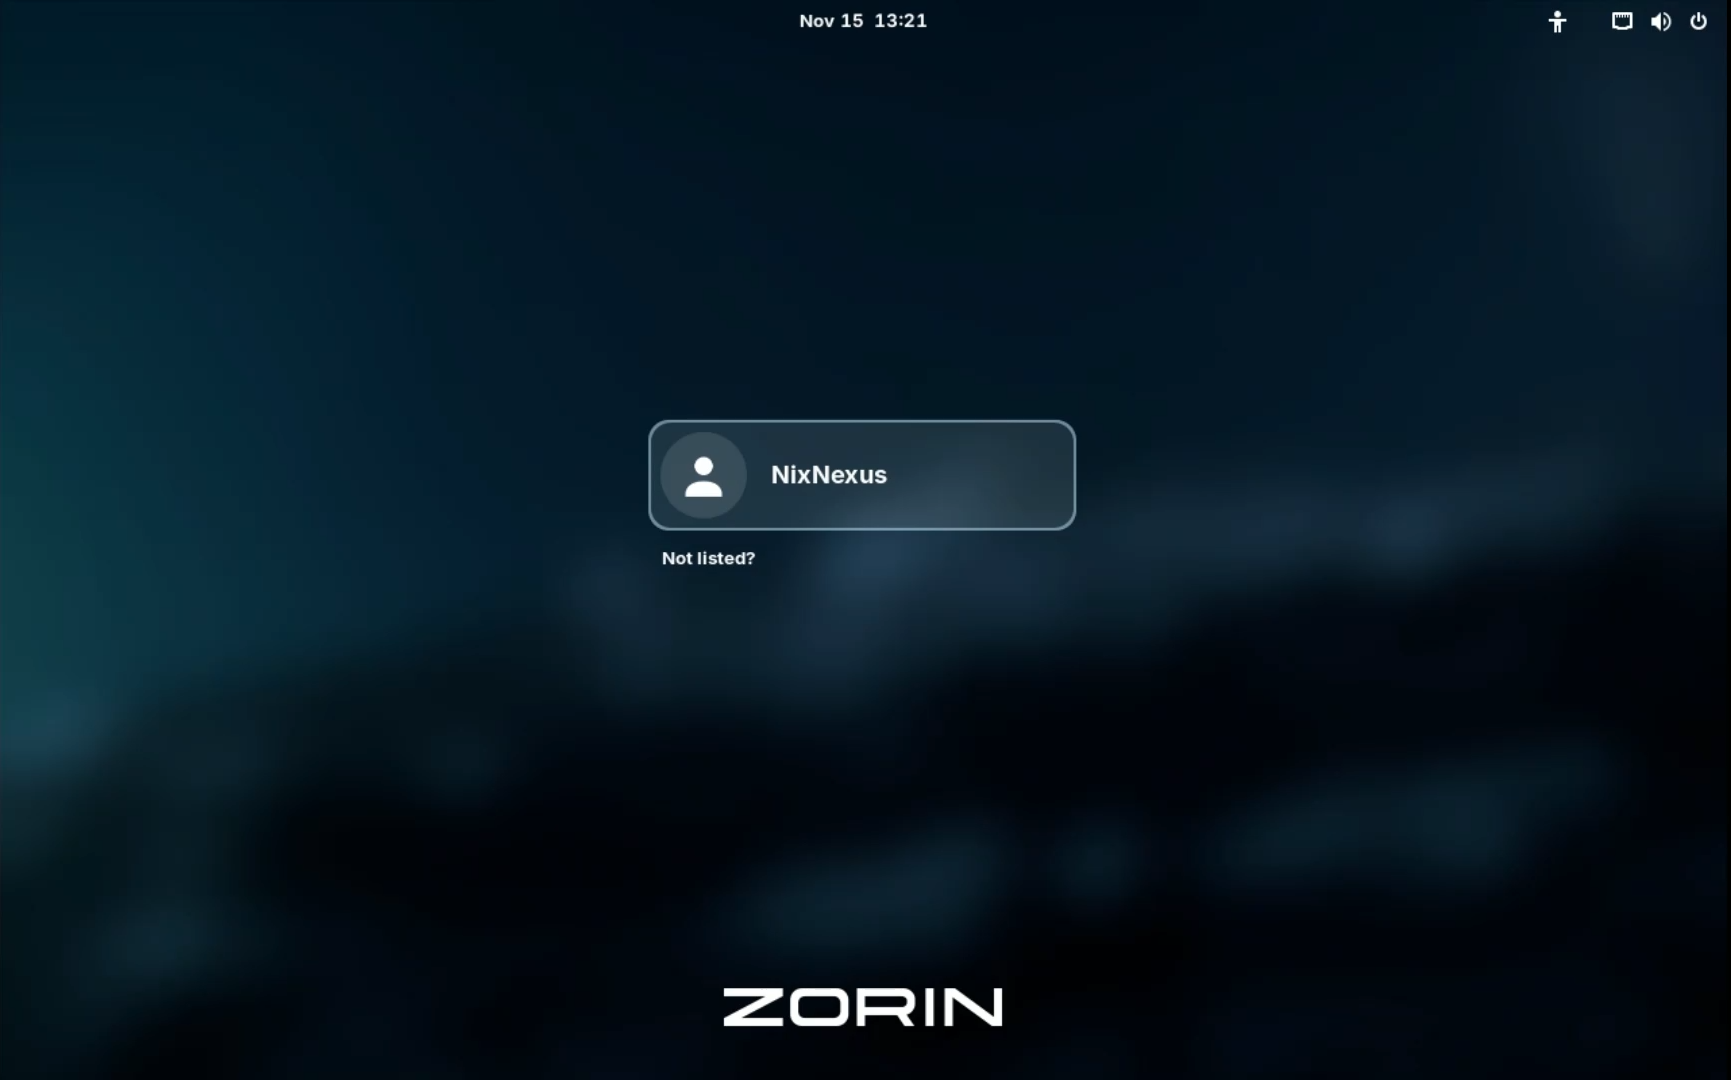
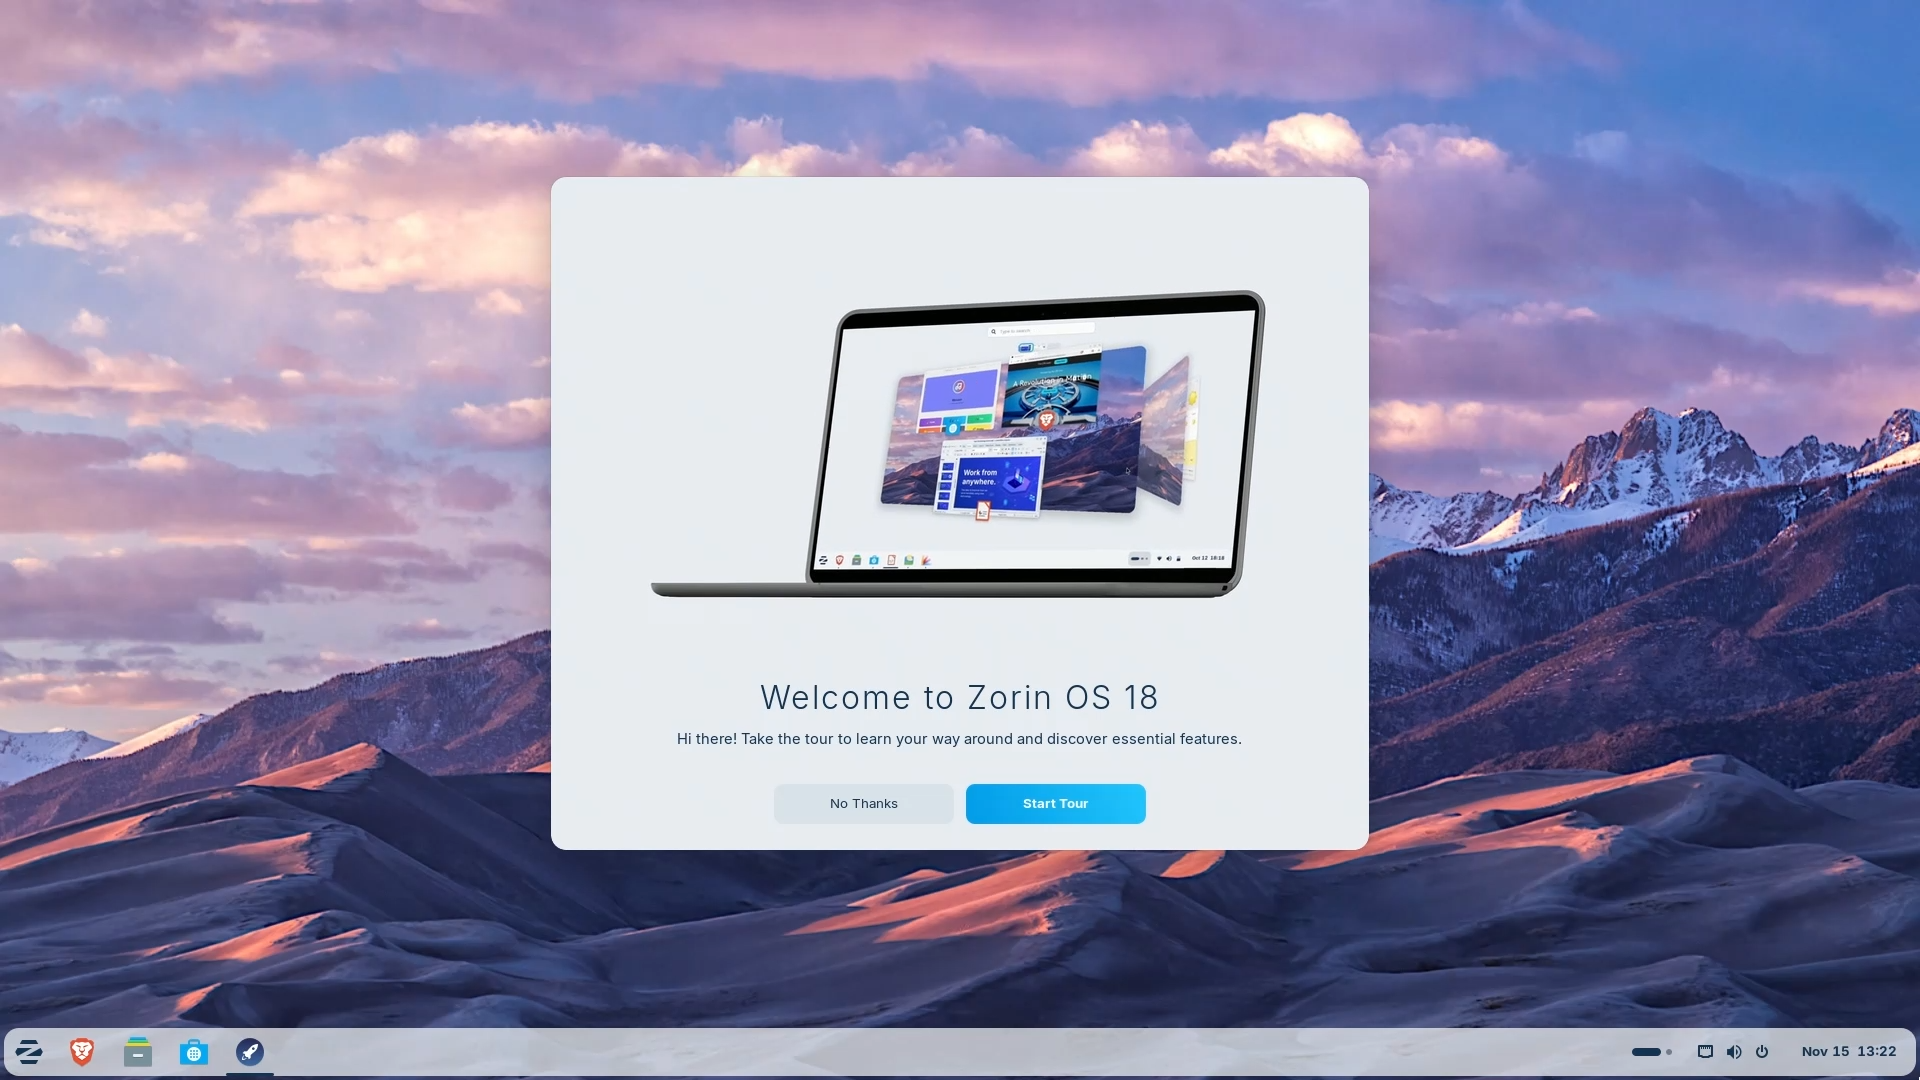
Post-installation, when you restart your System, the GDM login screen will appear. Your username will be automatically captured, so just enter your password and you’re in. Welcome to a newly installed Zorin OS 18 Core Edition!
If you have installed Zorin OS on physical hardware, you are all set. Explore the desktop, install apps from the Software store, and enjoy your new system.
If you have installed Zorin OS on VirtualBox, then installing Guest Additions is recommended for better performance, shared folders, and seamless mouse/keyboard integration.
Conclusion
The installation of Zorin OS 18 is a straightforward and beginner-friendly process, making it an excellent choice for those switching from Windows or MacOS.
With 5 years of support until 2029, a polished GNOME 46 desktop, and compatibility with older hardware, Zorin OS 18 represents one of the best entry points into the GNU/Linux world.
Frequently Asked Questions
Q: Is Zorin OS 18 free?
A: Yes. The Core edition is completely free. There is also a paid Pro edition that includes additional layouts, apps, and support.
Q: What are the system requirements for Zorin OS 18?
A: Zorin OS runs on most modern computers. But minimum system requirement for Core edition is: 2GB RAM, 15GB storage, 64-bit processor. And Recommended: 4GB+ RAM, 50GB+ storage for apps and games. Where as the Zorin OS Lite edition is designed specifically for older hardware with limited resources.
Q: What are the different Zorin OS 18 editions and which should I choose?
A: Zorin OS Pro ($48) - Extra features and premium support. Zorin OS Core (Free) - Best for everyday use, recommended for most users. Zorin OS Education - Tailored for students and schools. Zorin OS Lite - For older, low-resource computers. For first-time users, Core Edition is the best choice.
Q: Can I try Zorin OS without installing it?
A: Yes. You can use the “Try Zorin OS” option in the installer to test it in a live environment without modifying your system.
Q: Is it safe to test Zorin OS in VirtualBox?
A: Yes. Running Zorin OS in VirtualBox creates a virtual machine, so your real operating system and files remain untouched.
Q: How do I create a bootable USB for Zorin OS?
A: You can use tools like Ventoy to create a bootable USB. After installing Ventoy on the USB drive, simply copy the Zorin OS ISO file onto it.
Q: Will installing Zorin OS delete my Windows installation or my Data?
A: Yes, if you select your Windows drive. Always double-check which drive is selected. For VirtualBox, it only erases the virtual disk—your real system is safe. For physical installations, back up all important data first. To keep Windows, choose “Install alongside” option instead. If you choose “Erase disk and install Zorin OS”, it will delete all data on the selected drive. Always back up important files before installing.
Q: How long does the installation take?
A: The installation process typically takes around 10–15 minutes, depending on your system performance.
Q: How long is Zorin OS 18 supported?
A: Zorin OS 18 is based on Ubuntu 24.04 LTS and will receive support and updates until 2029. You’ll receive security updates, bug fixes, and software updates throughout this period without needing to upgrade to newer Zorin versions.
Q: What should I do after installing Zorin OS?
A: After installation, (1) Update the system with sudo apt update && sudo apt upgrade, (2) Install VirtualBox Guest Additions if using VirtualBox, (3) Explore the Software store to install your needed apps, (4) Customise desktop layout using Zorin Appearance tool.
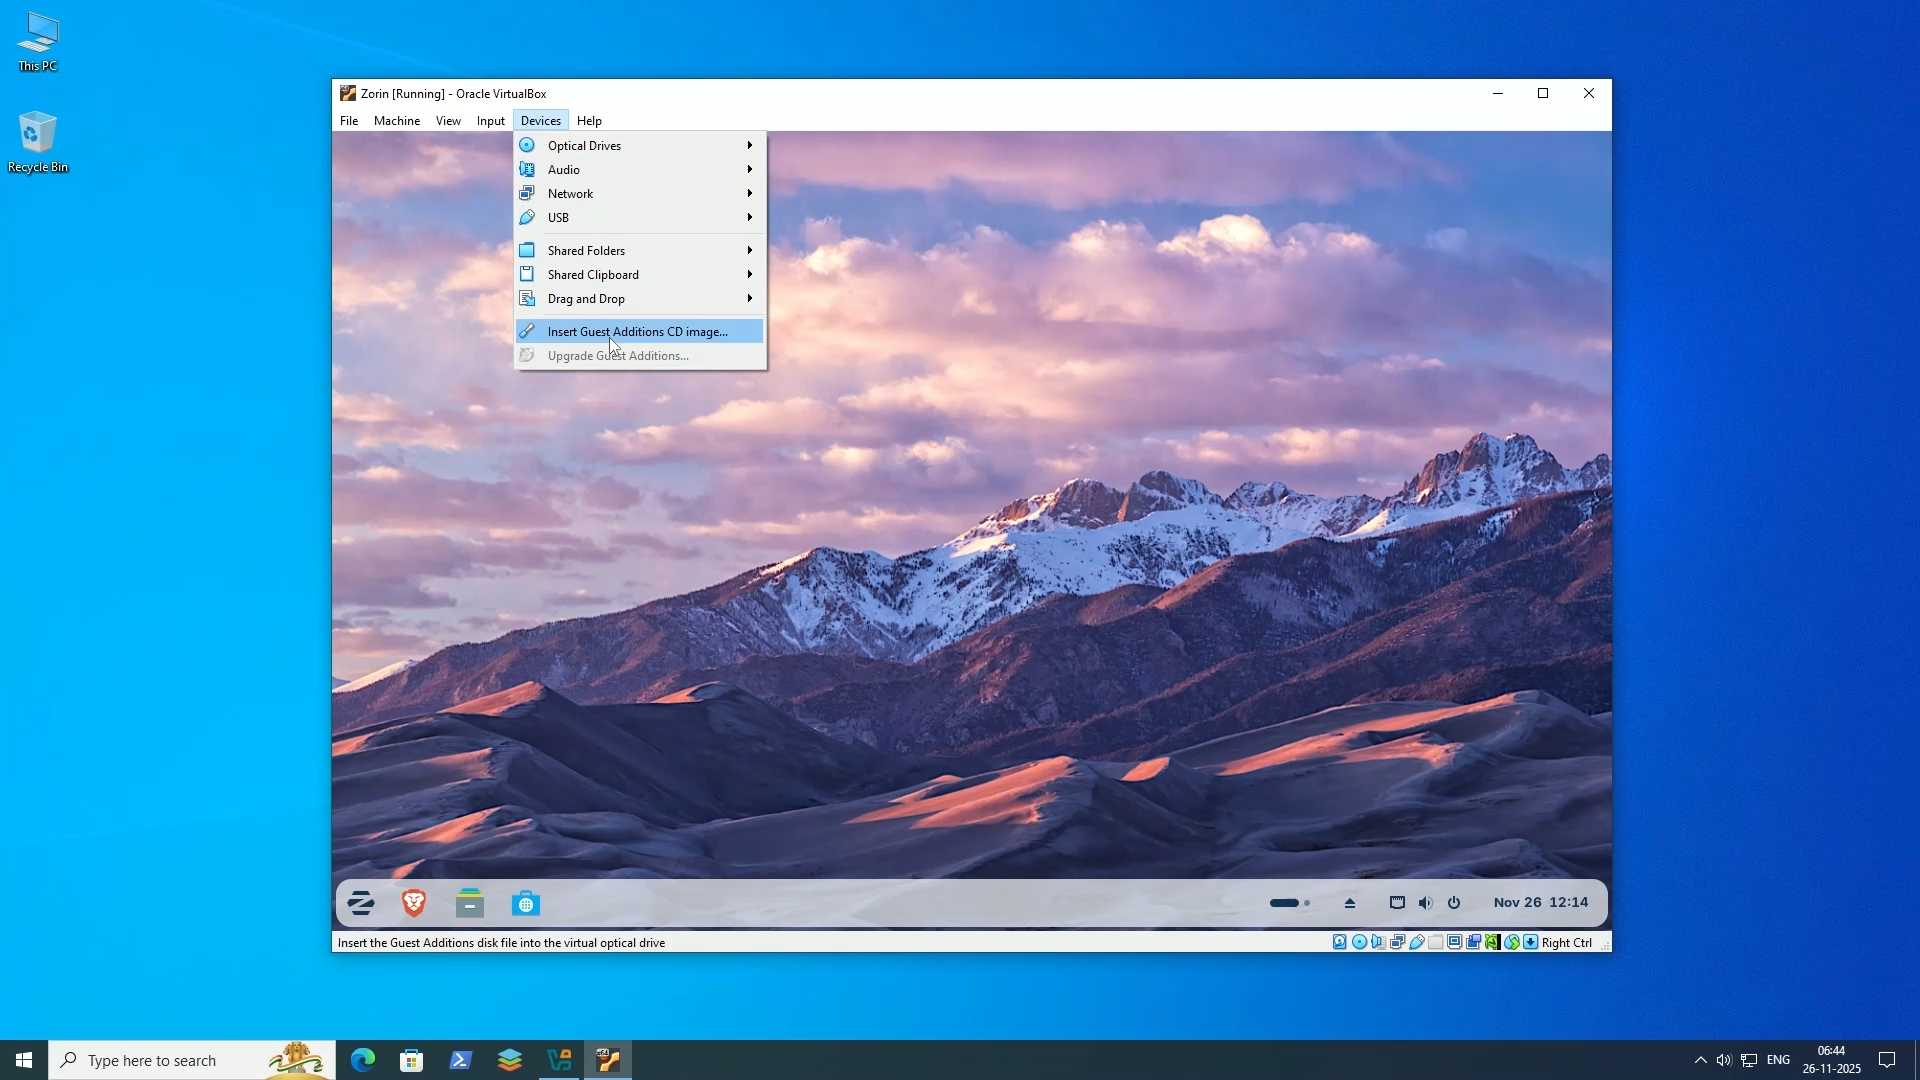
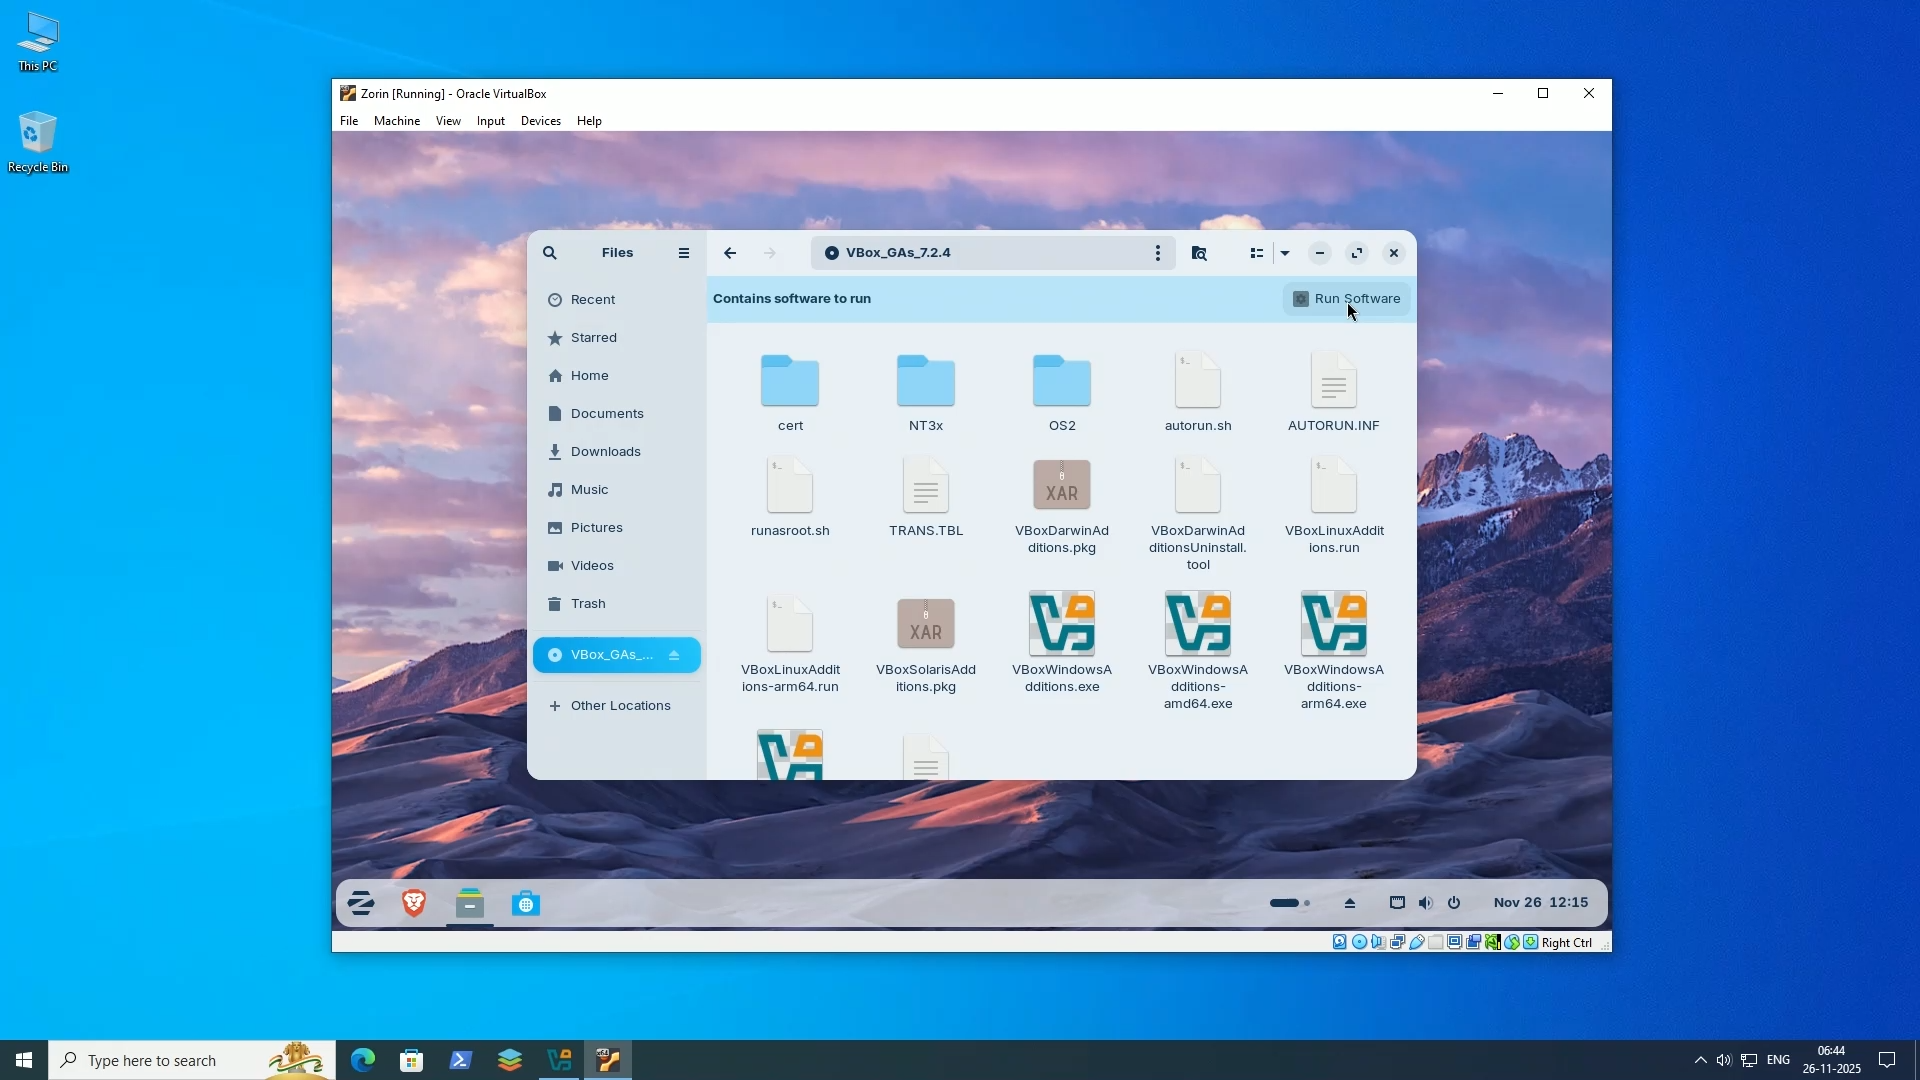
Q: Why should I install VirtualBox Guest Additions?
A: Guest Additions provide: better graphics performance, seamless mouse integration (no more clicking to release mouse), shared folders between host and VM, shared clipboard for copy-paste between systems, automatic screen resolution adjustment. Essential for good VirtualBox experience. Install from VirtualBox menu: Devices → Insert Guest Additions CD.
Q: Can I dual-boot Zorin OS 18 with Windows?
A: Yes. Choose “Install alongside” option during partitioning instead of “Erase disk.” The installer will automatically resize your Windows partition and install Zorin in the freed space. You’ll get a boot menu to choose between Windows and Zorin at startup.
📑 If you enjoyed this article, you may also like our guide on:
🎬 Prefer watching? Here’s the detailed video:
💬 Engage With The Community:
🔀 Share this Article: