Debian Installation Made Easy With Live Images & Calamares Installer
Quick Summary
Debian Live Images offer an easier way to install Debian. You can test the system in a fully functional live environment, check hardware compatibility, and install the OS using the graphical Calamares installer instead of the traditional Debian installer. This beginner-friendly approach makes installing Debian much simpler for beginners.
Main Article
Debian’s traditional installer can be a bit overwhelming for beginners. The setup process is lengthy compared to other beginner-friendly distros plus you have to answer more questions than usual. Though using it is not as technical as Arch or Gentoo installer, it still creates a barrier for new Linux users.

But there’s a better way: Debian Live Images. This method lets you test Debian in a fully functional environment before installing, and uses the beginner-friendly Calamares installer instead of the traditional one.
Why Use Live Images Instead of Traditional Installer
There are several benefits of using a Debian Live Image:
1. Risk-Free Testing Environment: A fully-functional demo of the Operating System that runs entirely off a USB stick and your computer’s RAM. When you boot from the live image, you can use it as a normal computer. You can connect to the internet, browse the web, check if your hardware like GPU, WiFi, and Bluetooth works properly or not, and get a genuine feel for the desktop.
2. Better Installer The live images contain the Calamares Installer, which is a distribution-independent installer framework and is more user-friendly than the traditional installer.
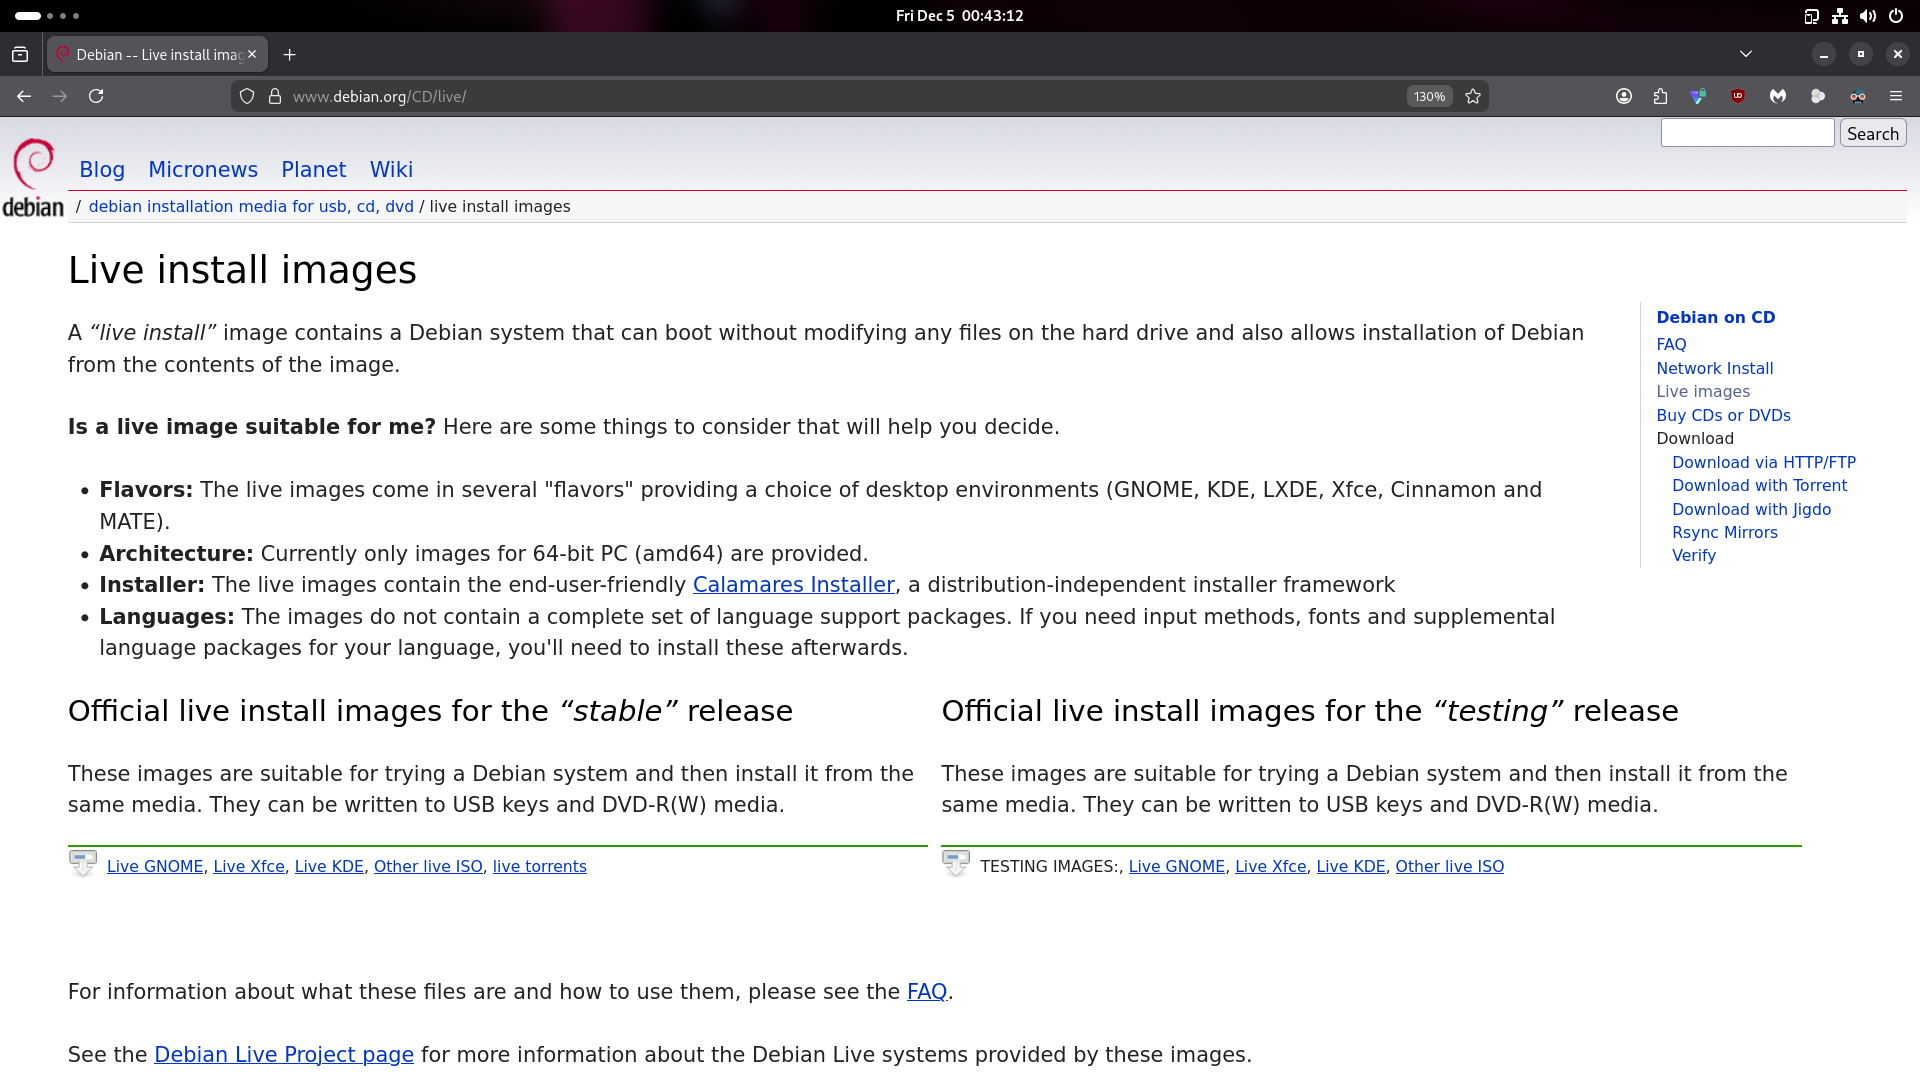
3. Desktop Environment Choice Debian live images come in several “flavours”, providing you with the choice to select your favourite desktop environments from the likes of GNOME, KDE, Xfce, Cinnamon and MATE, even before the installation starts.
Getting the Debian Live Installation ISO
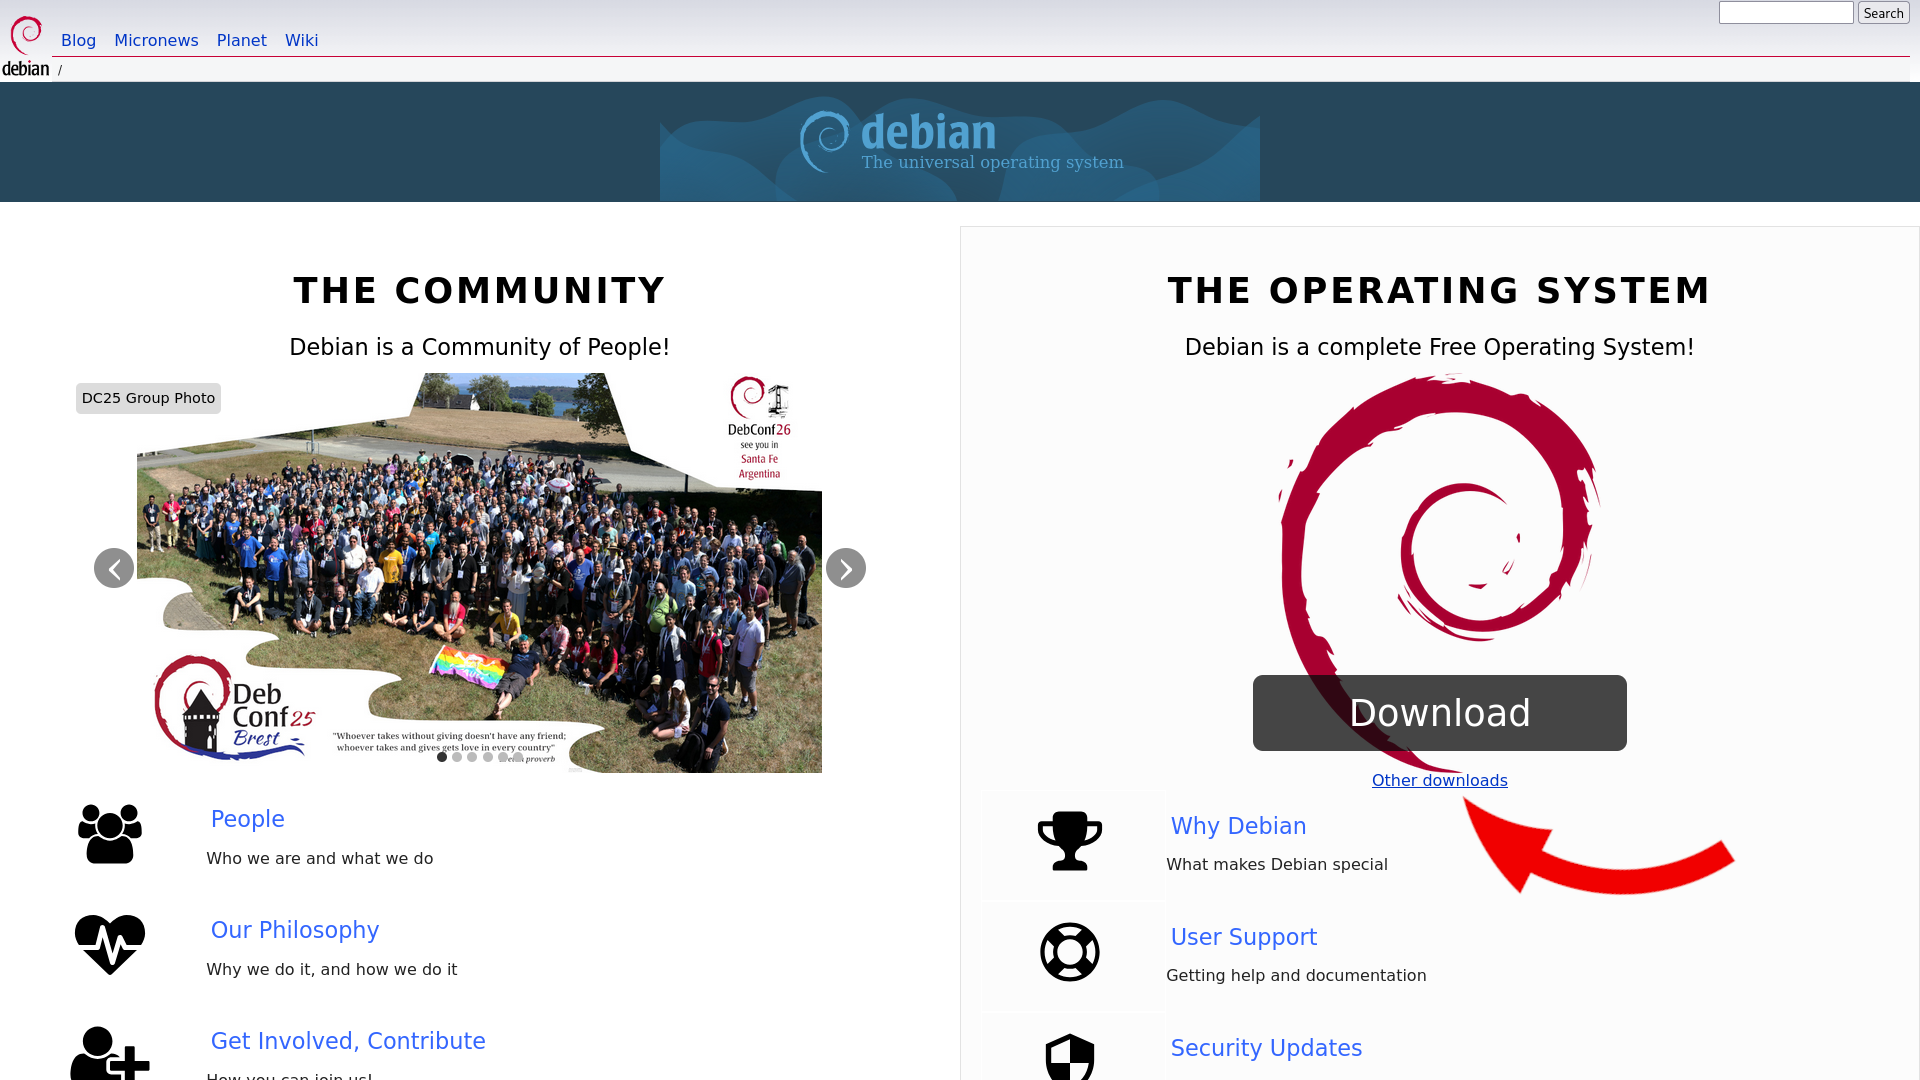
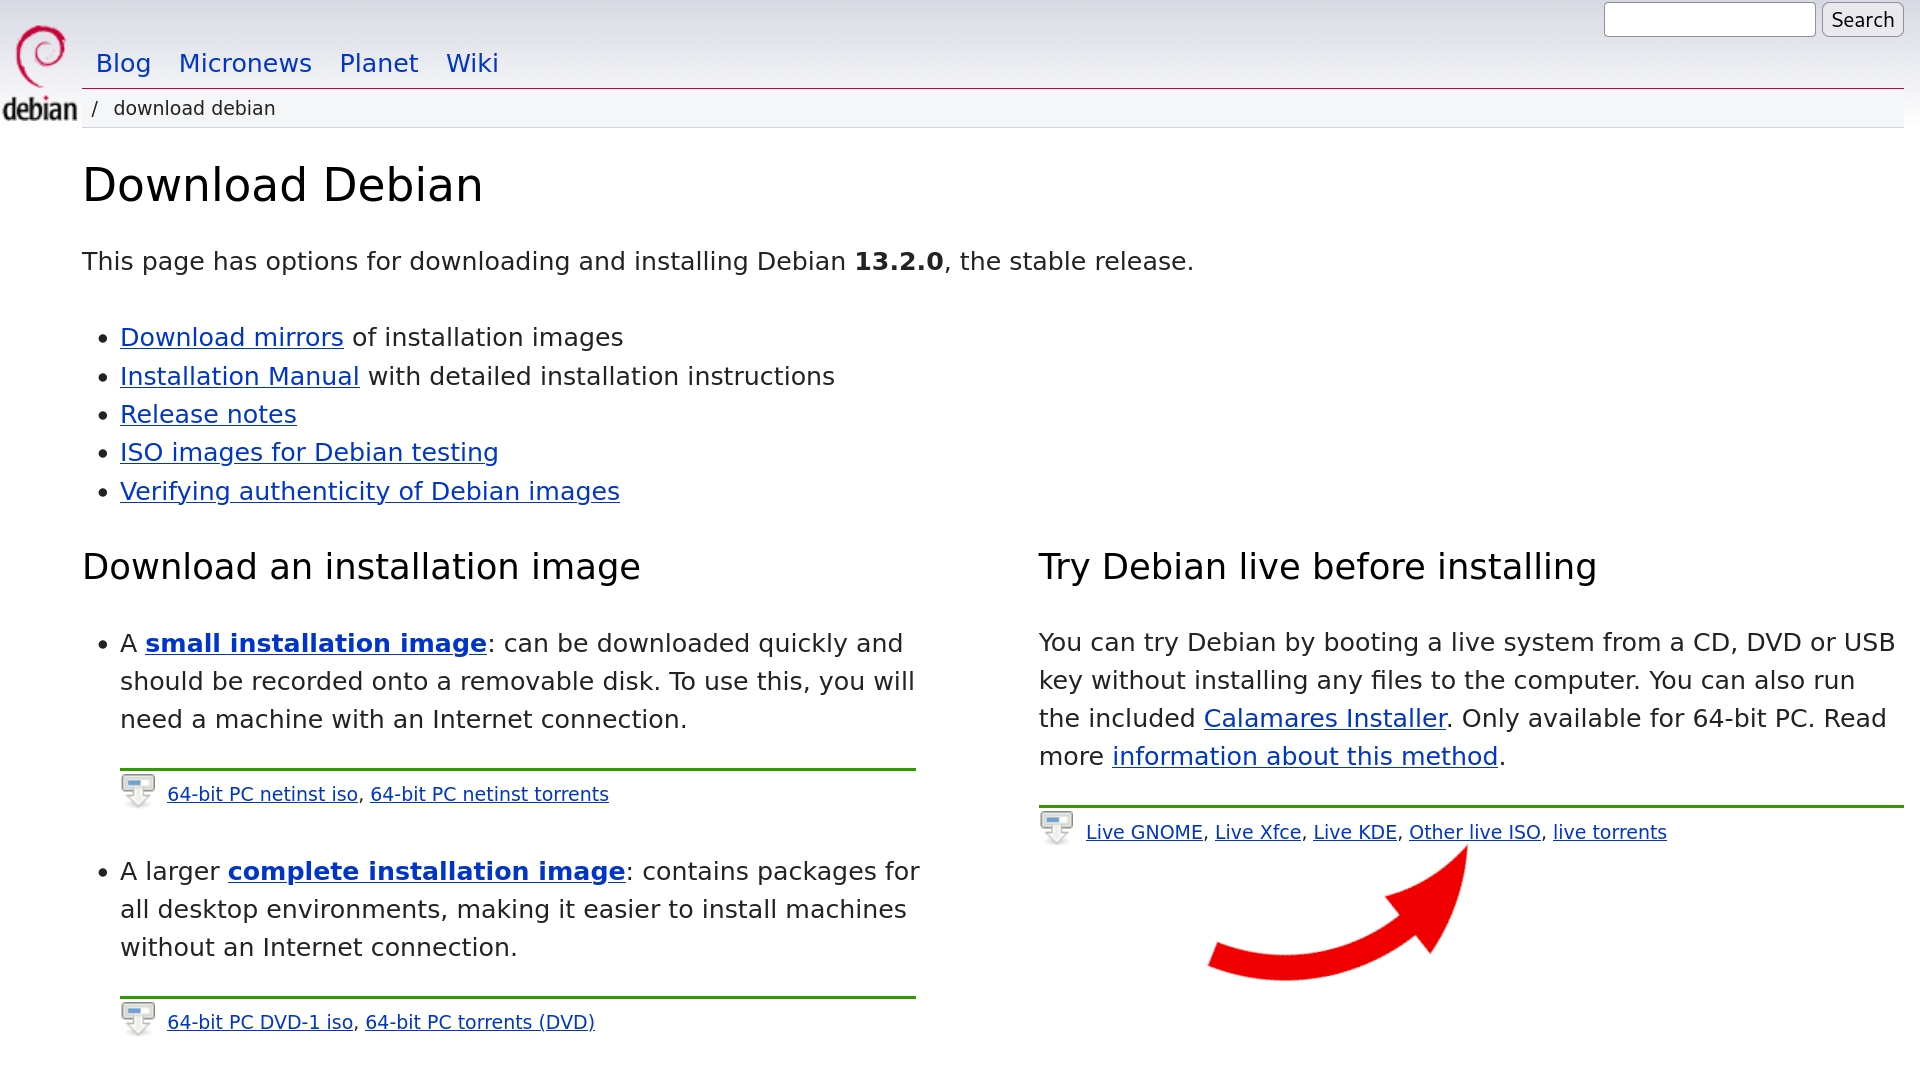
Open your web browser and head to the official Debian website at “debian.org”. When you land on the Debian home page, click on “Other Downloads” which is just below the download button. This will take you to the Distribution Download Page. On the right side you will find the section “Try Debian live before installing” and then click “Other Live ISO” which is the fourth option from the left.
Alternatively, go directly to: https://cdimage.debian.org/debian-cd/current-live/amd64/iso-hybrid/
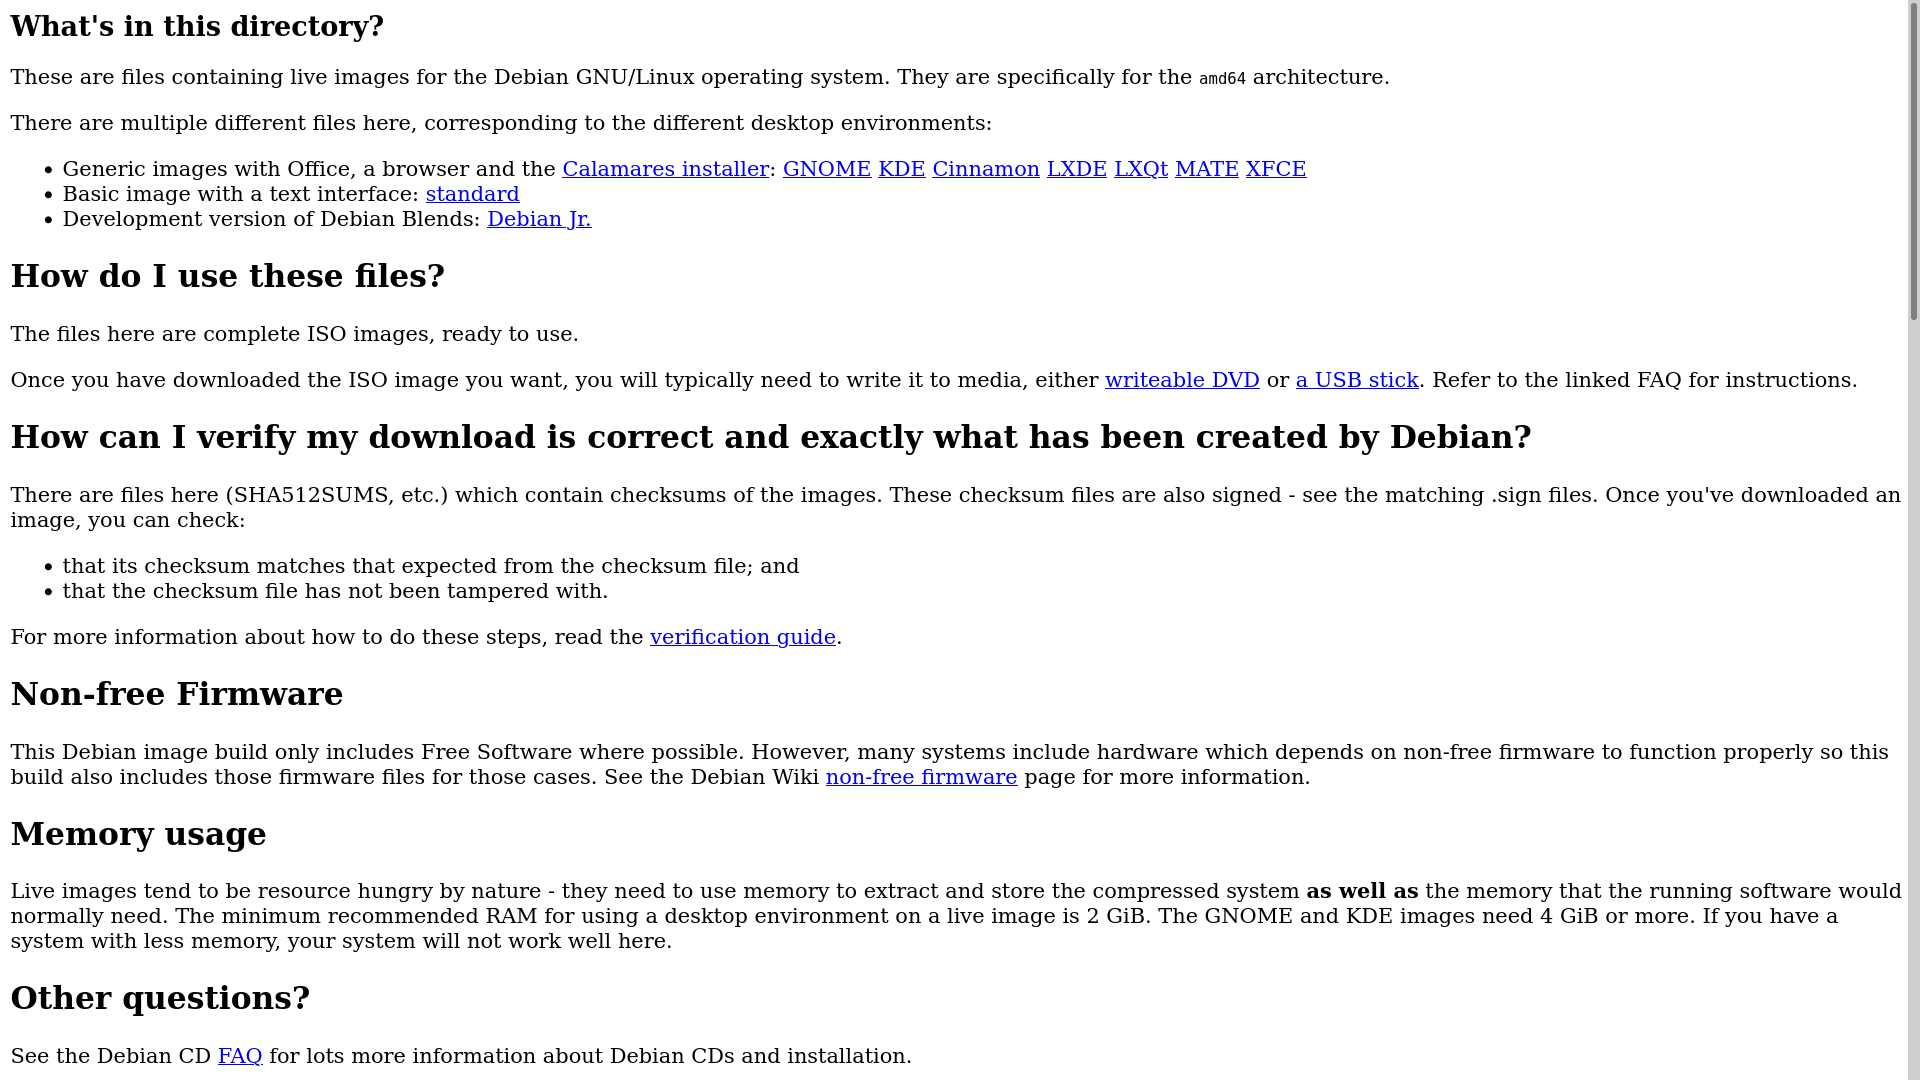
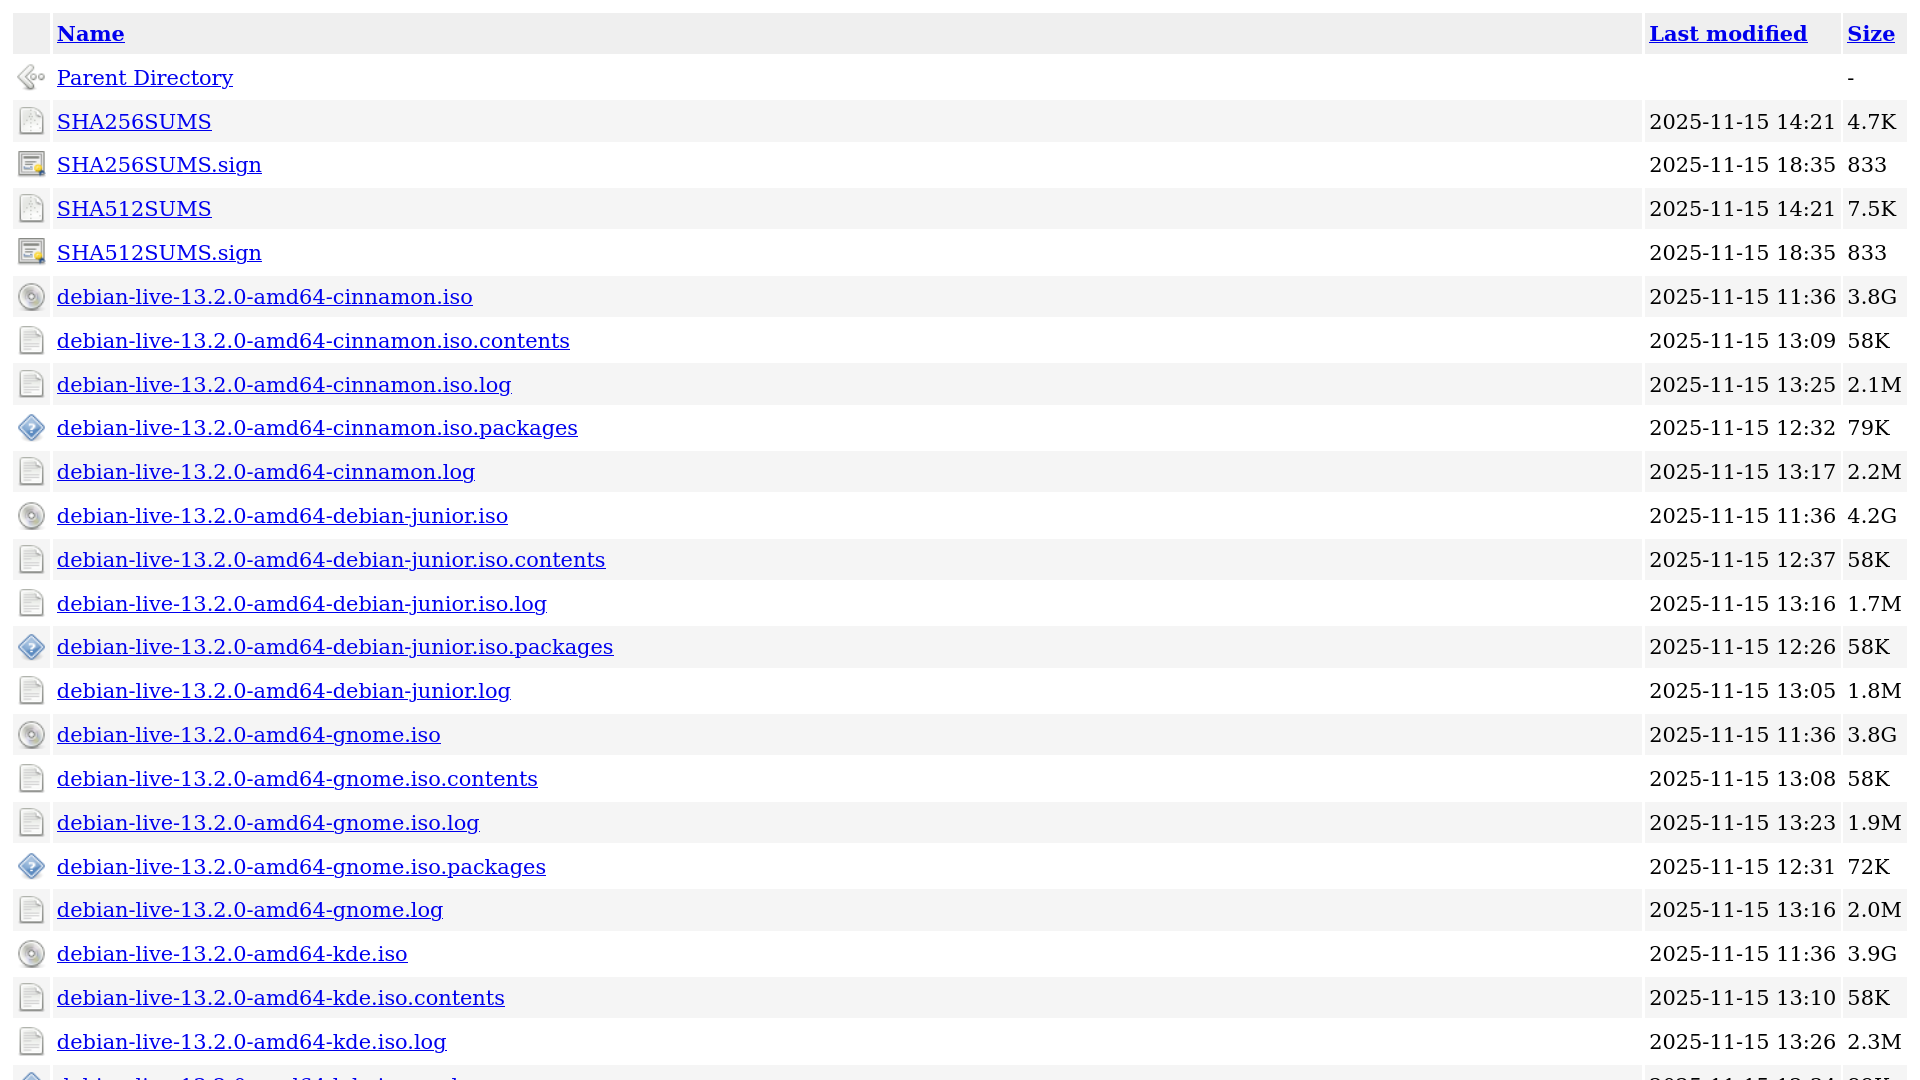
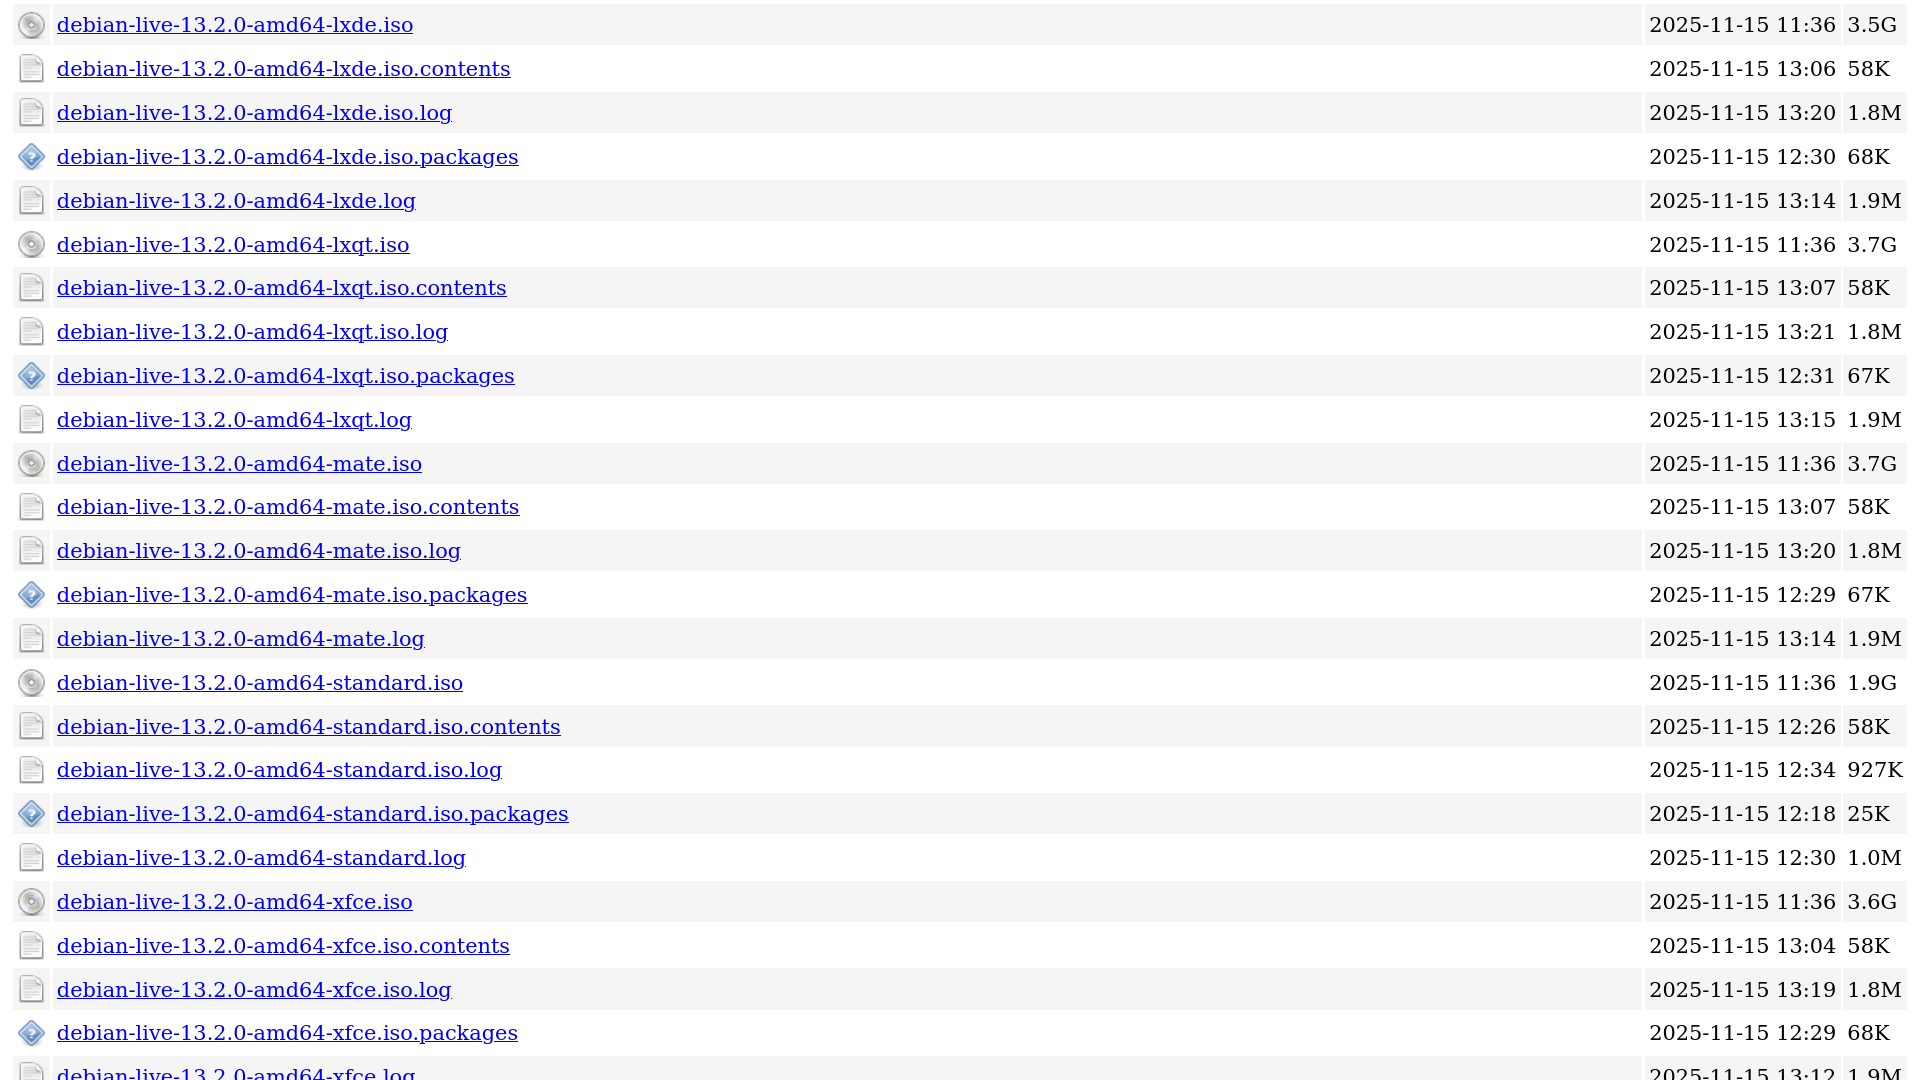
On this downloads page, if you scroll down, there are multiple choices. First pick your preferred desktop environment and then download the file that ends with “.iso”.
For most users, the GNOME variant is recommended because that is what is used in Debian by default. The files are around 4 gigabytes, so the download might take a little while.
While the ISO file is downloading, grab a spare USB stick. You will need one that is at least 8 GB, and make sure it is empty or backed up, because this process will completely erase it.
Creating Your Bootable USB Drive
After you have the ISO file, you will need a Bootable Flash Drive Creation tool. One of the easiest tool for this is Ventoy. Visit the Ventoy website to download and install it.
The process for creating a Bootable USB Drive is very simple and can be completed in just a few simple steps:
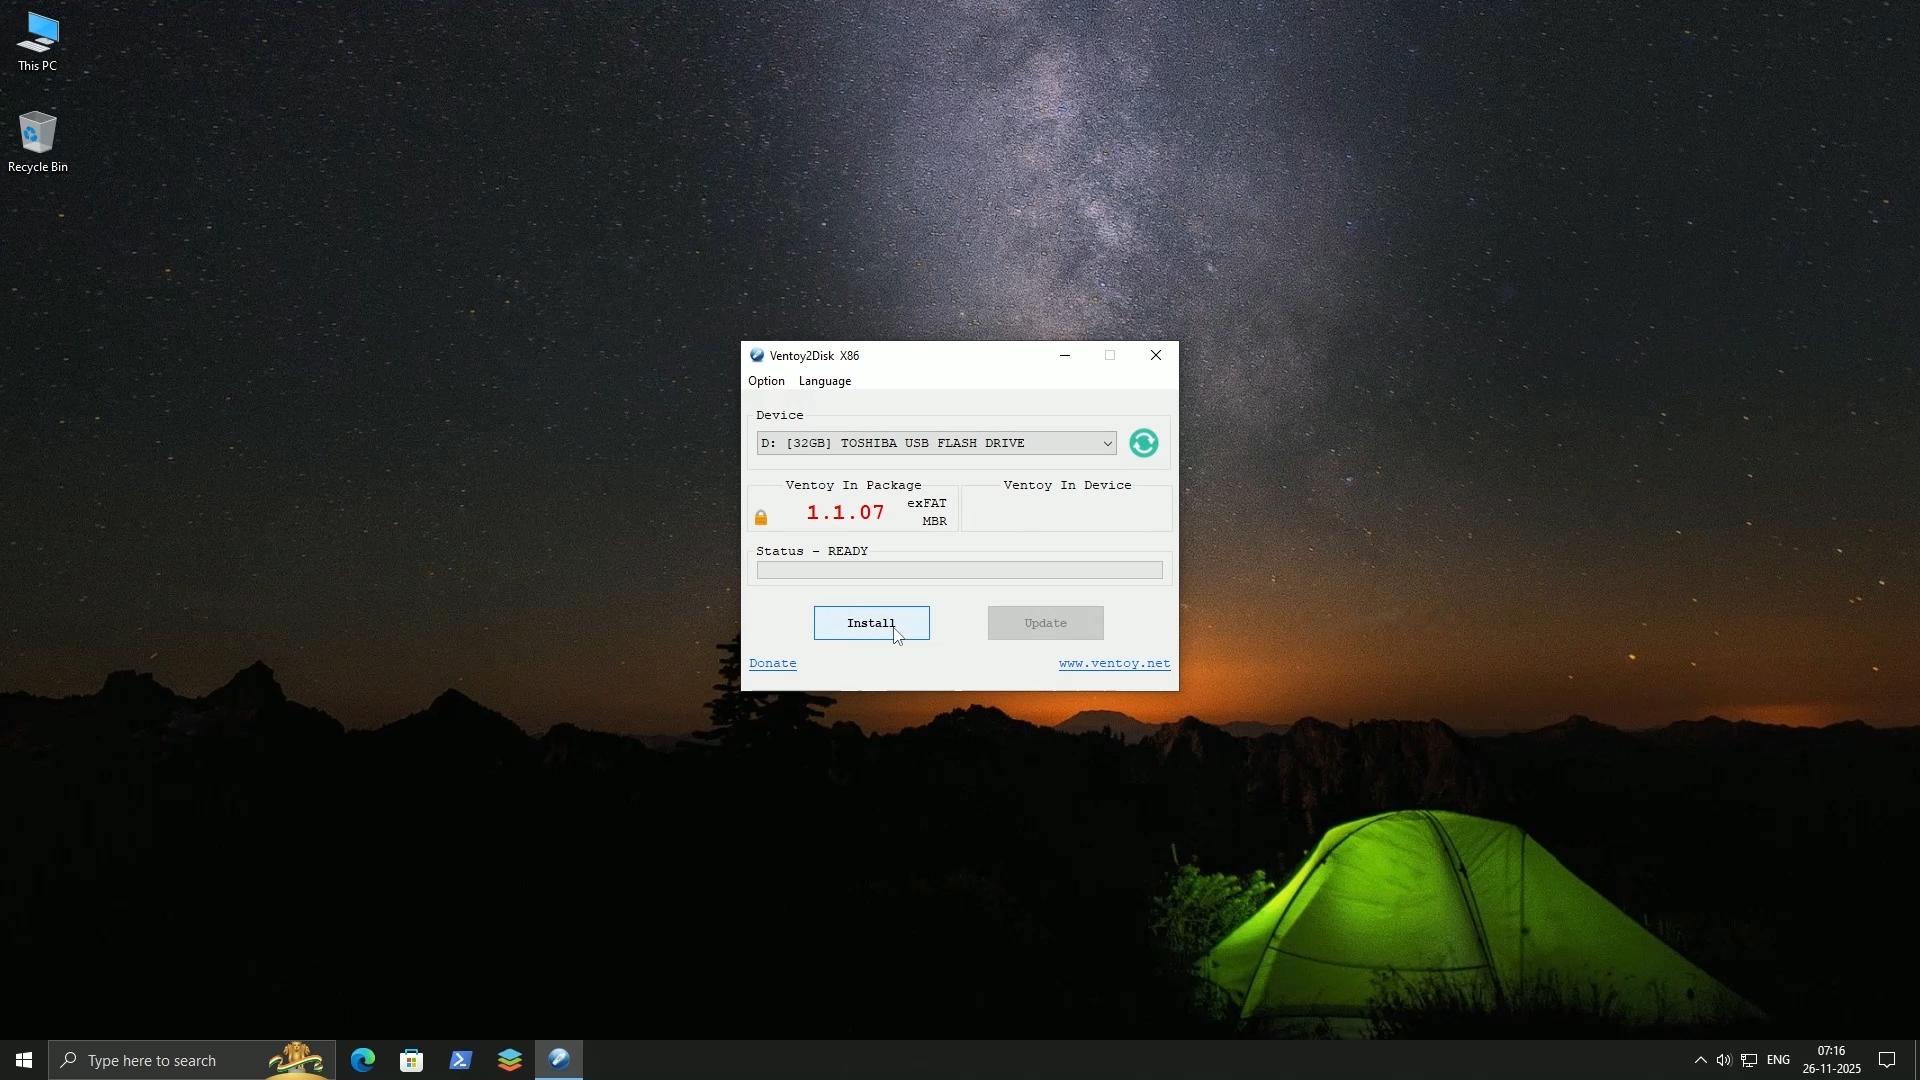
1. Plug your USB stick into your computer and launch Ventoy
2. The Ventoy Program should automatically detect your USB
3. Double-check that the device selected is your USB stick and not something else (Because it is better safe than sorry)
4. Click on “Install”
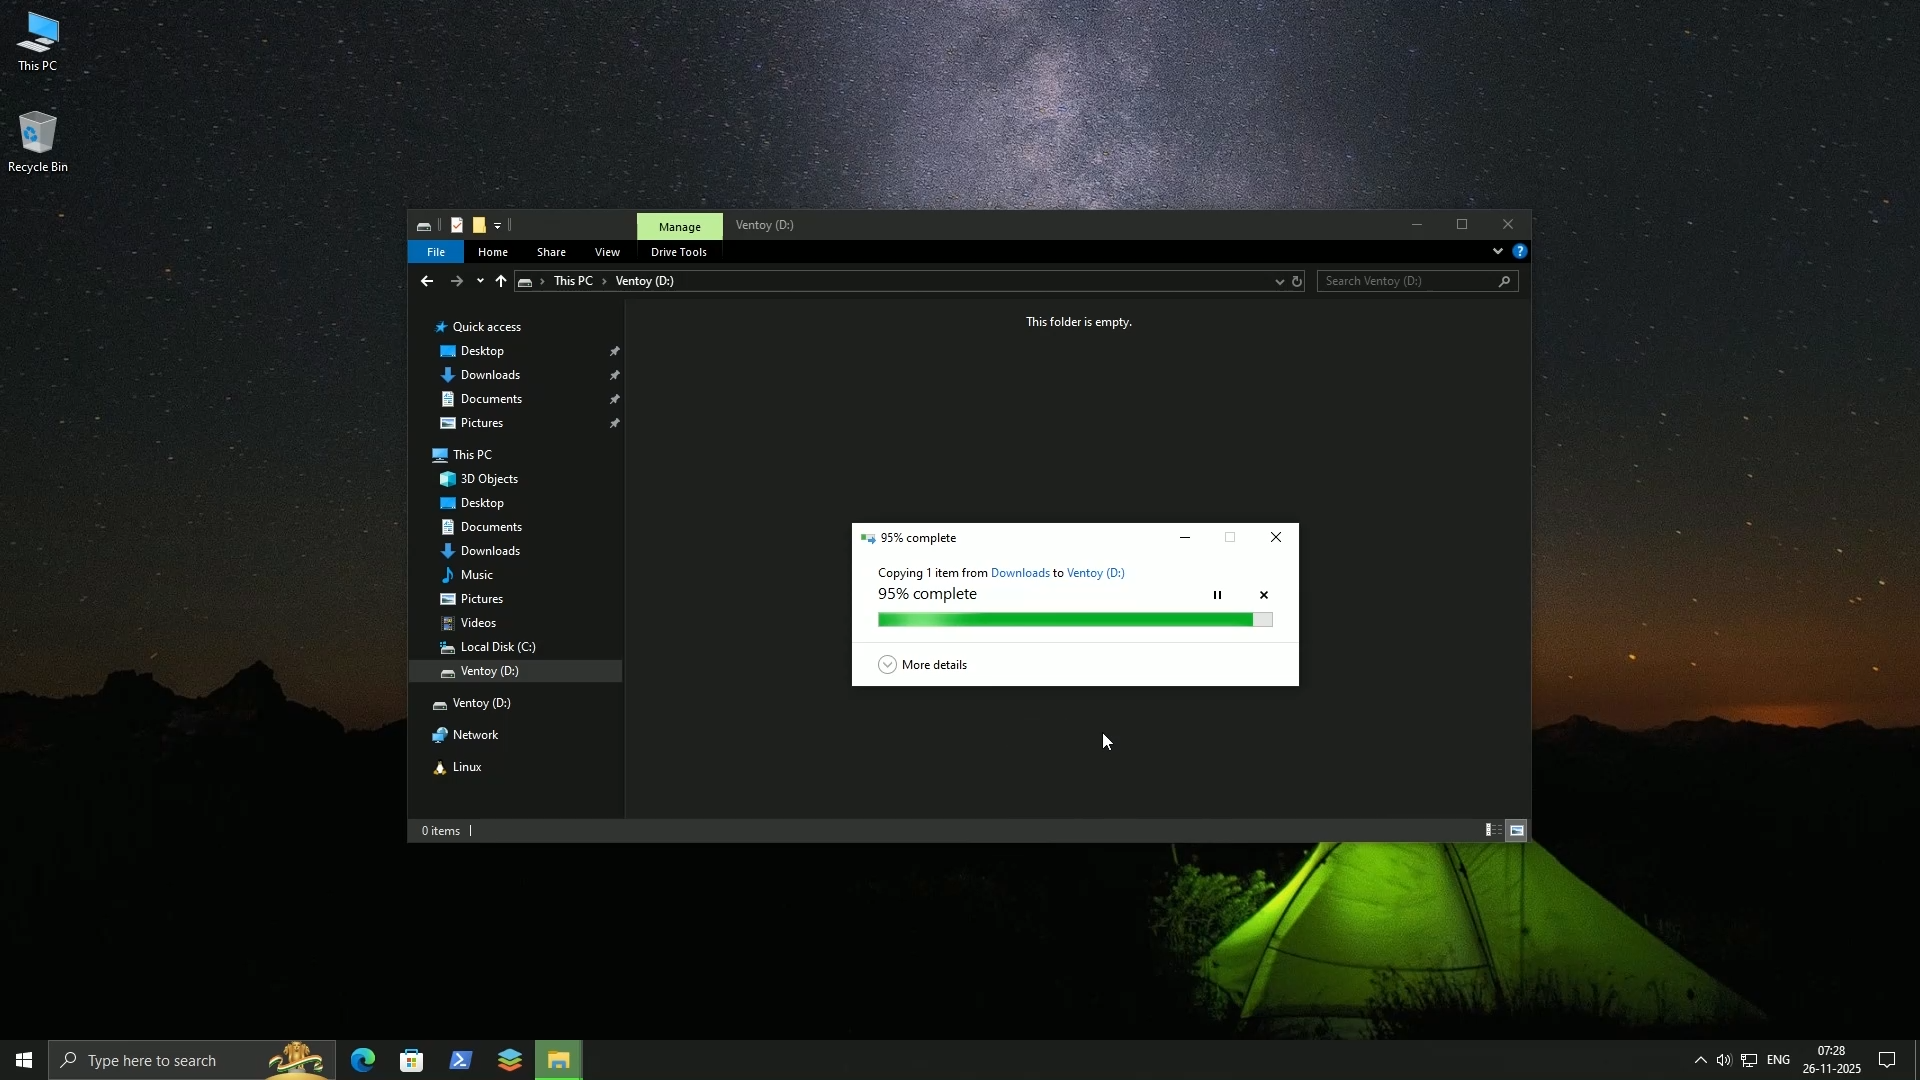
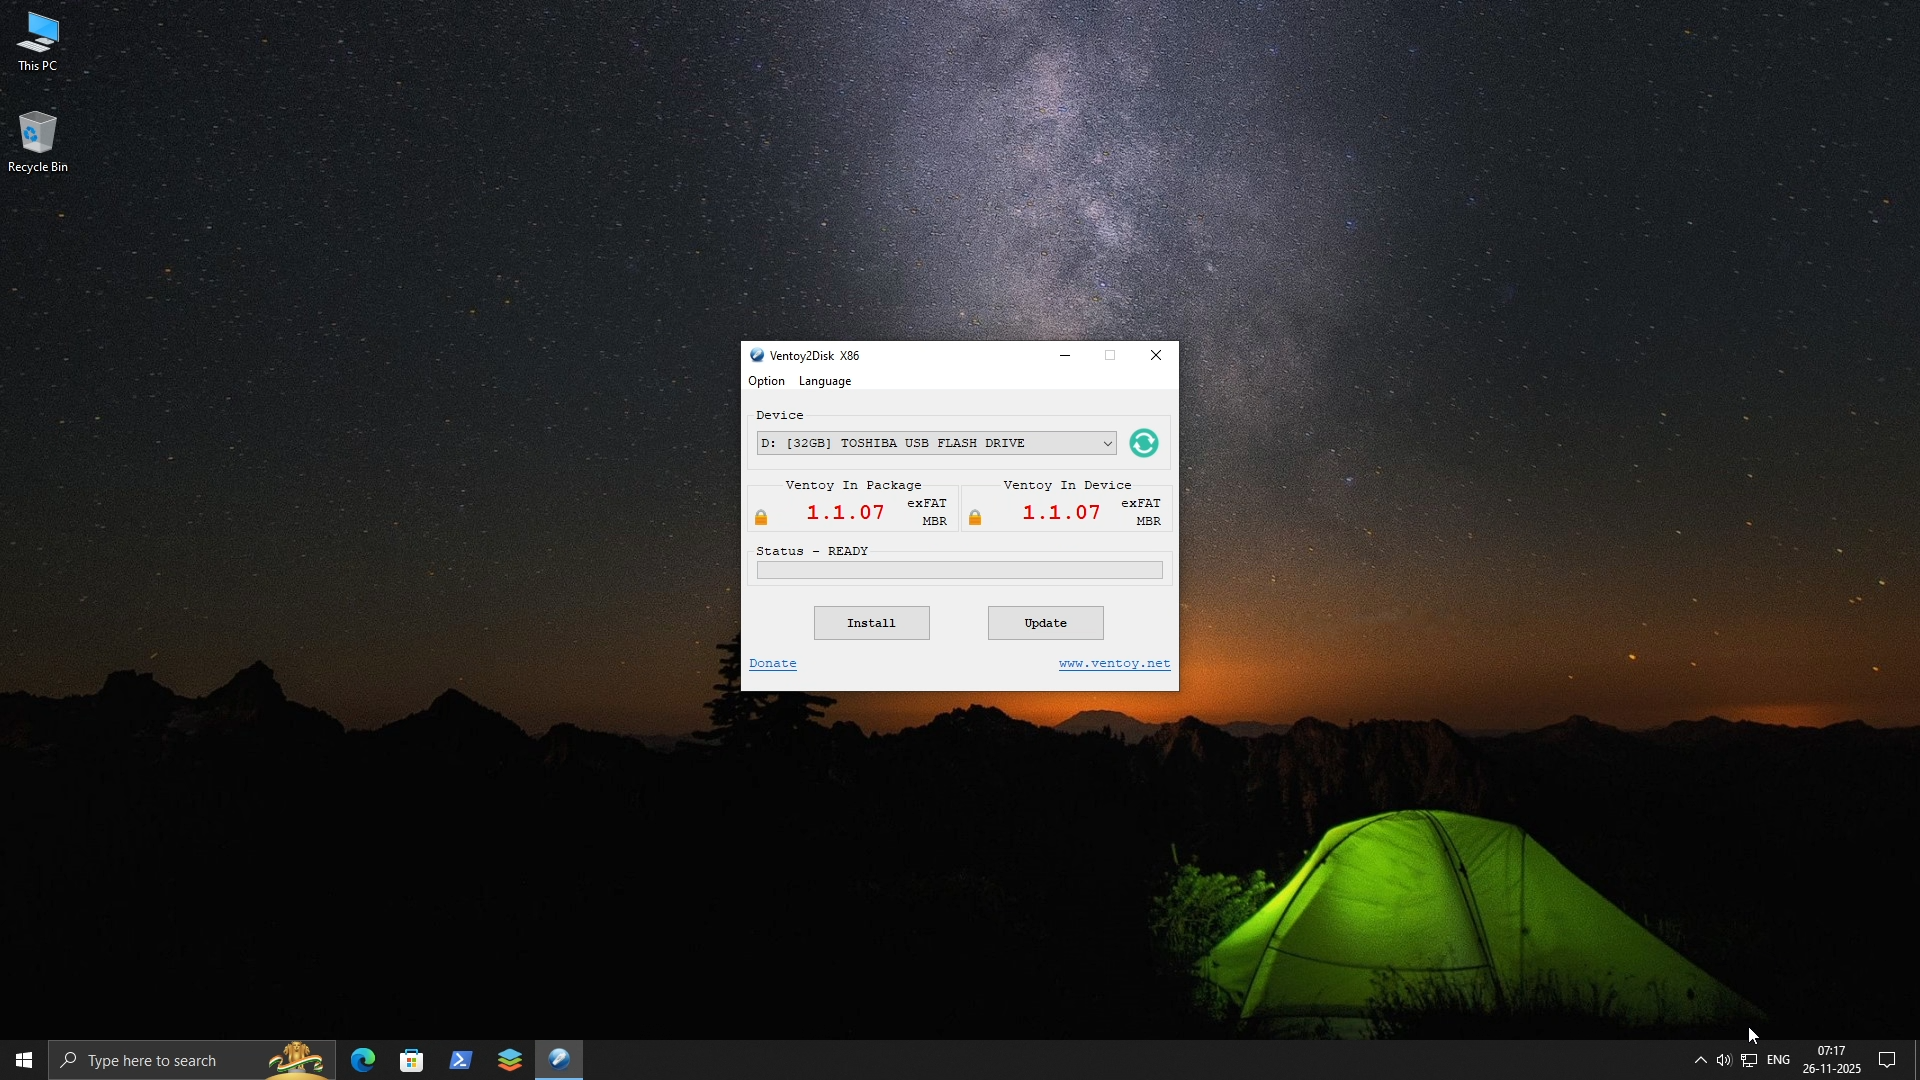
5. Once the installation is complete, simply copy and paste the downloaded ISO file onto your newly created Ventoy Bootable USB drive
That’s it.
Booting into the Debian Live Desktop
Restart your computer and when it turns on, start tapping the special key to open the “Boot Menu.” This key varies depending on the motherboard manufacturer, but it is typically one of the Function keys (F12, F2), the Escape key, or the Delete button.
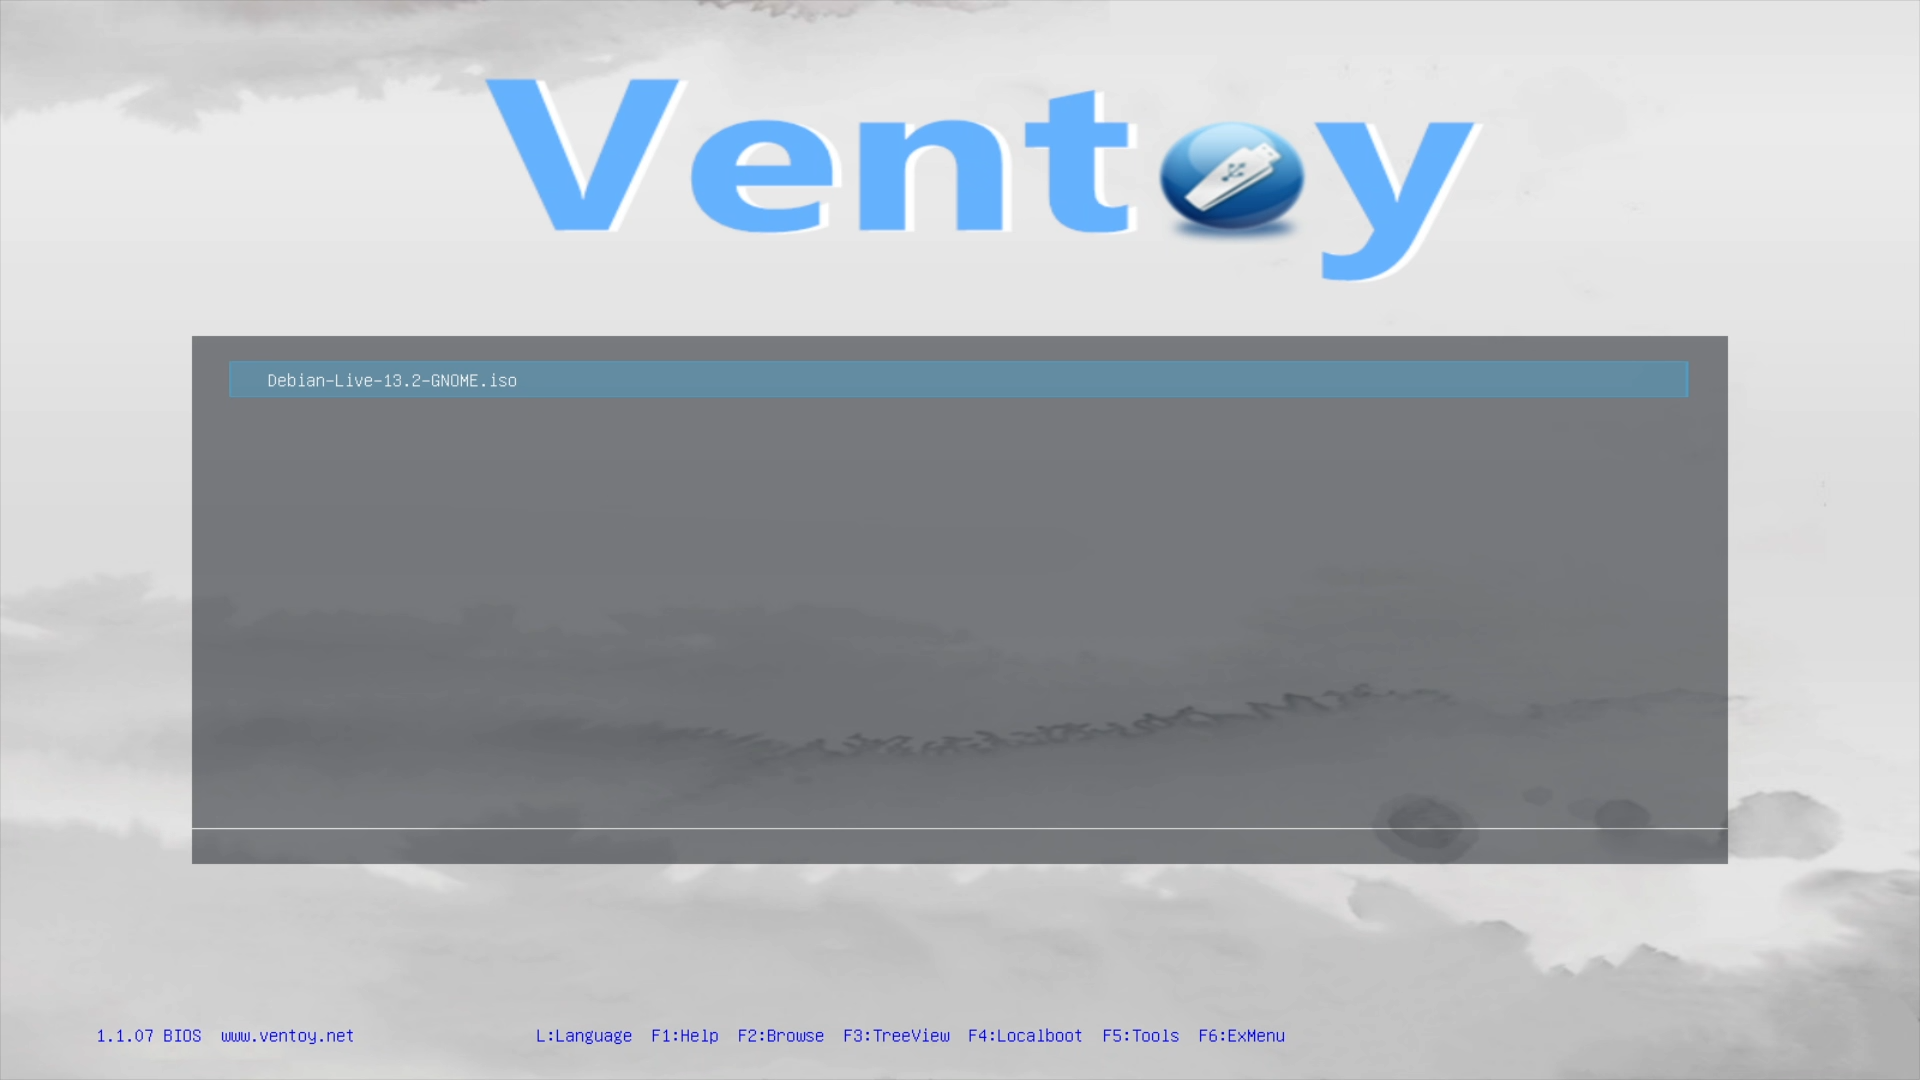
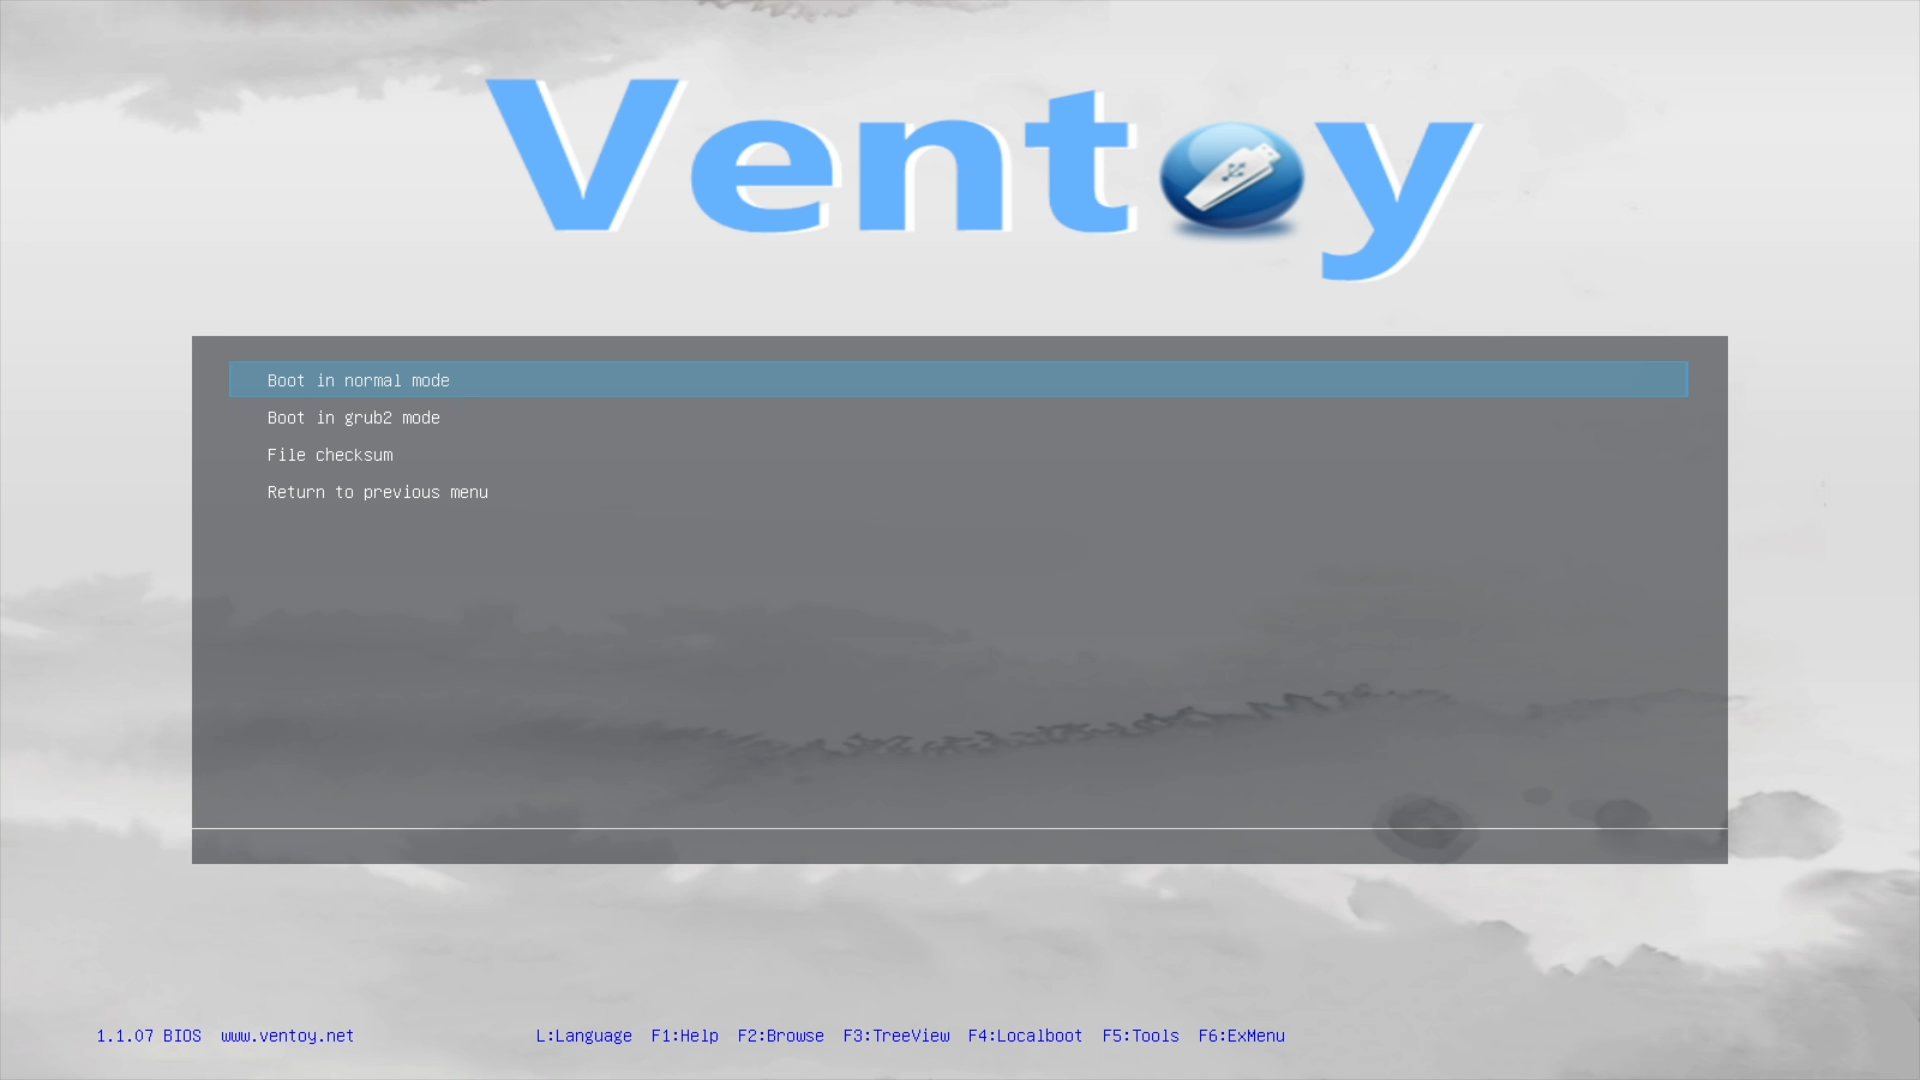
Once the boot menu appears, use your arrow keys to select your USB stick and hit Enter. This will open the Ventoy Boot Screen. First select the Operating System which will be something like “Debian-Live” and then “Boot in normal mode”.

Once you do that the Debian Boot Menu will appear and there you will find multiple option, but for an easy experience, select the First Option, which is “Live System”.
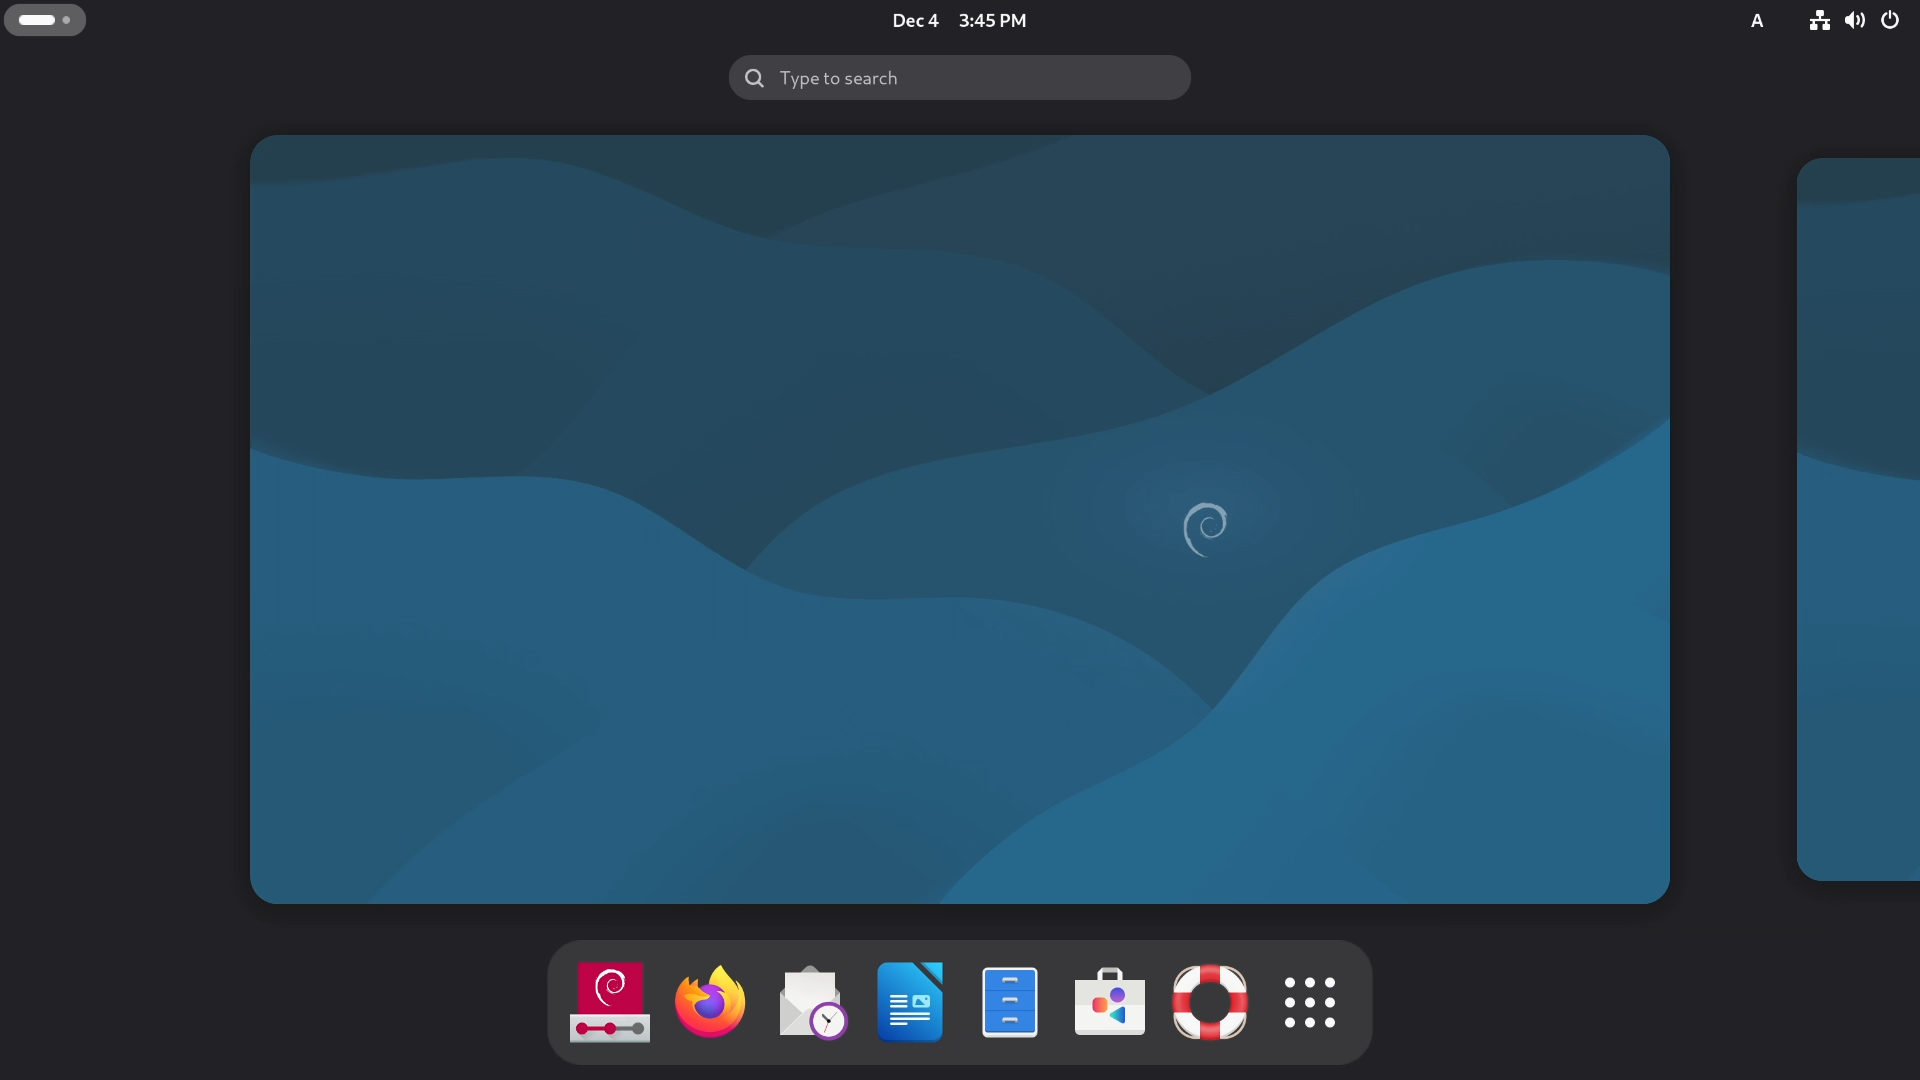
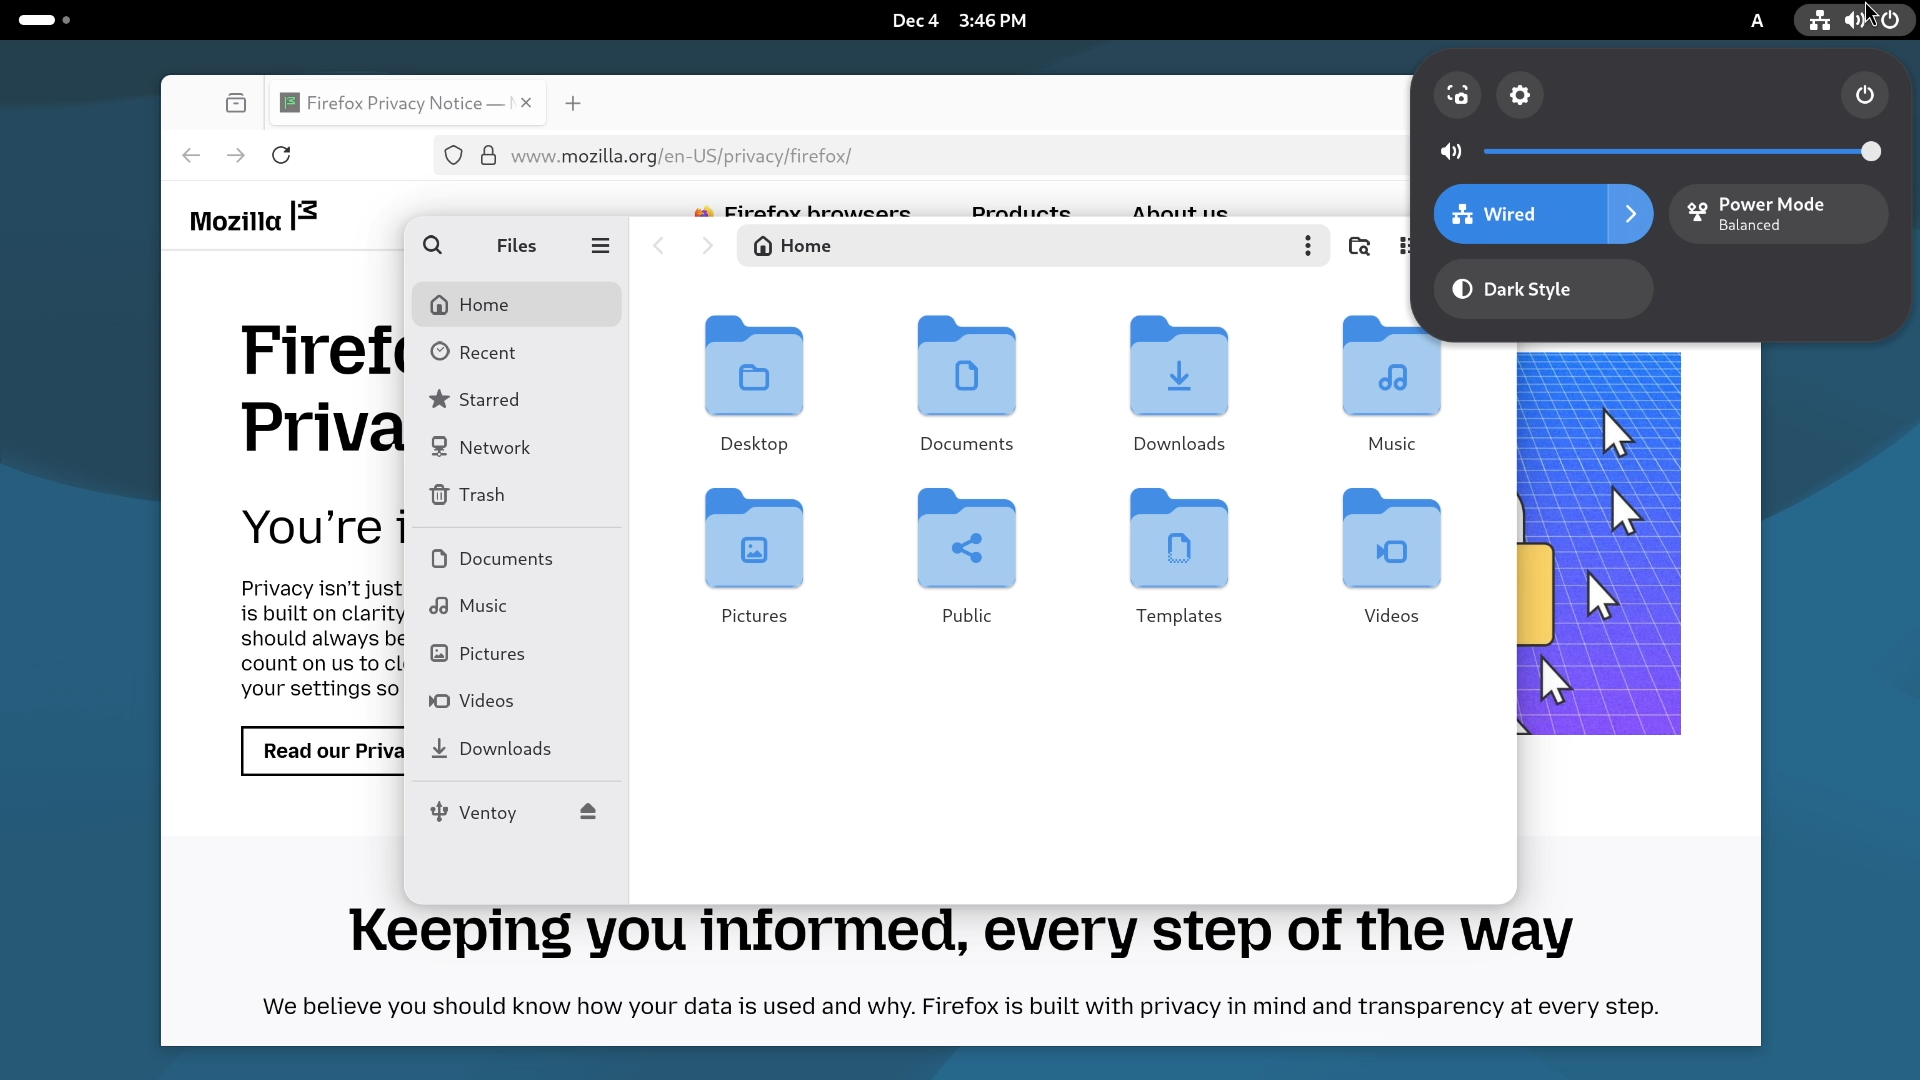
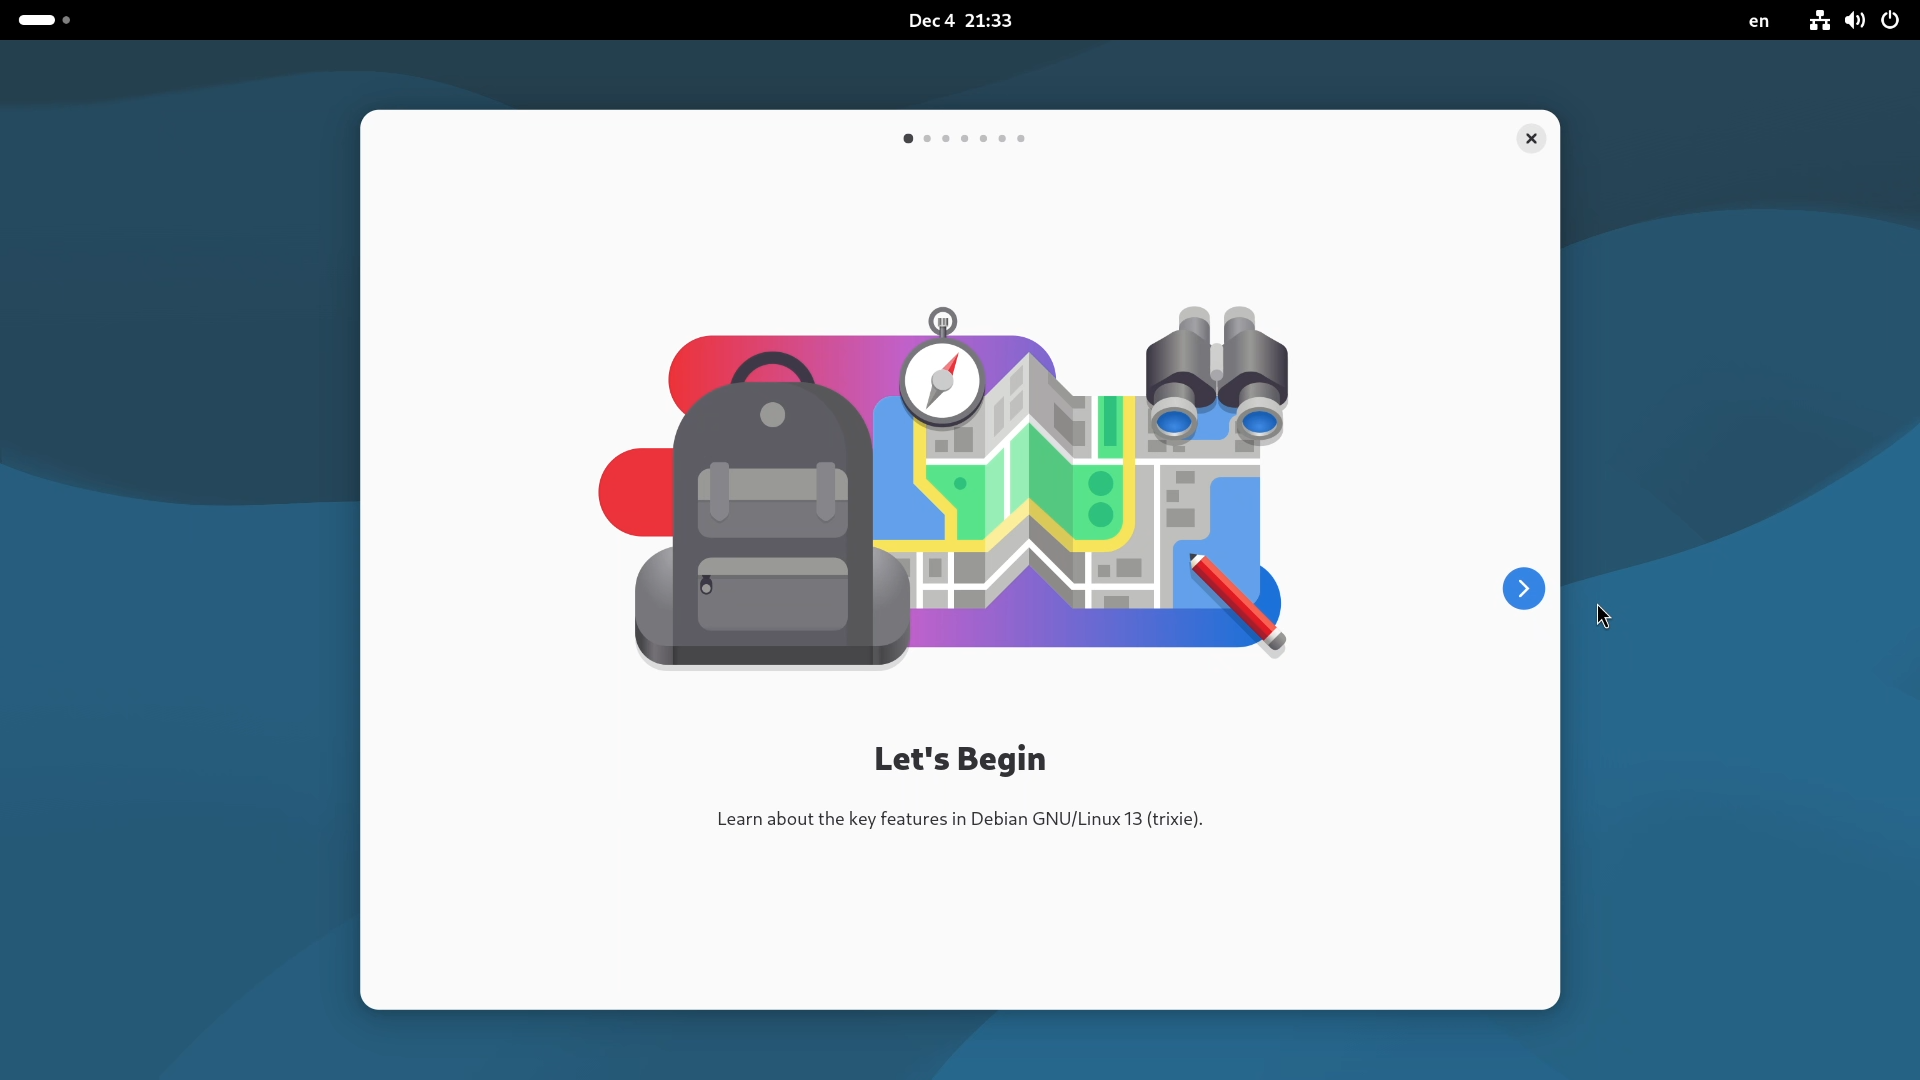
And within a minute or so, you will land on a fully working Debian desktop. Click on the Top Left corner to open the menu bar, and from the Top Right corner, you will be able to access the System Tray. In this Live environment, you can browse the internet, access the file manager, test your Speakers, connect to your WiFi and Bluetooth, and explore the settings as much as you like.
The Installation Process
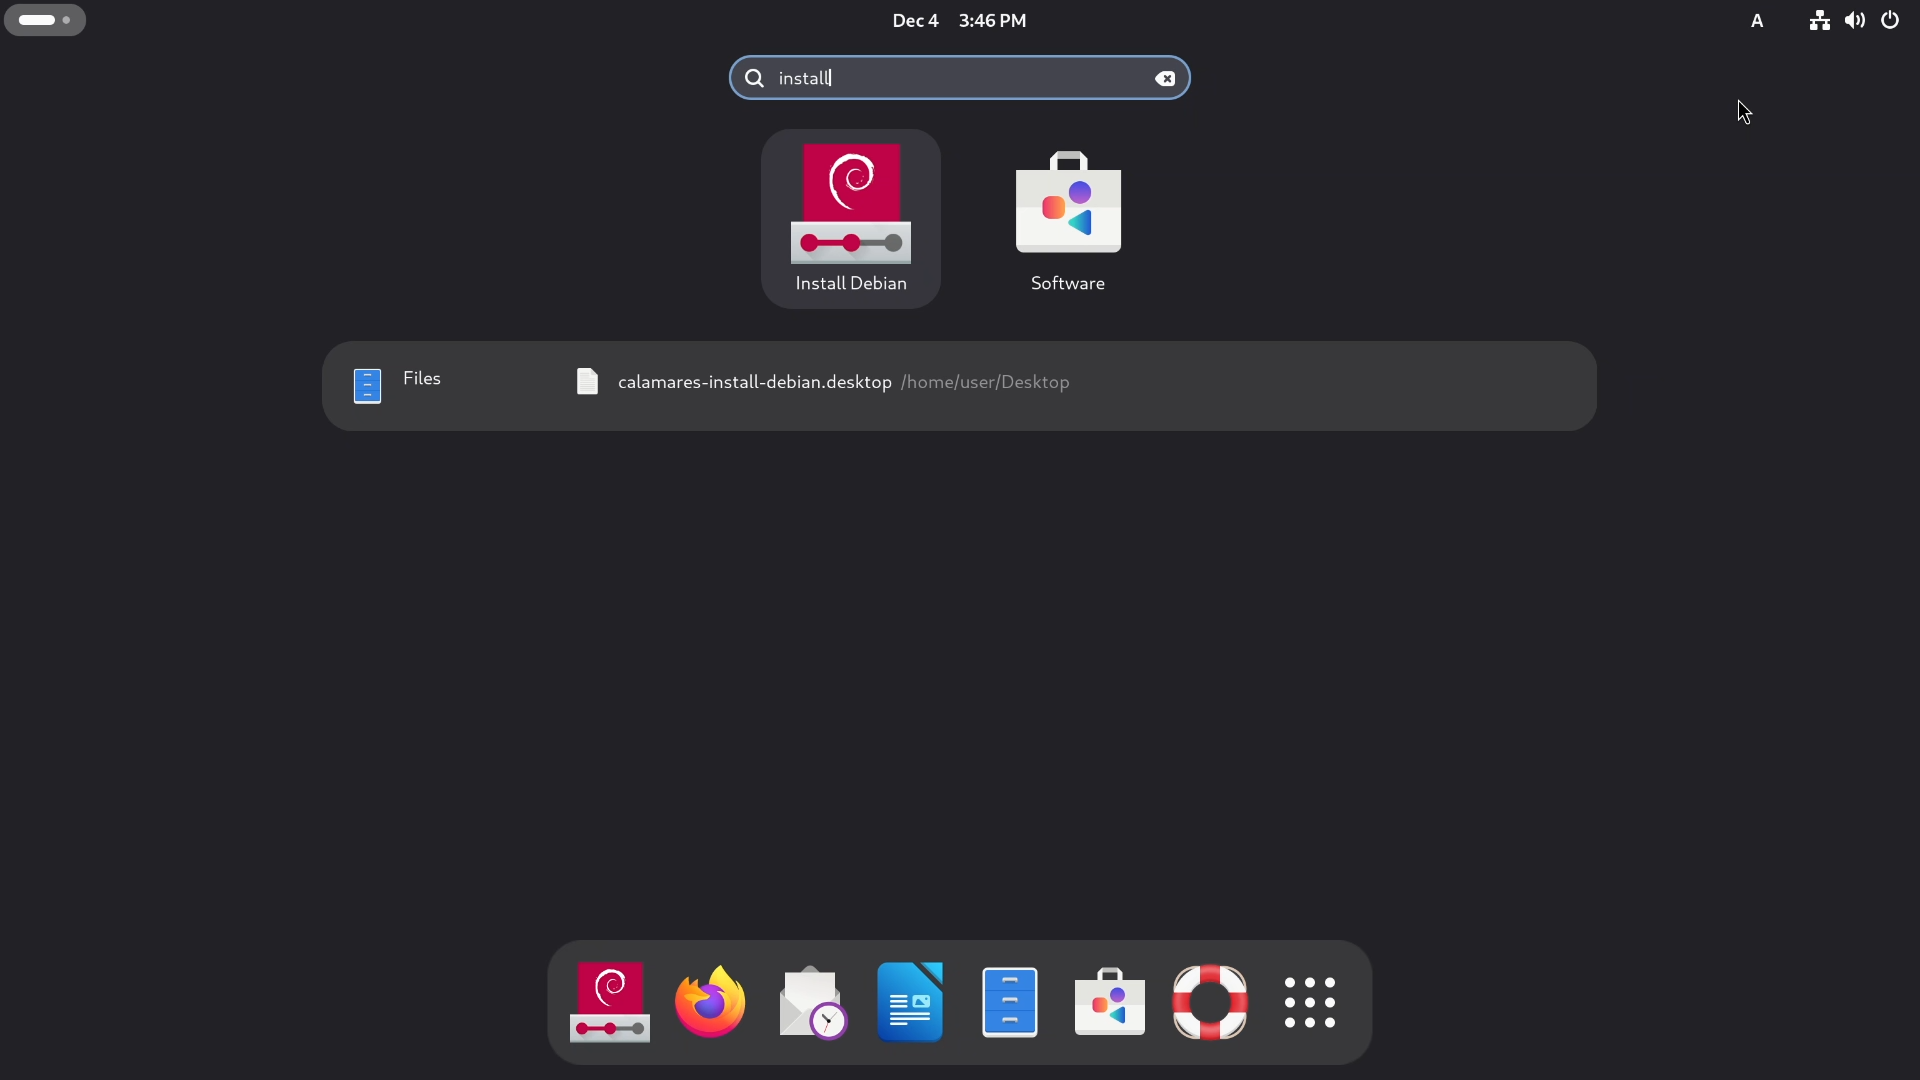
To install Debian through this Live environment, look for an icon that says “Install Debian” and double-click it. This will launch the Calamares installer. It does not matter which Live desktop environment you are using, whether it is GNOME, KDE, XFCE, or Cinnamon; it’s the same for all of them.
Step 1: Language Selection
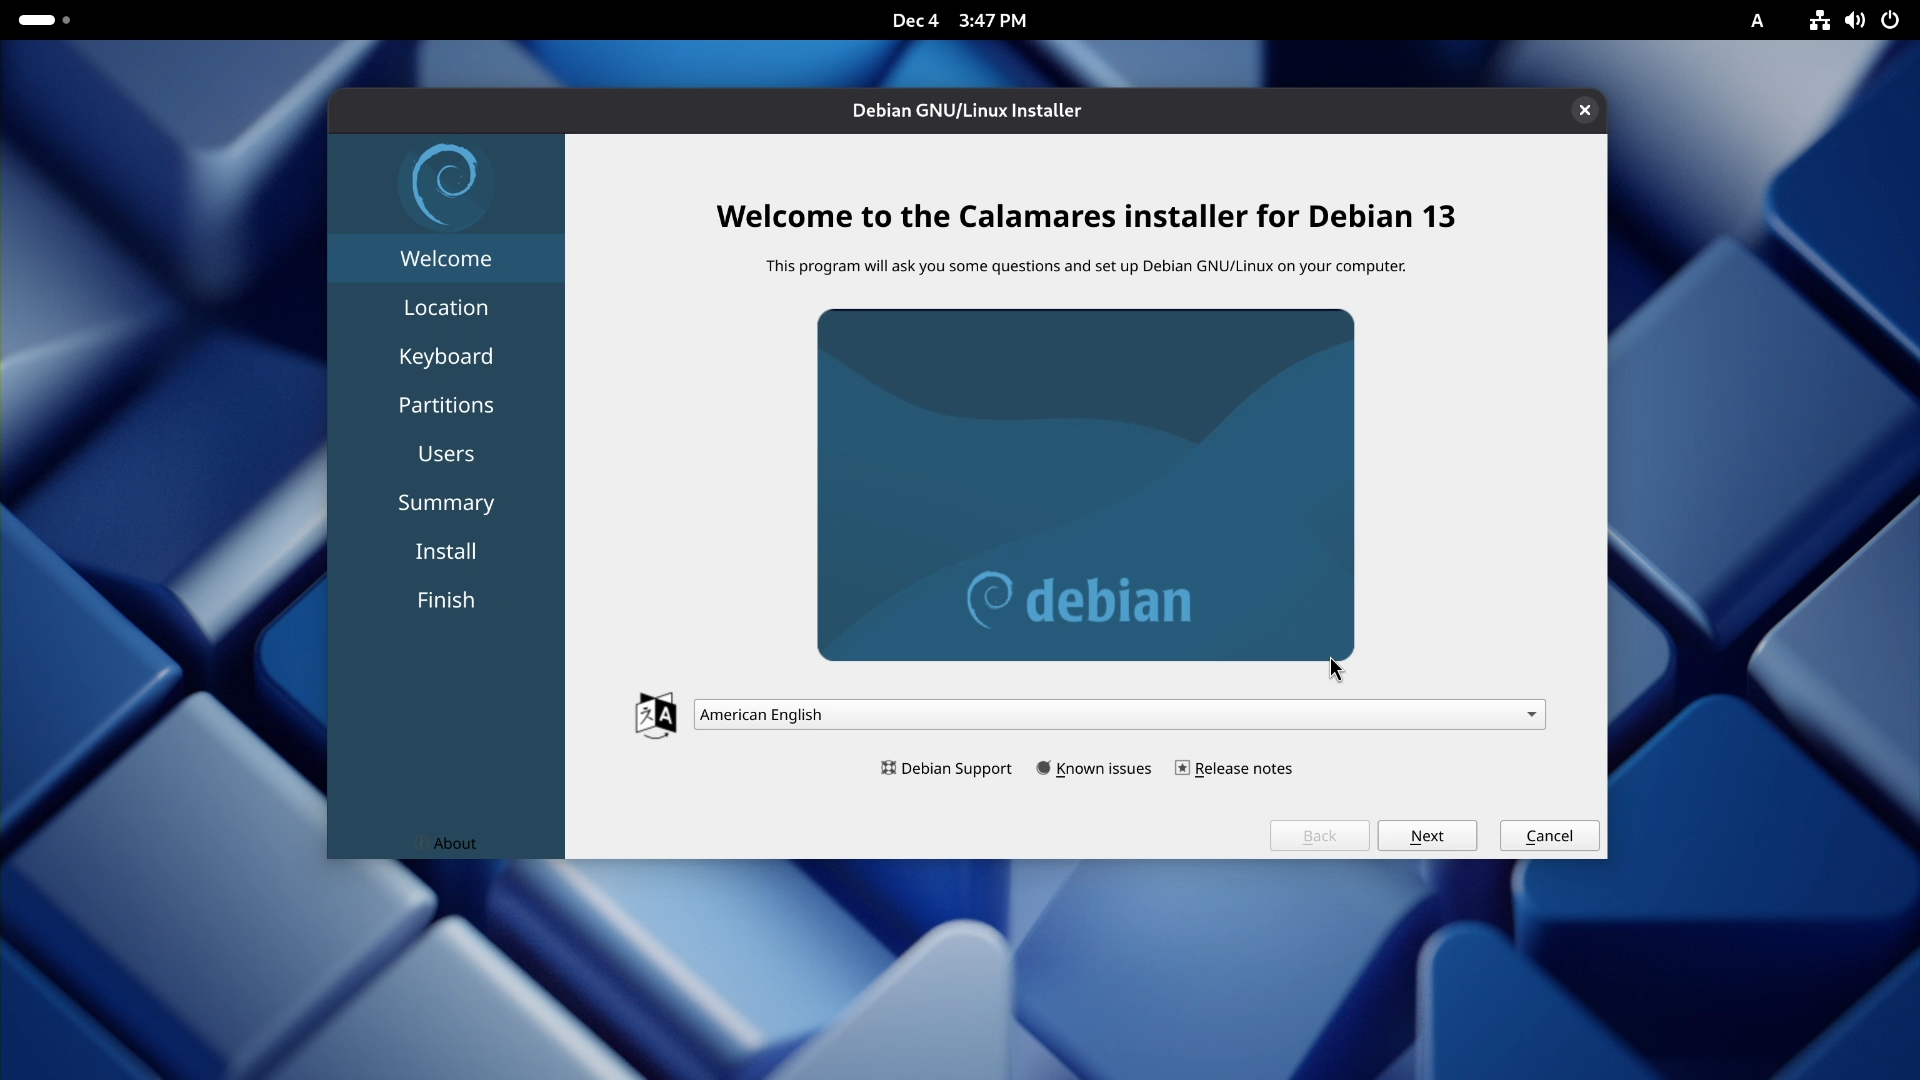
In the Welcome screen, the first thing to do is confirm your language. By default, it is American English, but you can change it to your preferred language.
Step 2: Location and Time Zone
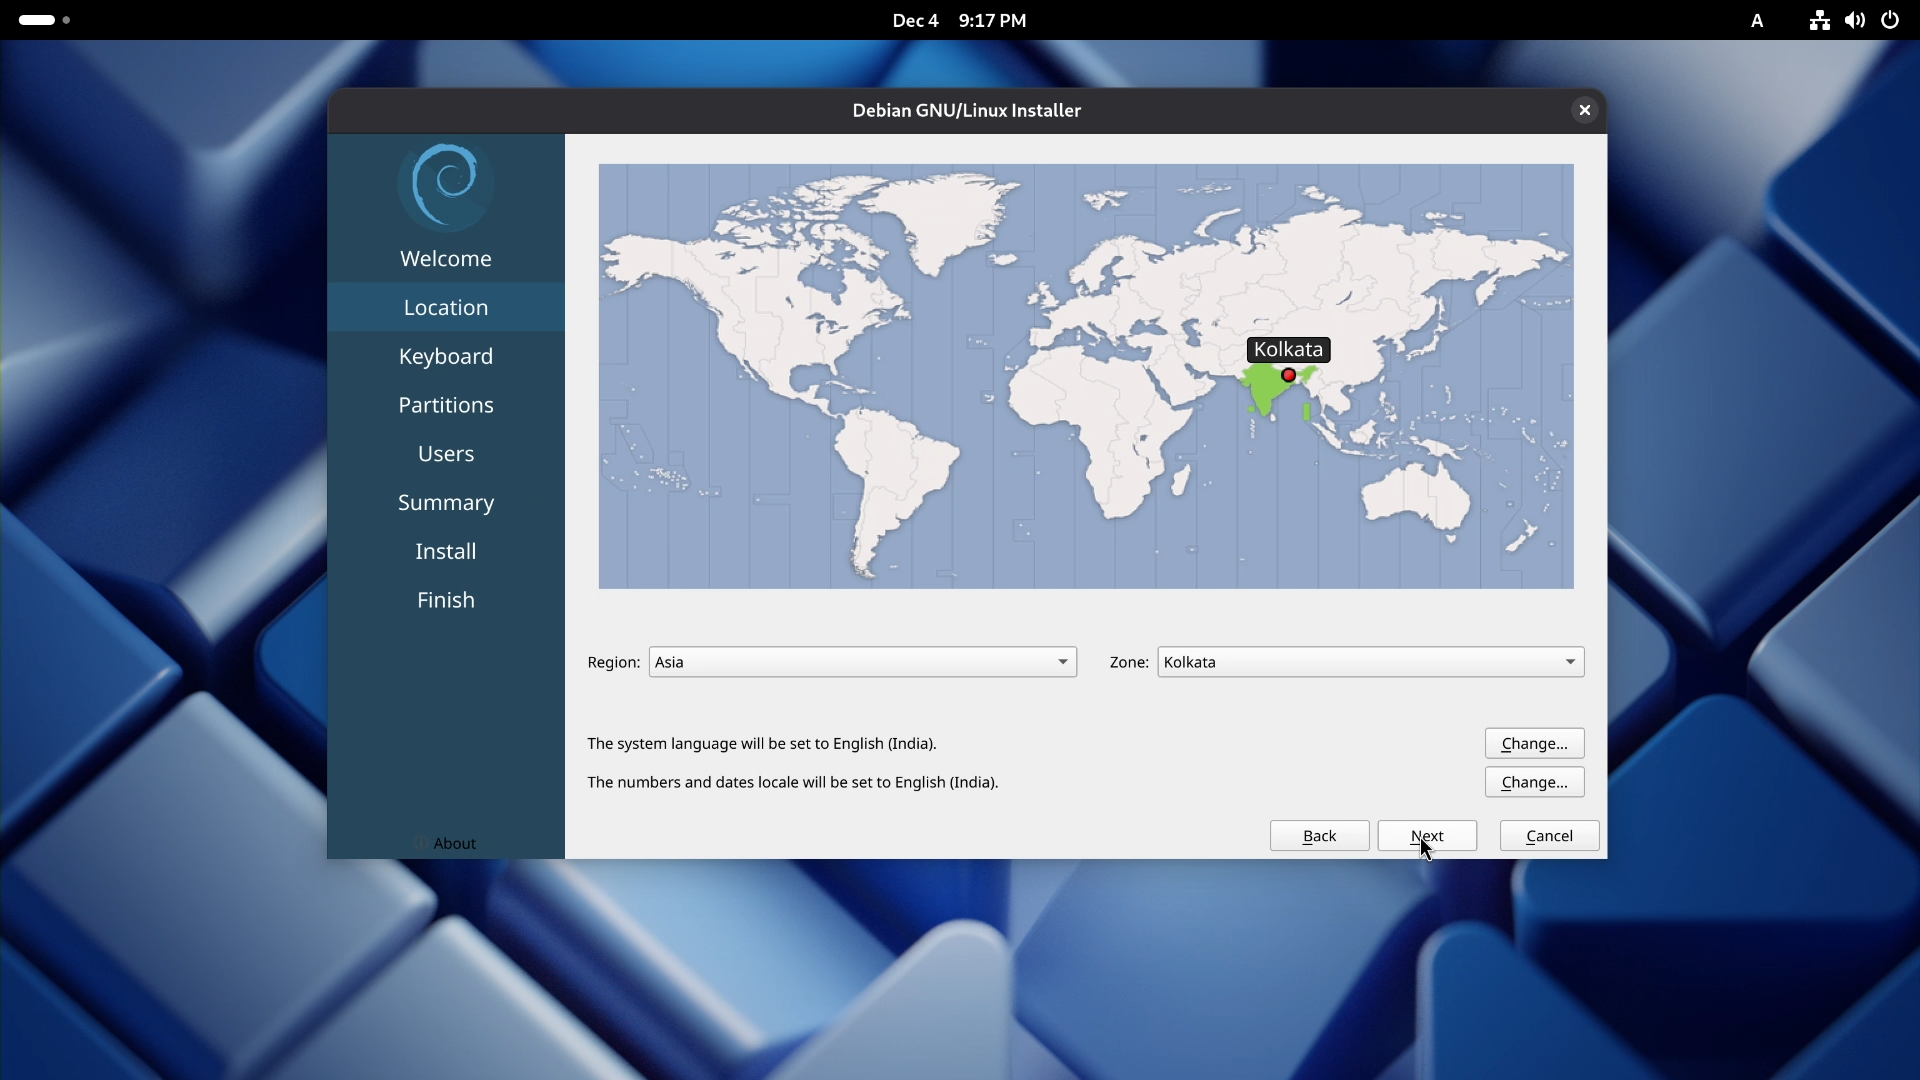
Next is Location and Time Zone. The installer should automatically detect your location and Time Zone, but if it is wrong, you can change it by selecting a place on the map.
Step 3: Keyboard Layout Configuration

Then confirm your keyboard layout. Again, by default it will be American English, but you can change it to your own choice.
Step 4: Disk Partitioning
Now comes the most important part: Disk Partitioning. There are two main options:
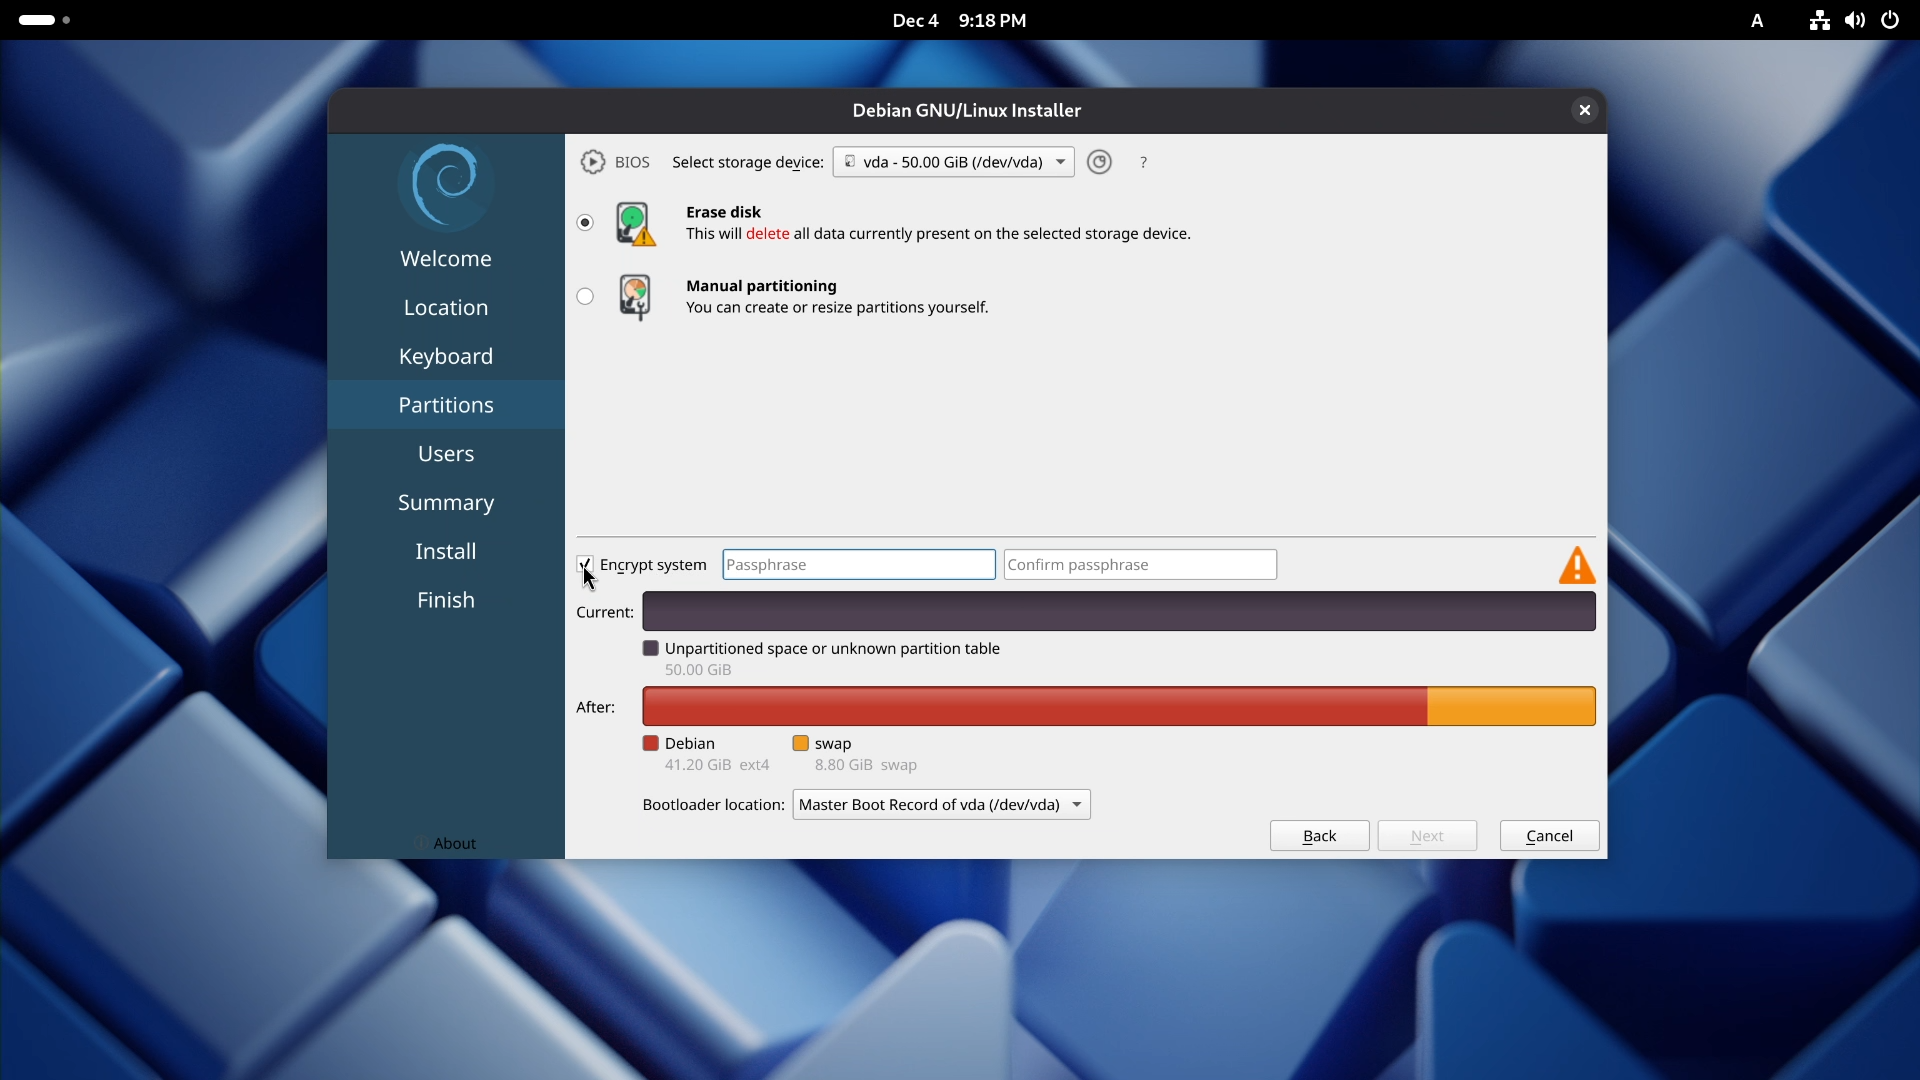
Option 1: Erase disk (Automatic Partitioning) This is recommended for every beginner because it is the easiest way. However, remember this will wipe your entire hard drive and install Debian on it.
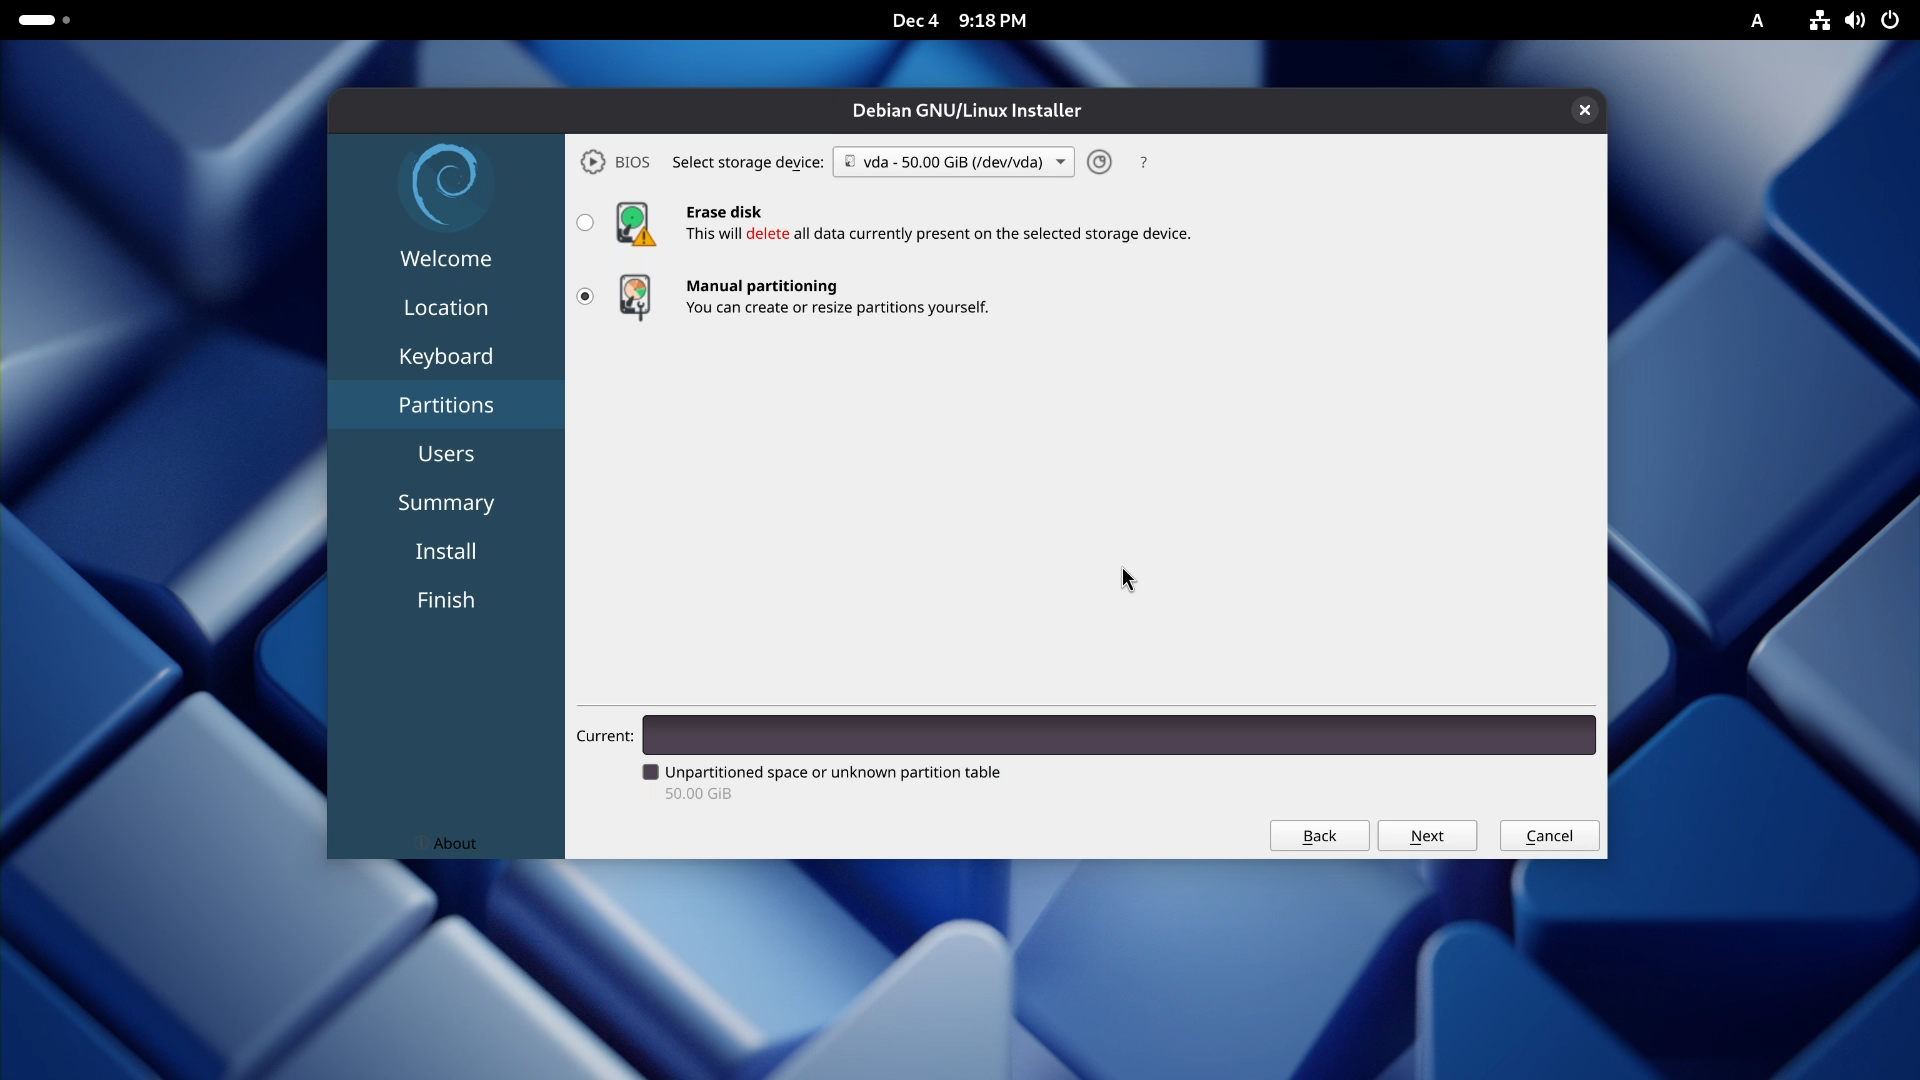

Option 2: Manual Partitioning This gives you total control, but it can be complicated for new users.
Note: You might also see a third option, “Install Alongside,” which is used for dual booting with an existing operating system. For a clean Debian installation, select “Erase disk” and click Next.
Step 5: User Setup
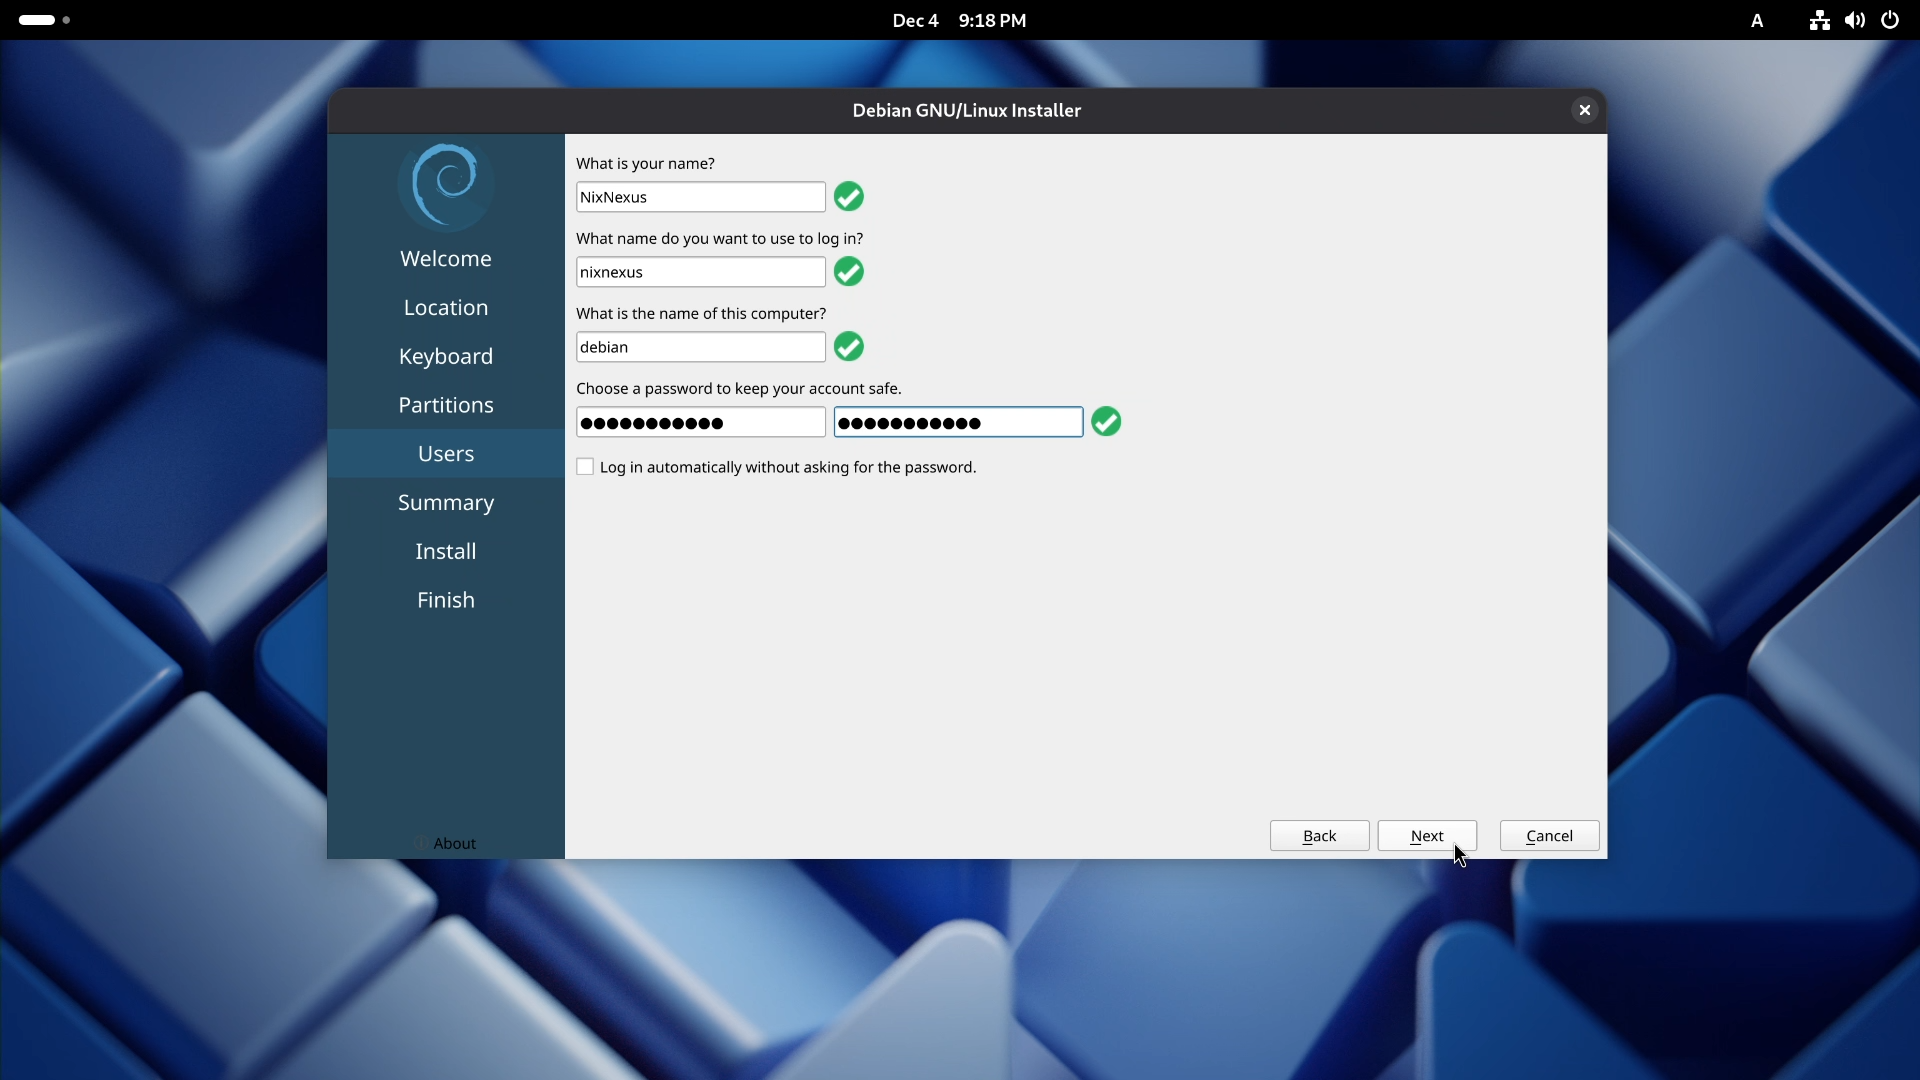
The final step is configuring your username and password. First, enter your name. The username and computer name will be auto-filled. However, you can change them if you want. Then choose your password. Because this will be your user password as well as your root password, make sure it follows strong password rules. Then Click Next.
Step 6: Review and Install
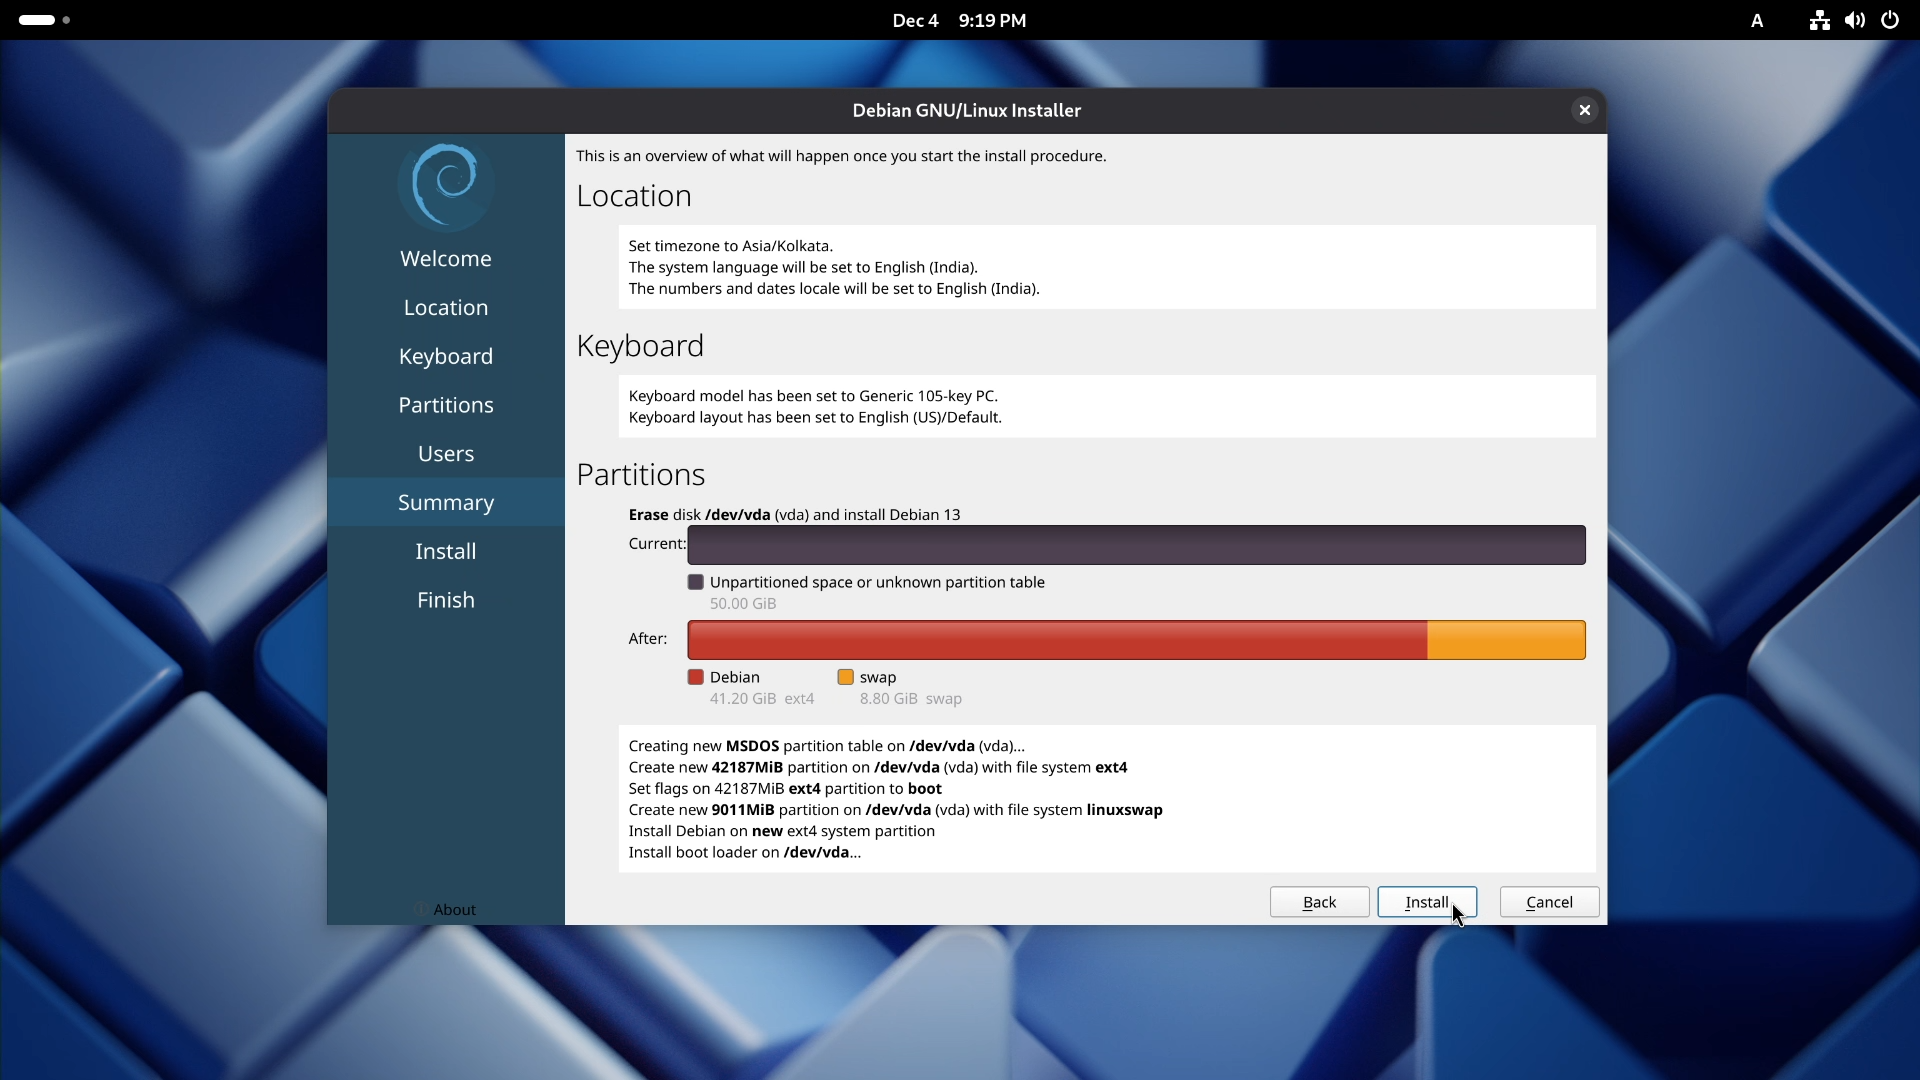
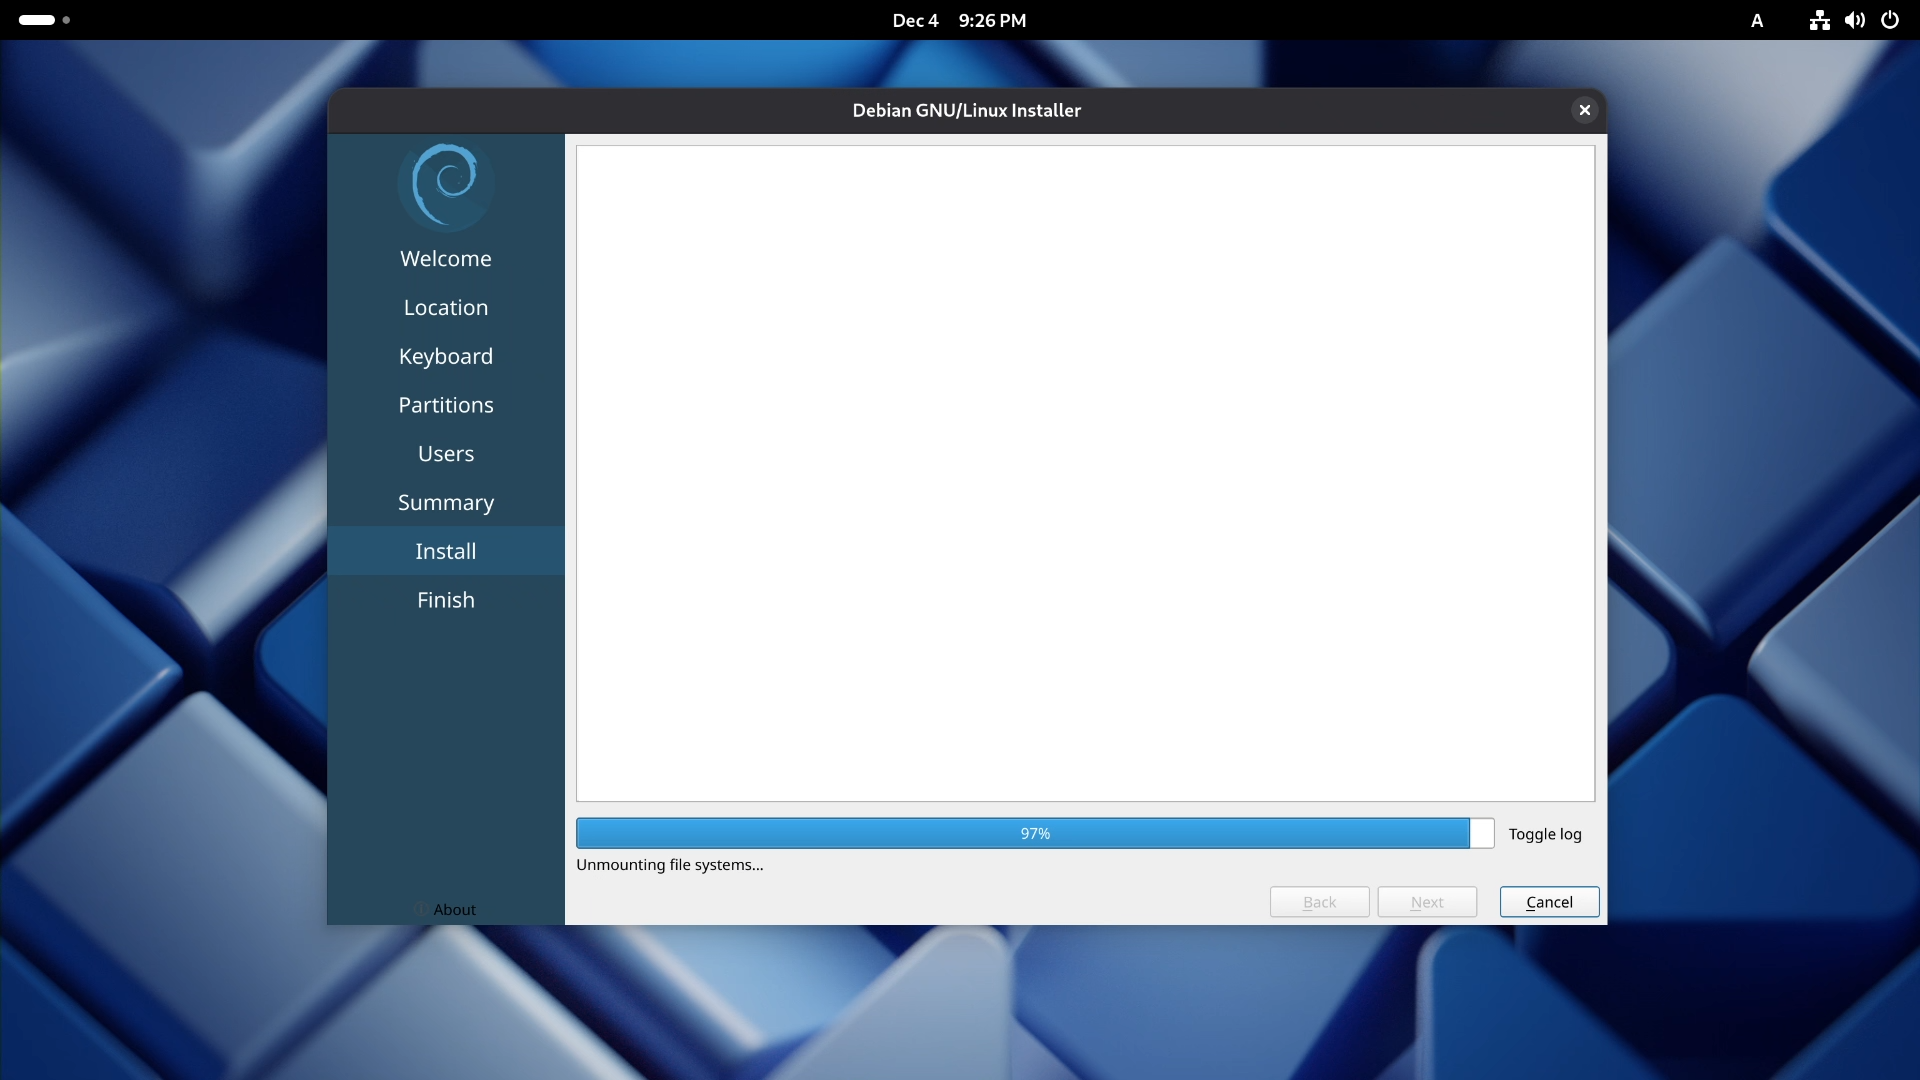

Now review the summary. The installer will show you exactly what it is about to do. Once you have checked it, just click Install and sit back. Let the installer do its job. The Installation process might take between 7 and 8 minutes. When it’s done, the installer will prompt you to restart. Pull out the USB stick, and click Done.
First Boot
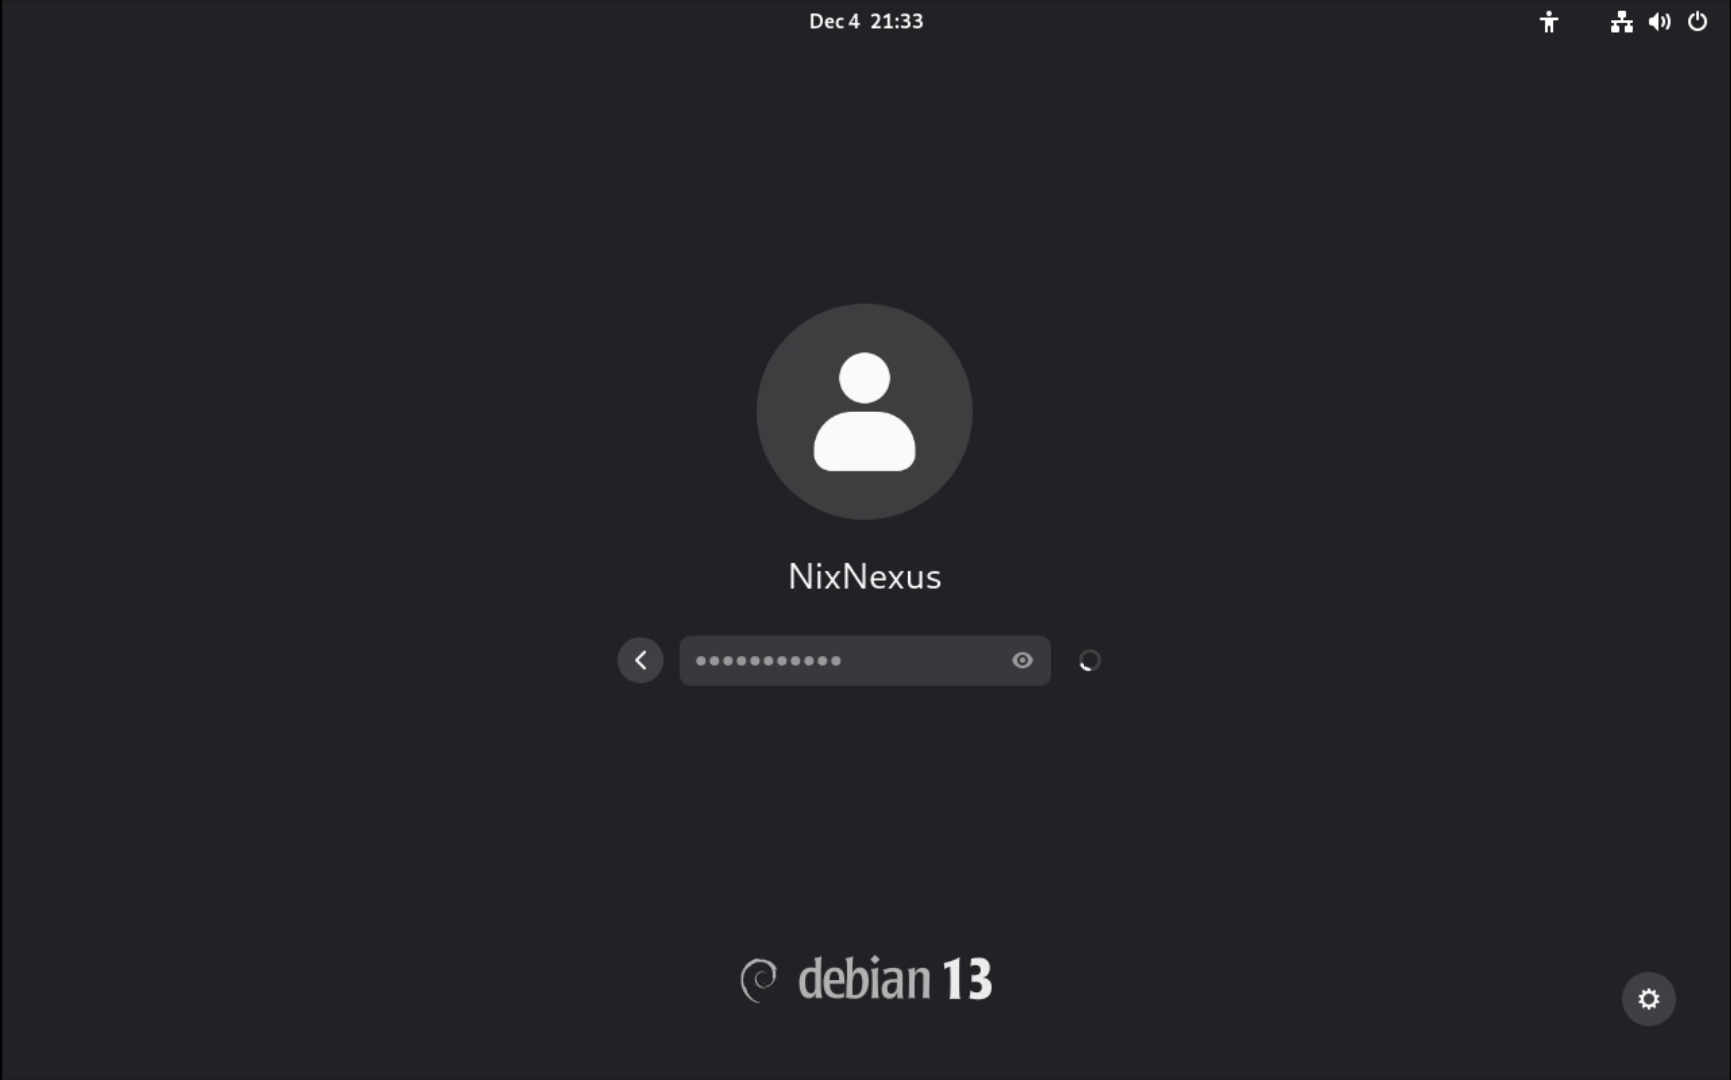
Within a few seconds of restarting, you will be at the login screen of your brand-new, permanent Debian installation. Your Username will be automatically captured, so enter the password you just created, and you will be inside one of the most stable and reliable operating systems available.
Conclusion
Installing Debian using Live Images removes the intimidation factor of the traditional installer. You get to test your hardware compatibility, explore the desktop environment, and install using a modern graphical installer.
This method is perfect for beginners who want Debian’s legendary stability without wrestling with a complex installation process. Whether you’re switching from Windows, trying Linux for the first time, or just want a reliable system that respects your freedom, Debian with Live Images is an excellent starting point.
Frequently Asked Questions
Q: What are Debian Live Images?
A: Debian Live Images are bootable versions of Debian that run directly from a USB drive without installing the operating system on your computer. They allow users to test Debian before installing it permanently.
Q: Why use Debian Live Images instead of the traditional installer?
A: Live Images provide a simpler installation process and include the graphical Calamares installer, which is easier for beginners compared to Debian’s traditional installer.
Q: What is the Calamares installer?
A: Calamares is a modern graphical installer used by many Linux distributions. It simplifies the installation process with a step-by-step interface that handles language selection, disk partitioning, and user setup.
Q: What’s the difference between Calamares and Debian’s traditional installer?
A: Calamares is a modern graphical installer with a simple point-and-click interface, similar to Ubuntu’s or Linux Mint’s installer. Debian’s traditional installer is Ncusrses based, it asks more questions, and has a slight more learning curve. Both install the same Debian system, Calamares just makes the process easier for beginners.
Q: How long does Debian installation take using Live Images?
A: Installation via Calamares takes approximately 5-8 minutes after you complete the setup questions (language, location, keyboard, partitioning, user account). This doesn’t include the time to boot into the live environment or test hardware, just the actual installation process.
Q: Is Debian installed via Live Images different from traditional installer Debian?
A: No. Both methods install identical Debian systems. The only difference is the installation process itself. Live Images use Calamares (graphical installer) while the traditional method uses the Ncuses based Debian Installer. The resulting operating system is the same stable Debian.
Q: Can I test hardware compatibility using Debian Live Images?
A: Yes. When you boot into a live environment, you can test Wi-Fi, graphics, Bluetooth, sound, and other hardware components before installing Debian on your system.
Q: Which desktop environments are available in Debian Live Images?
A: Debian Live Images are available with several desktop environments, including GNOME, KDE Plasma, Xfce, Cinnamon, and MATE.
Q: Is Debian suitable for beginners?
A: Yes. With Live Images and the Calamares installer, Debian can be a beginner-friendly Linux distribution that offers excellent stability and reliability.
📑 If you enjoyed this article, you may also like our guide on:
🎬 Prefer watching? Here’s the detailed video:
💬 Engage With The Community:
🔀 Share this Article: